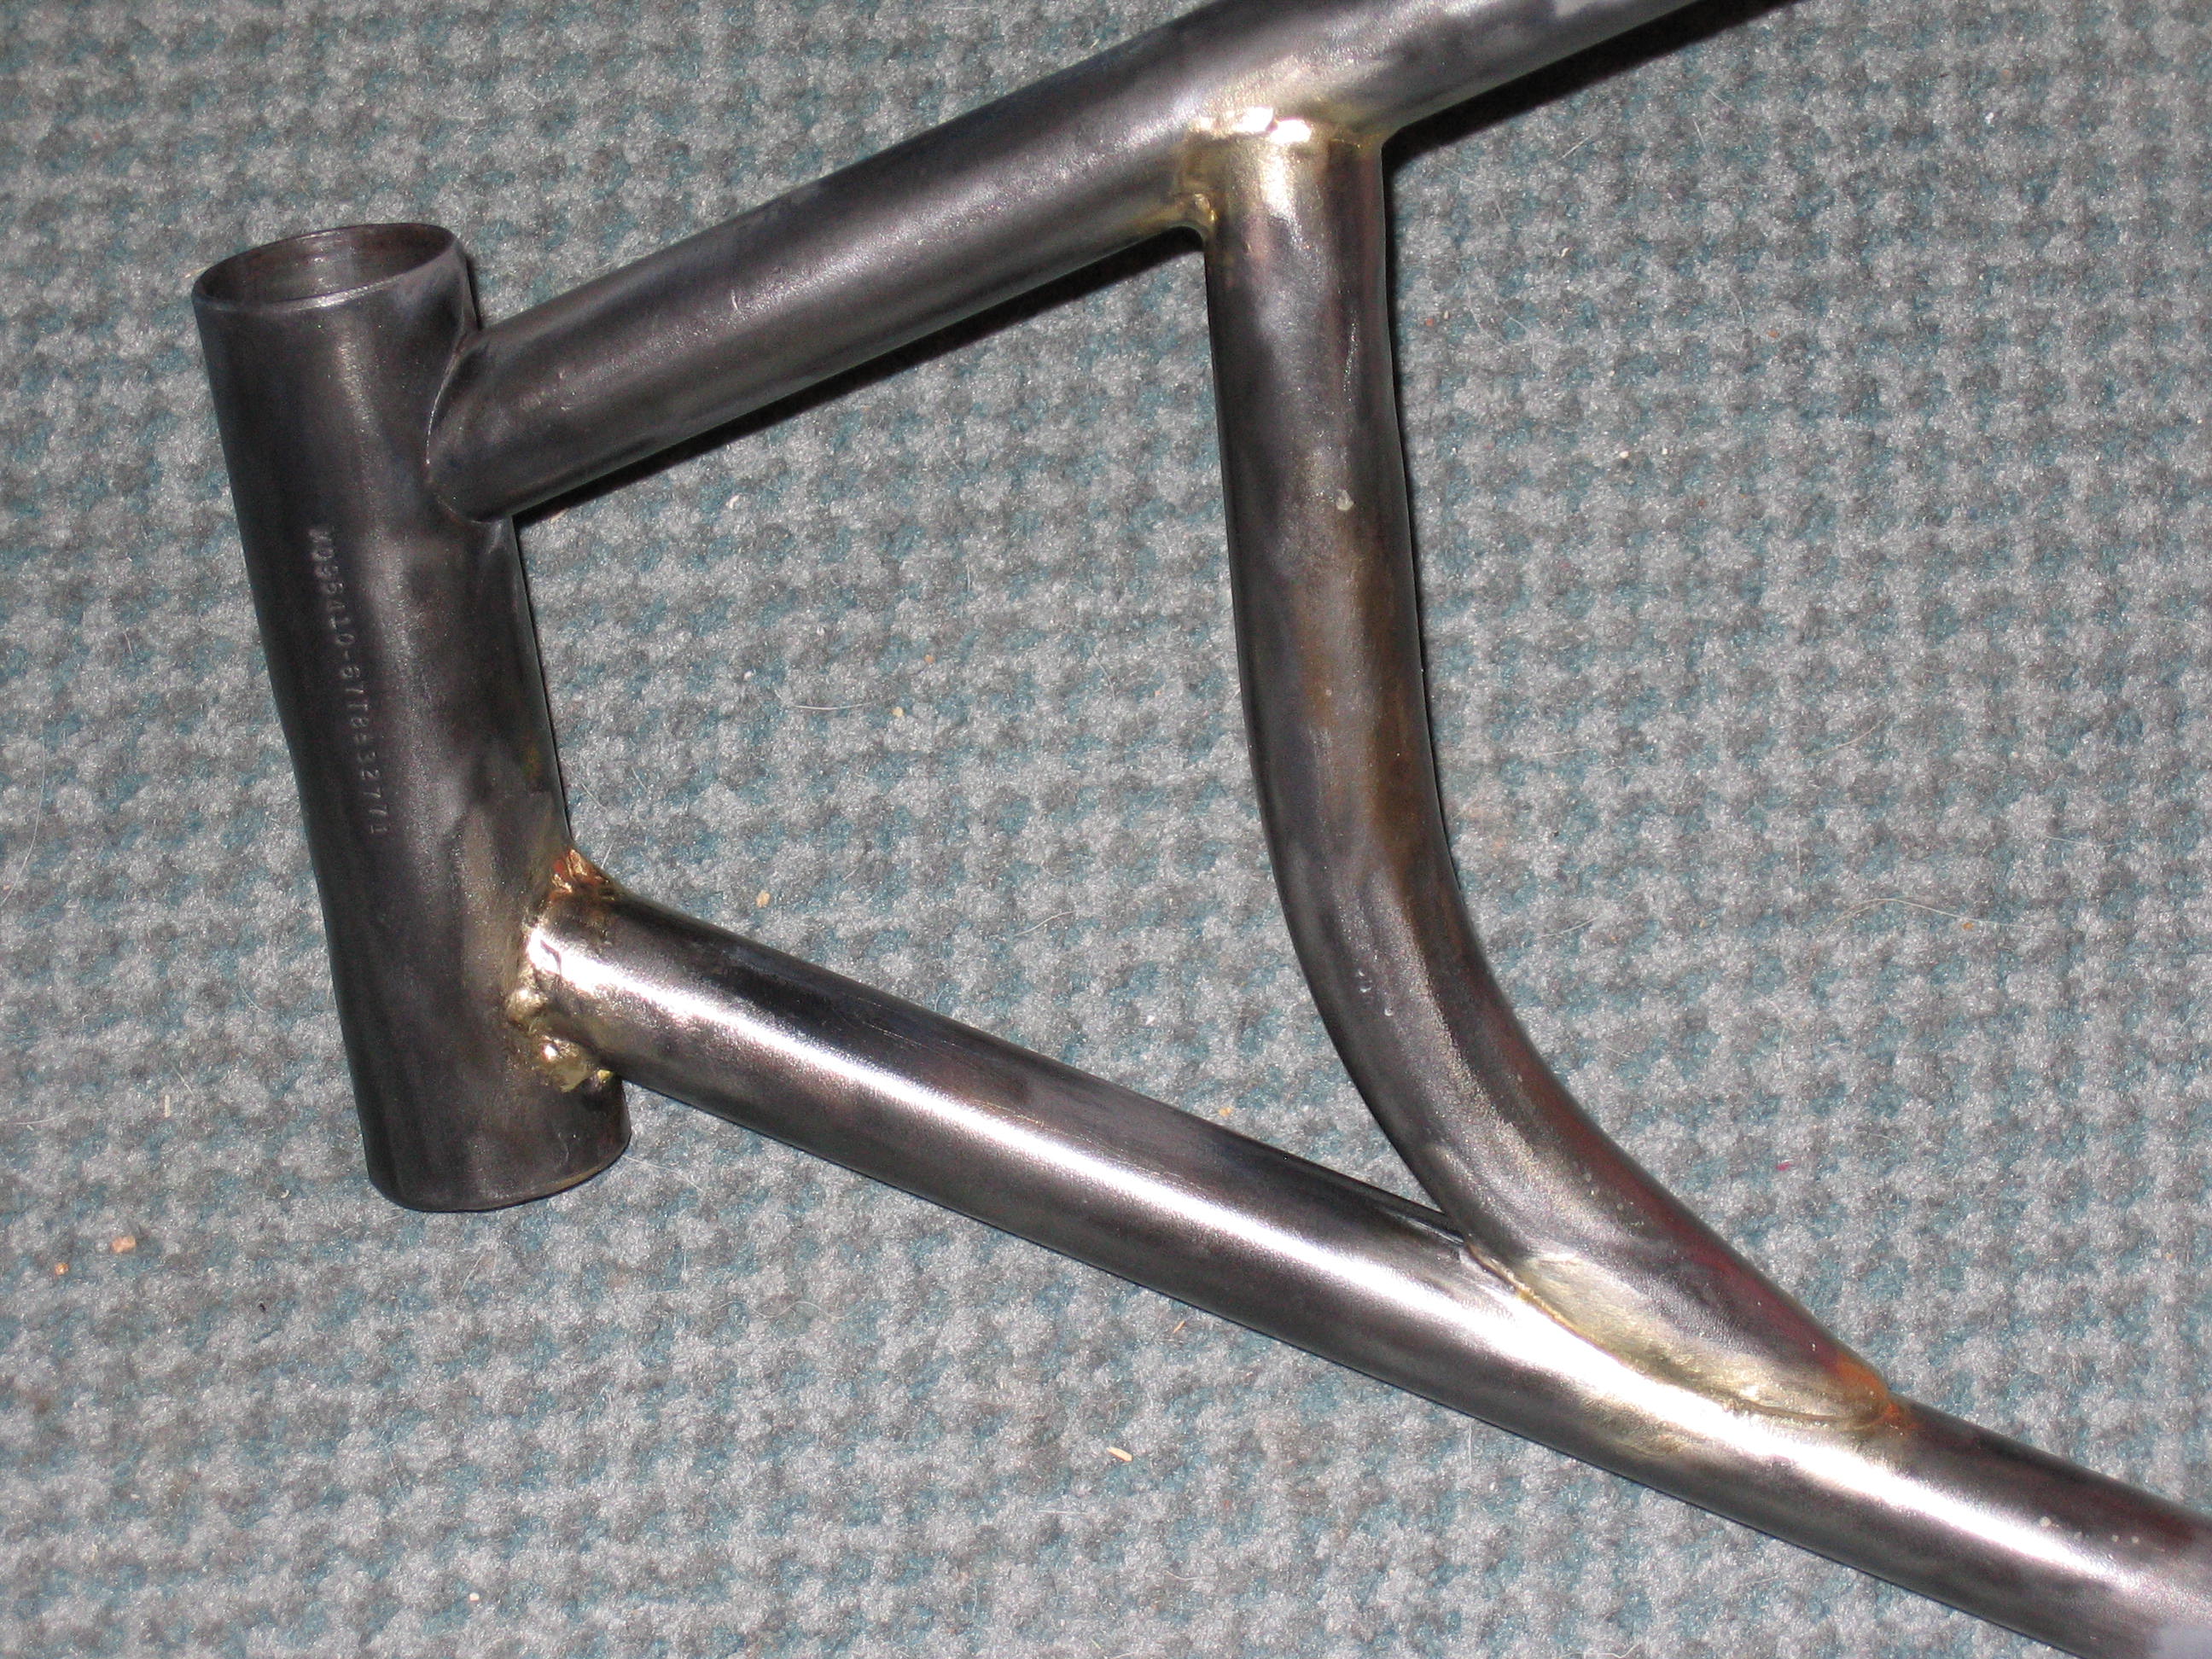
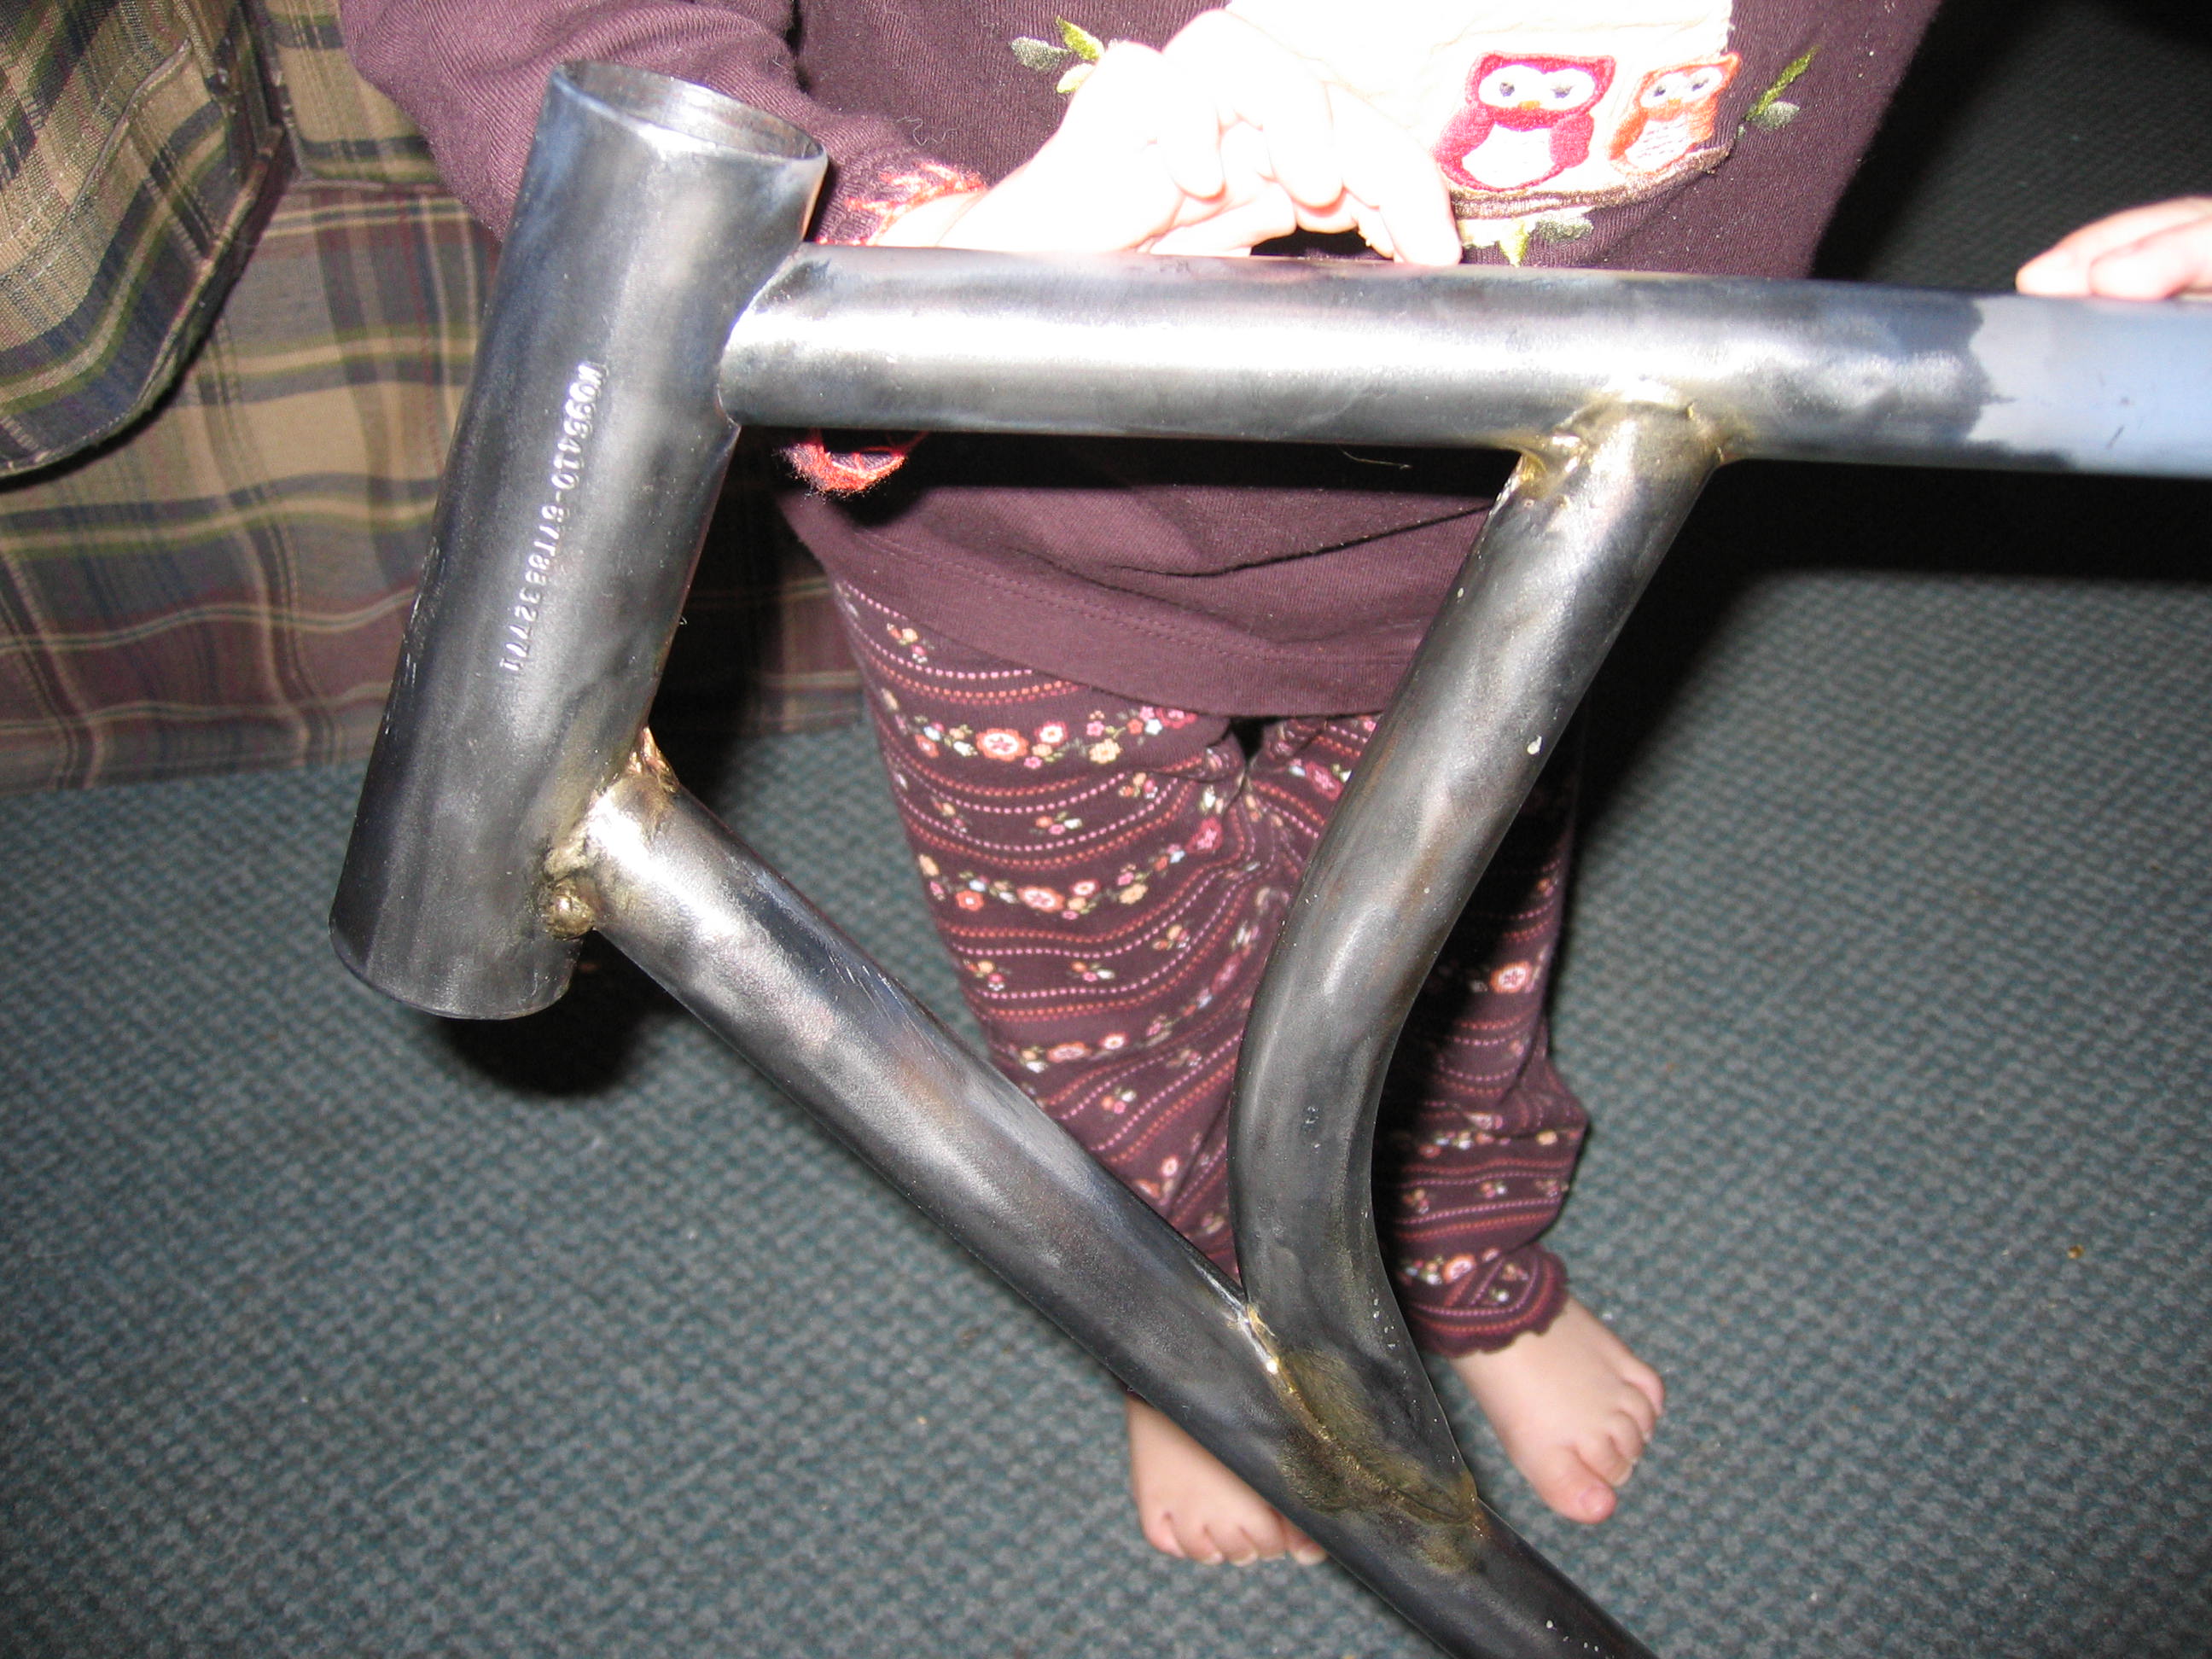
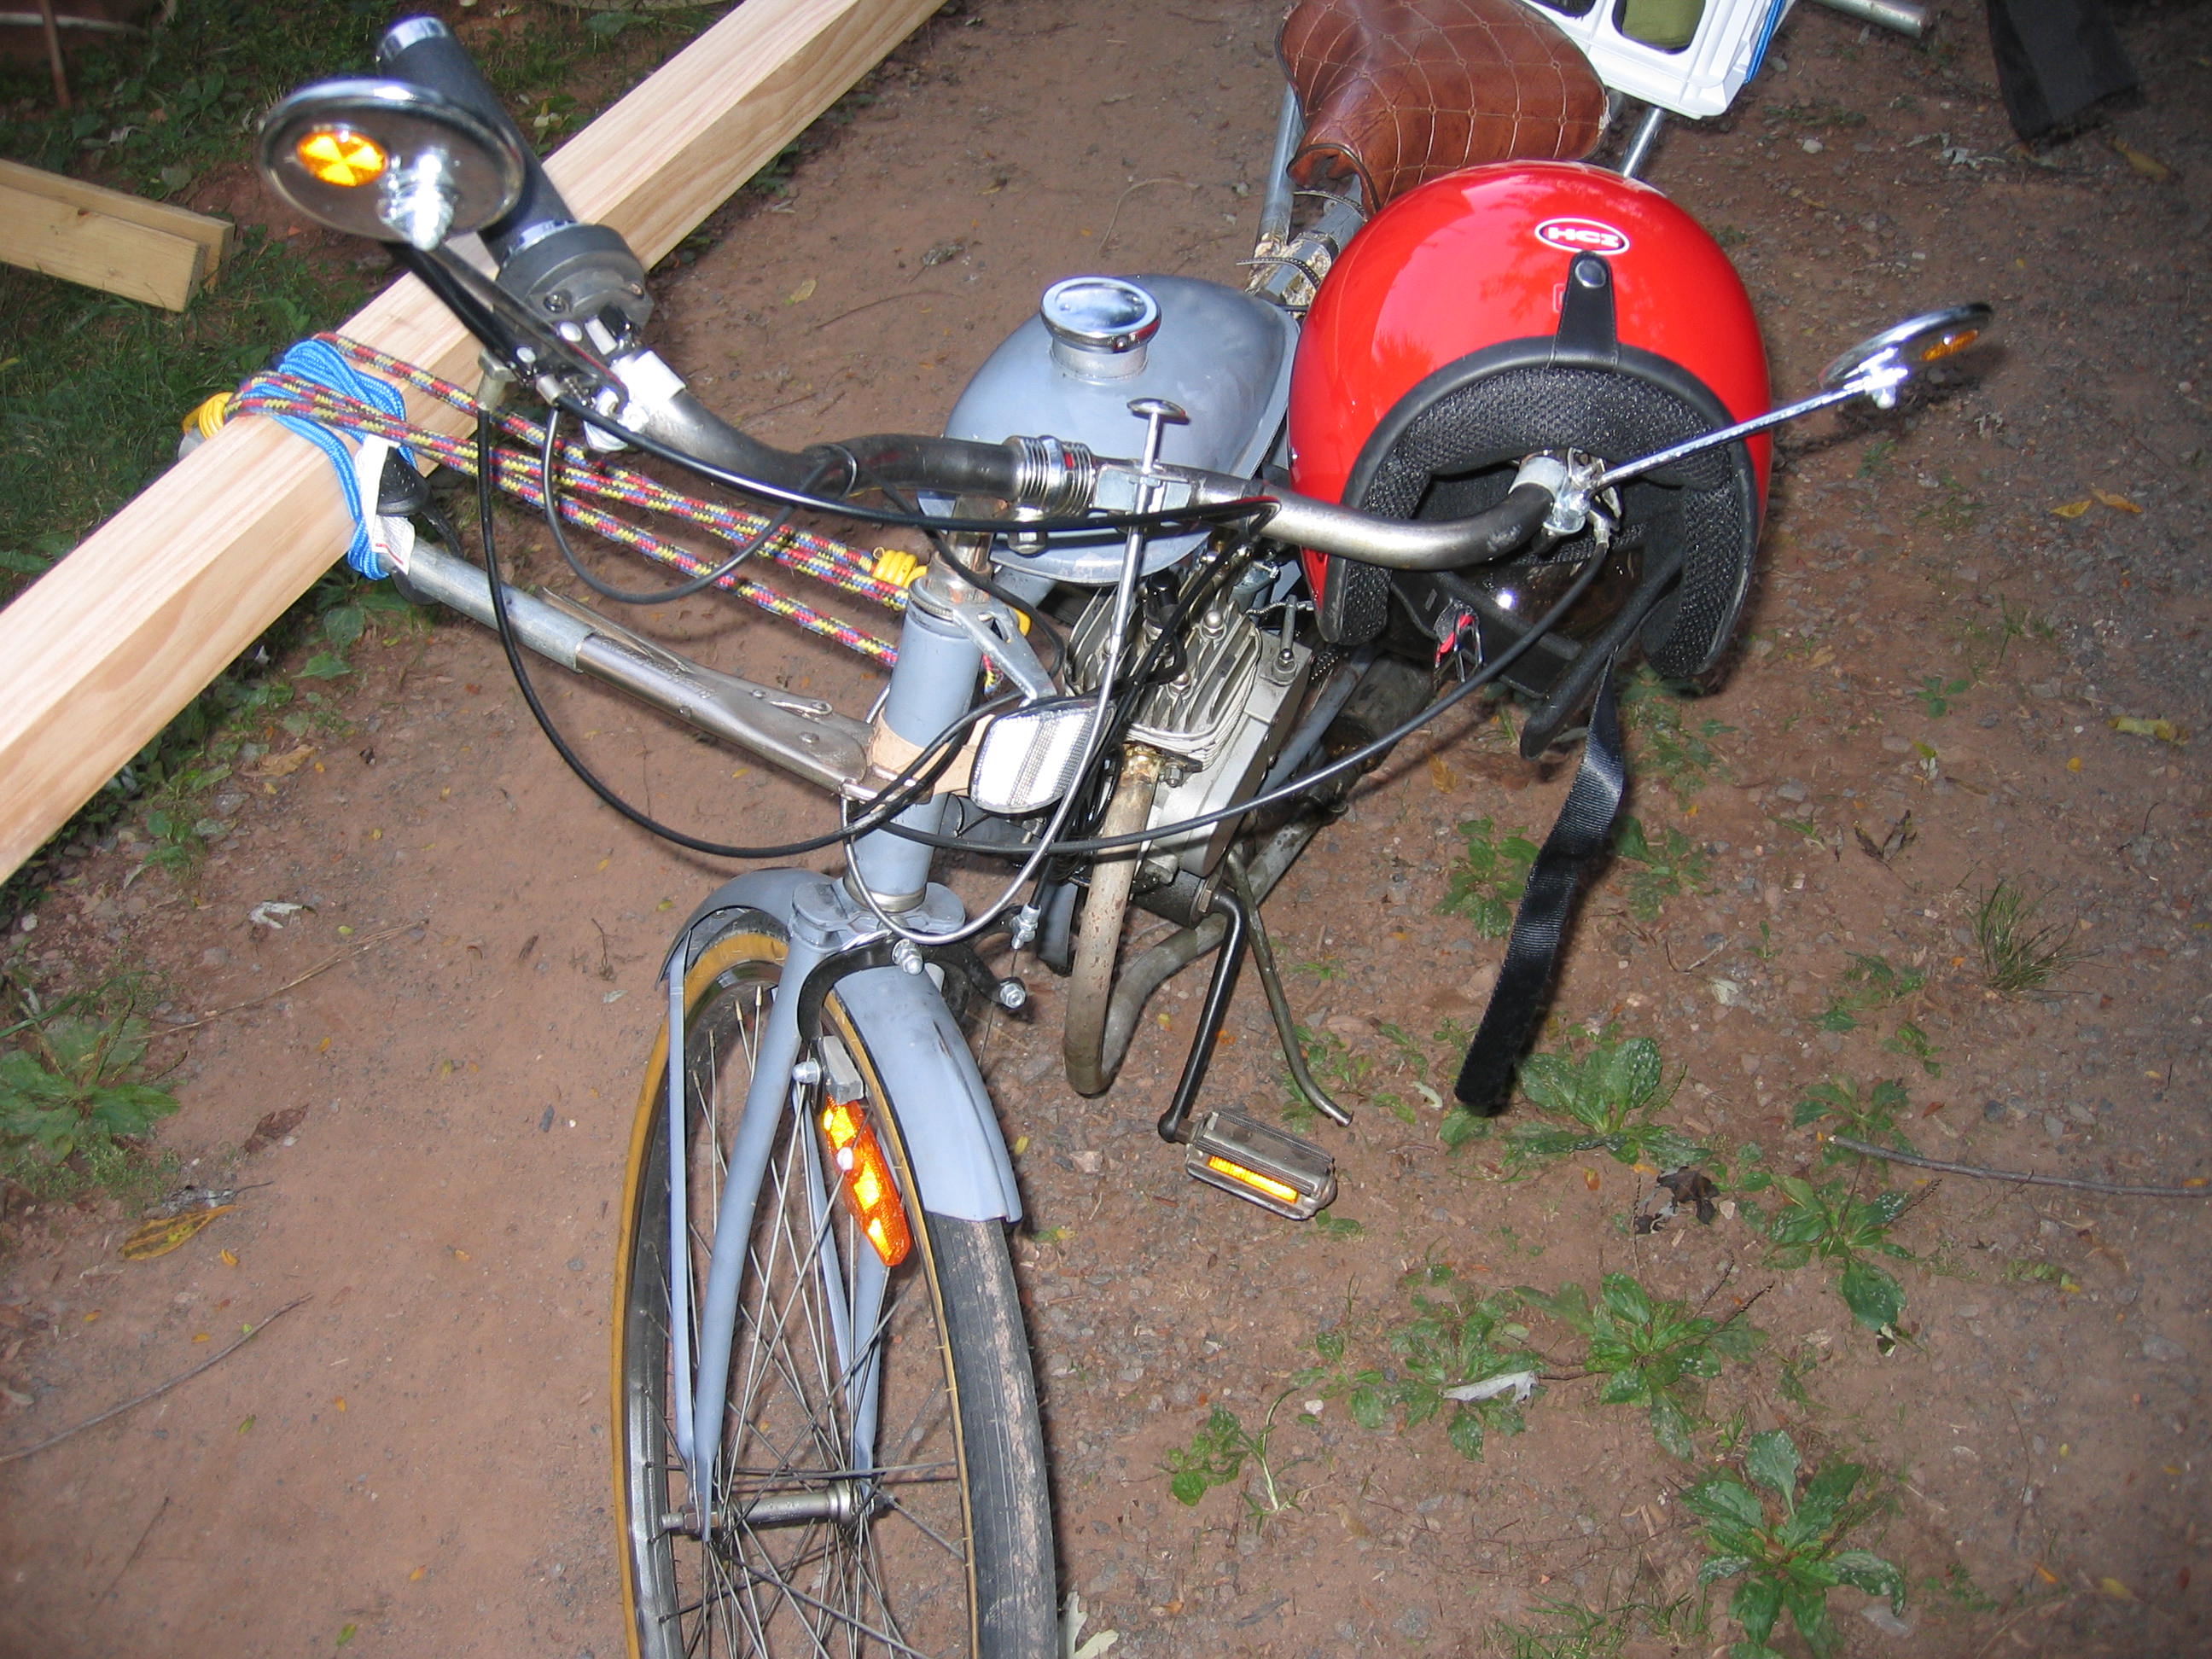
Repaired fractured down tube.
Last week I managed to crack the down tube where it joins the head tube. Made for a really weird ride. I pulled over and tied everything down with rachet straps and limped home.
Yesterday I brazed the frame back together. Heavy mild steel tube requires a bit more heat than a single Mapp gas torch so I used the Coleman stove to assist, though with mixed results. After cleaning up the joint it appears I got sufficient penetration, though the joint isn't as pretty as I'd like.
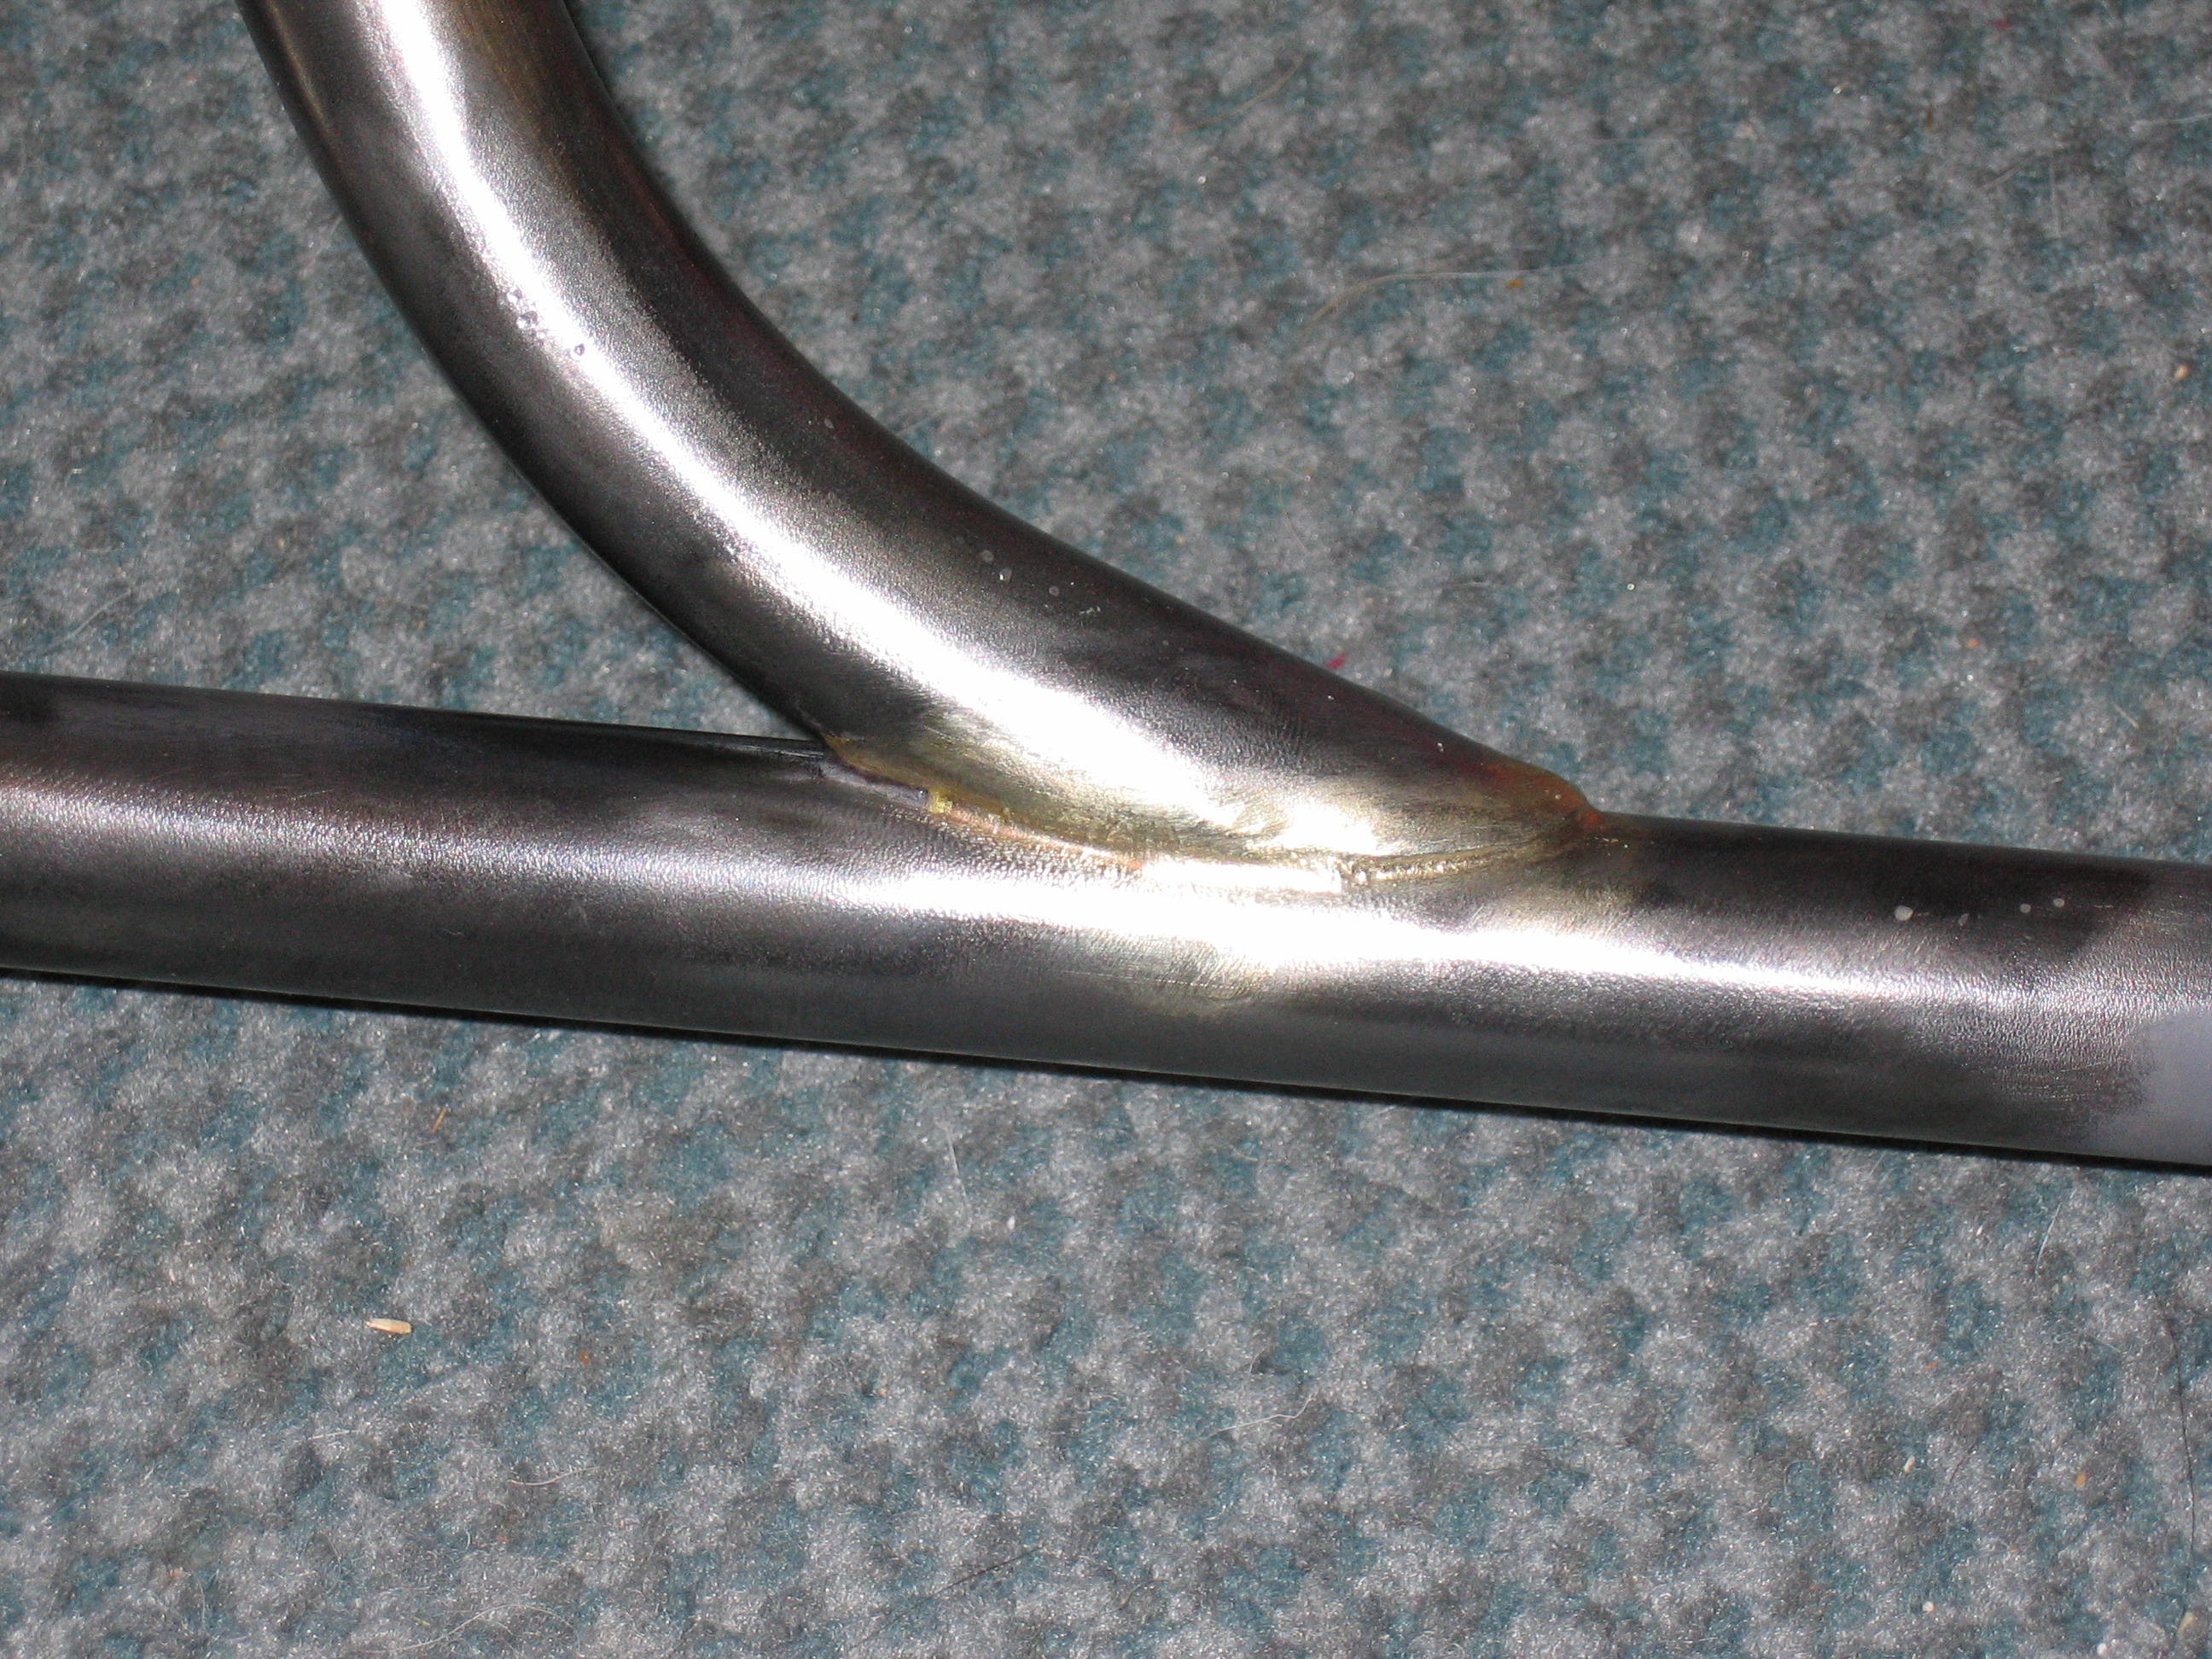
I cut a piece of tube off of the remains of another bicycle frame (the donor for the trailer) and mitered it to create a second connection between the top and bottom tubes. I did these two joints with the Oxy-Mapp torch AND the Mapp gas torch. Still need more heat, though these joints are a bit nicer.
My plan is to cut some 1/8" plate and box in this front section. This will likely insure that the next fracture occurs somewhere else.
Repaired fractured down tube.
Stylish curves!

Top tube reinforcing joint.
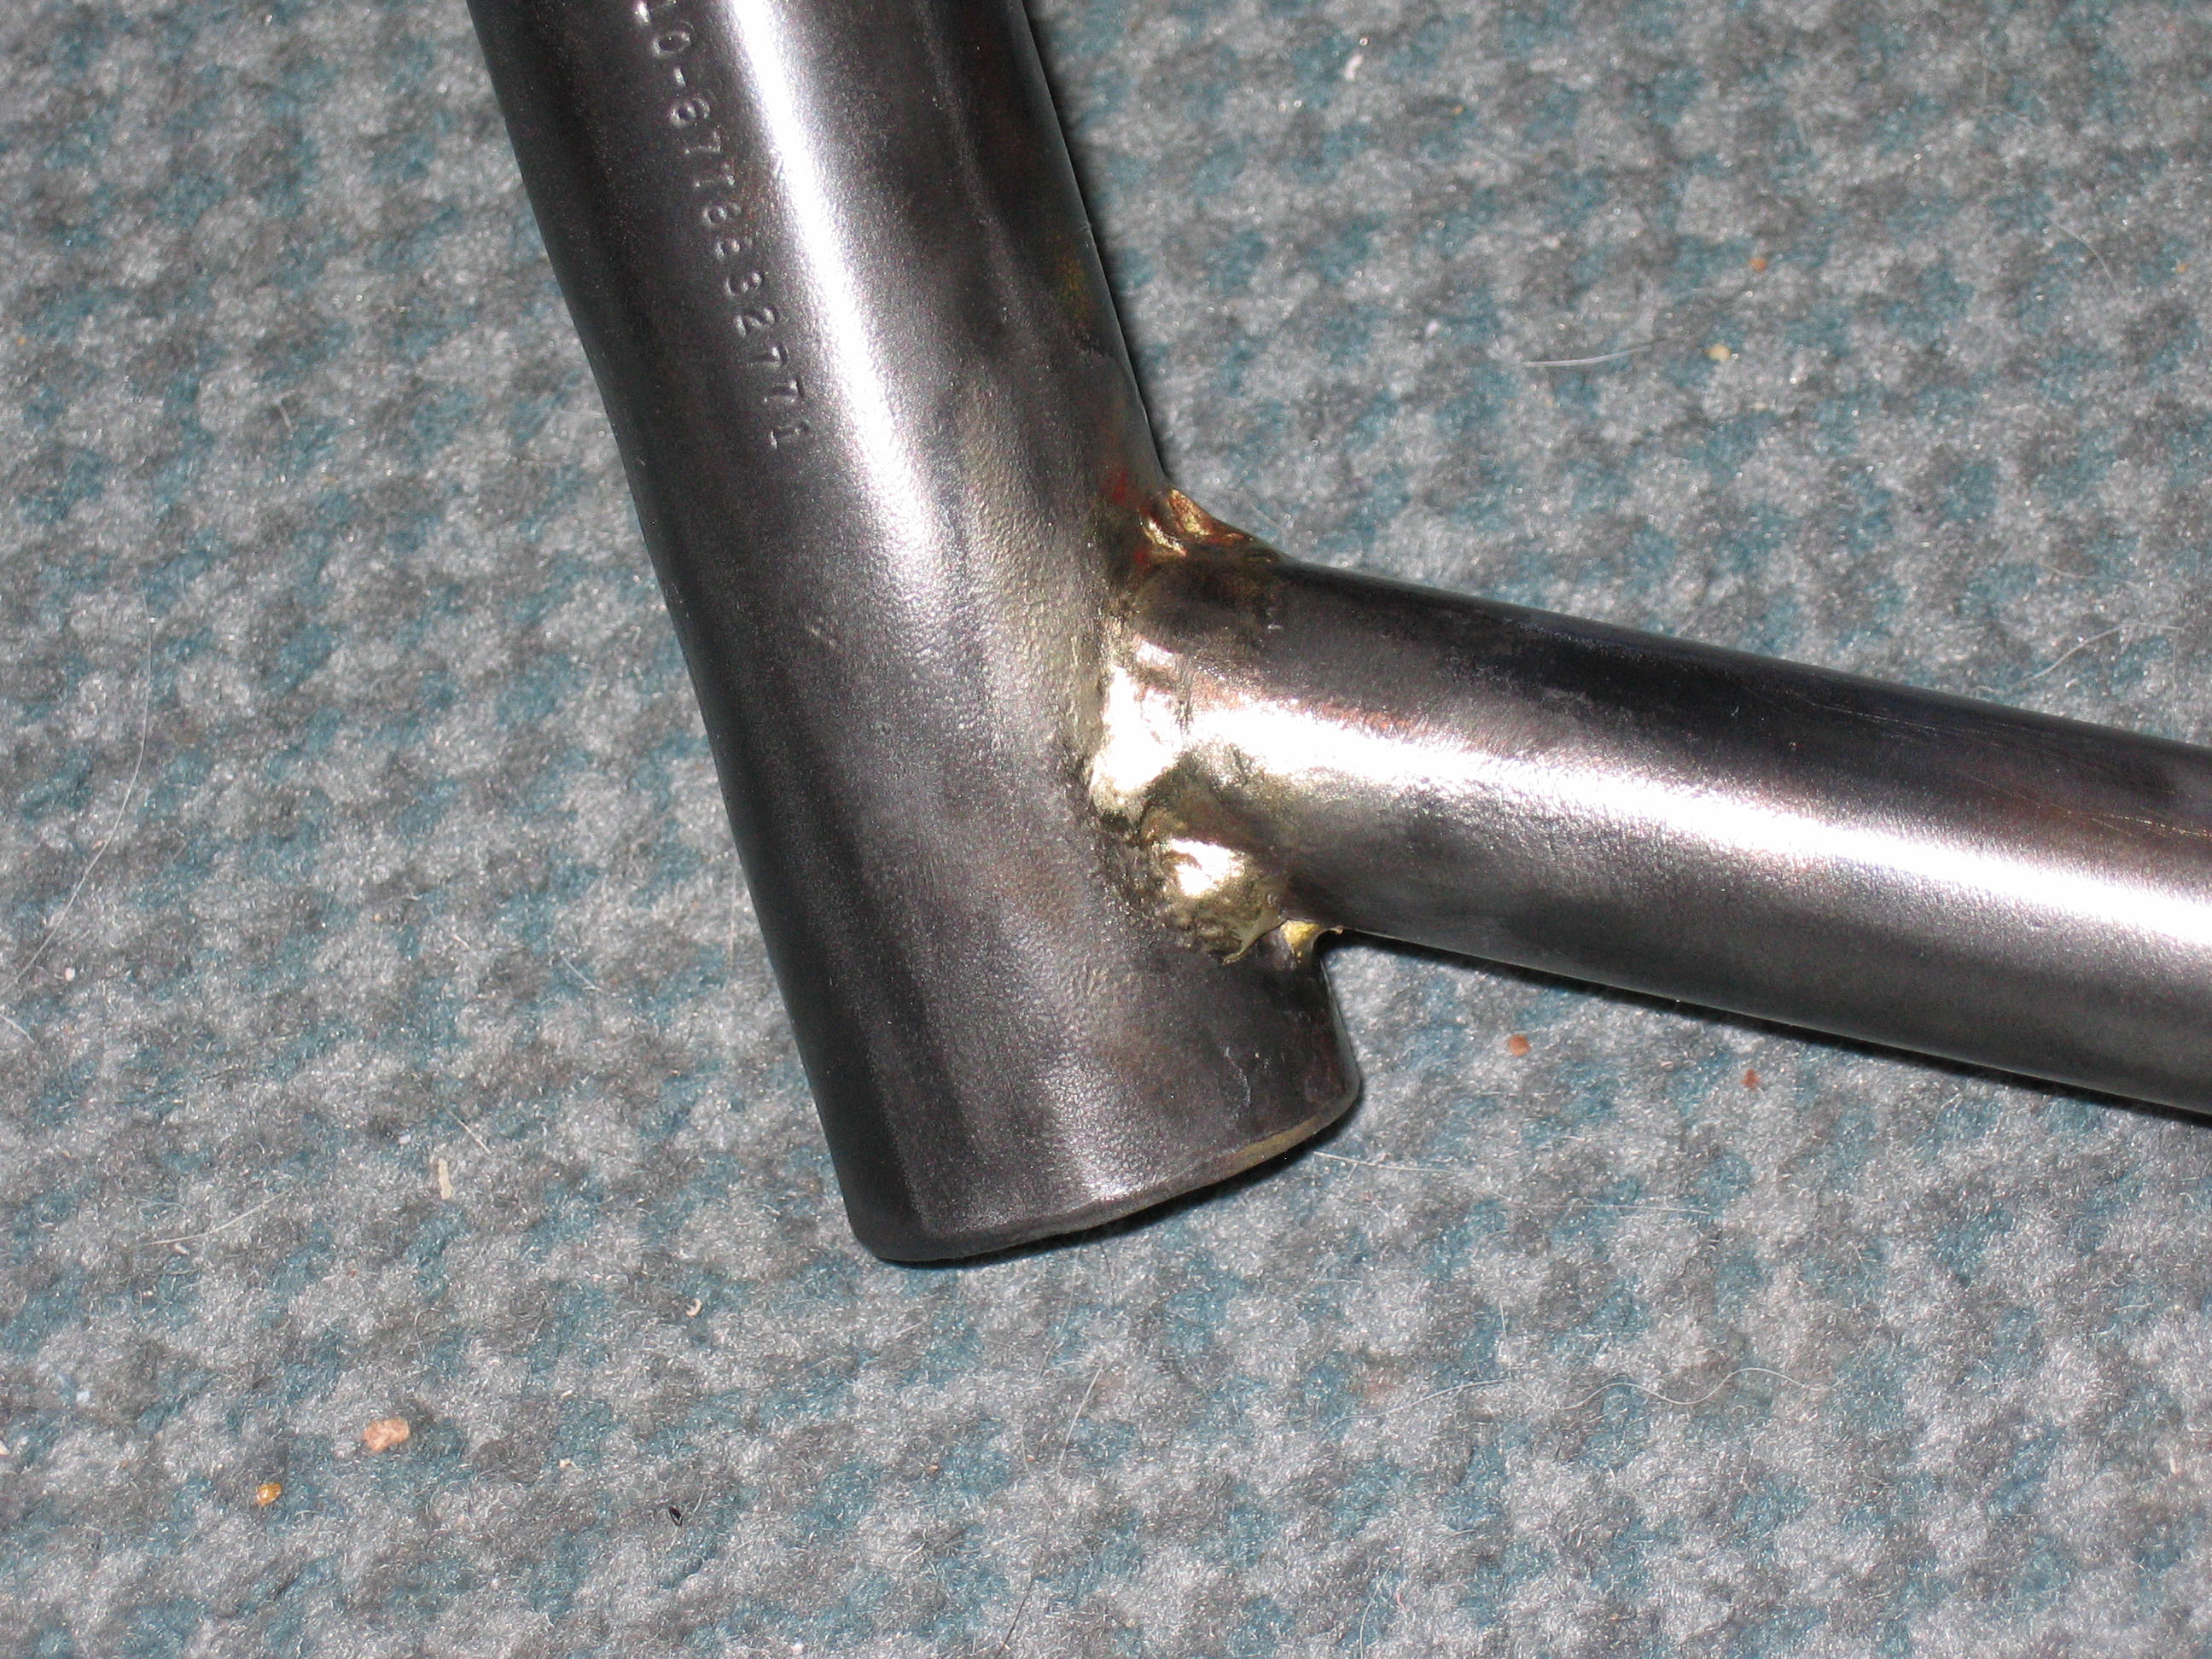
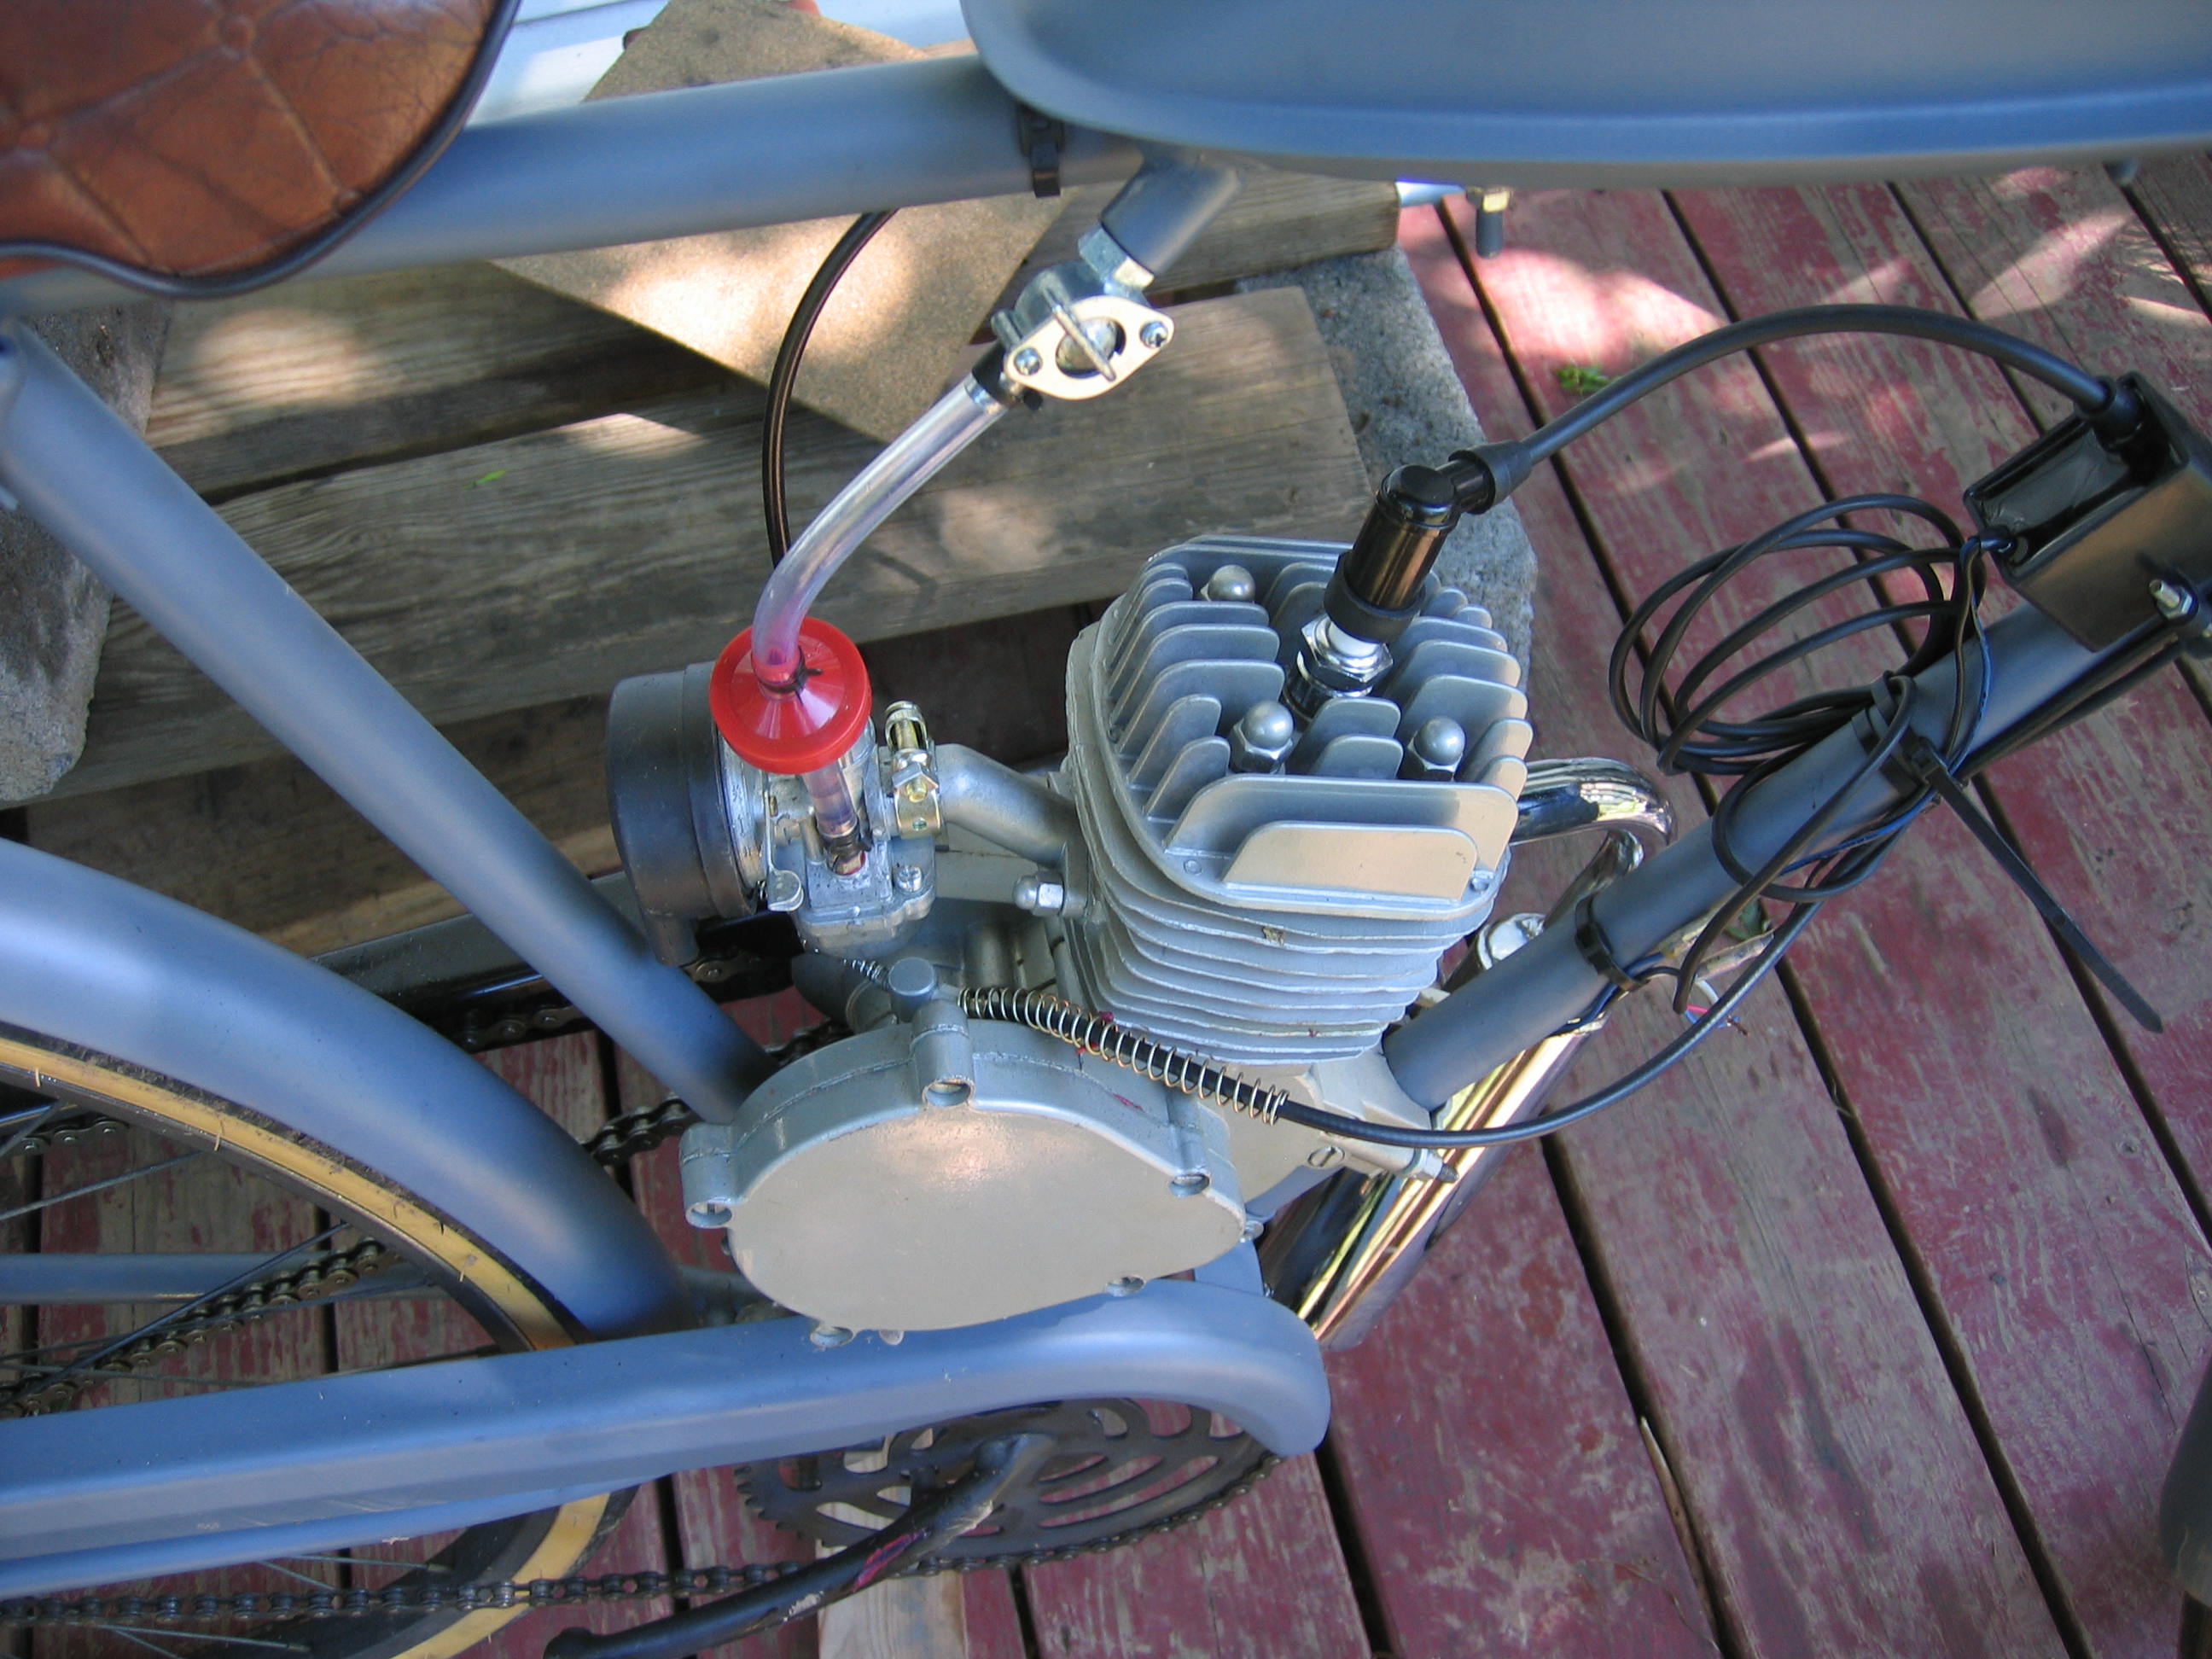
Close up of bottom tube & head tube joint.
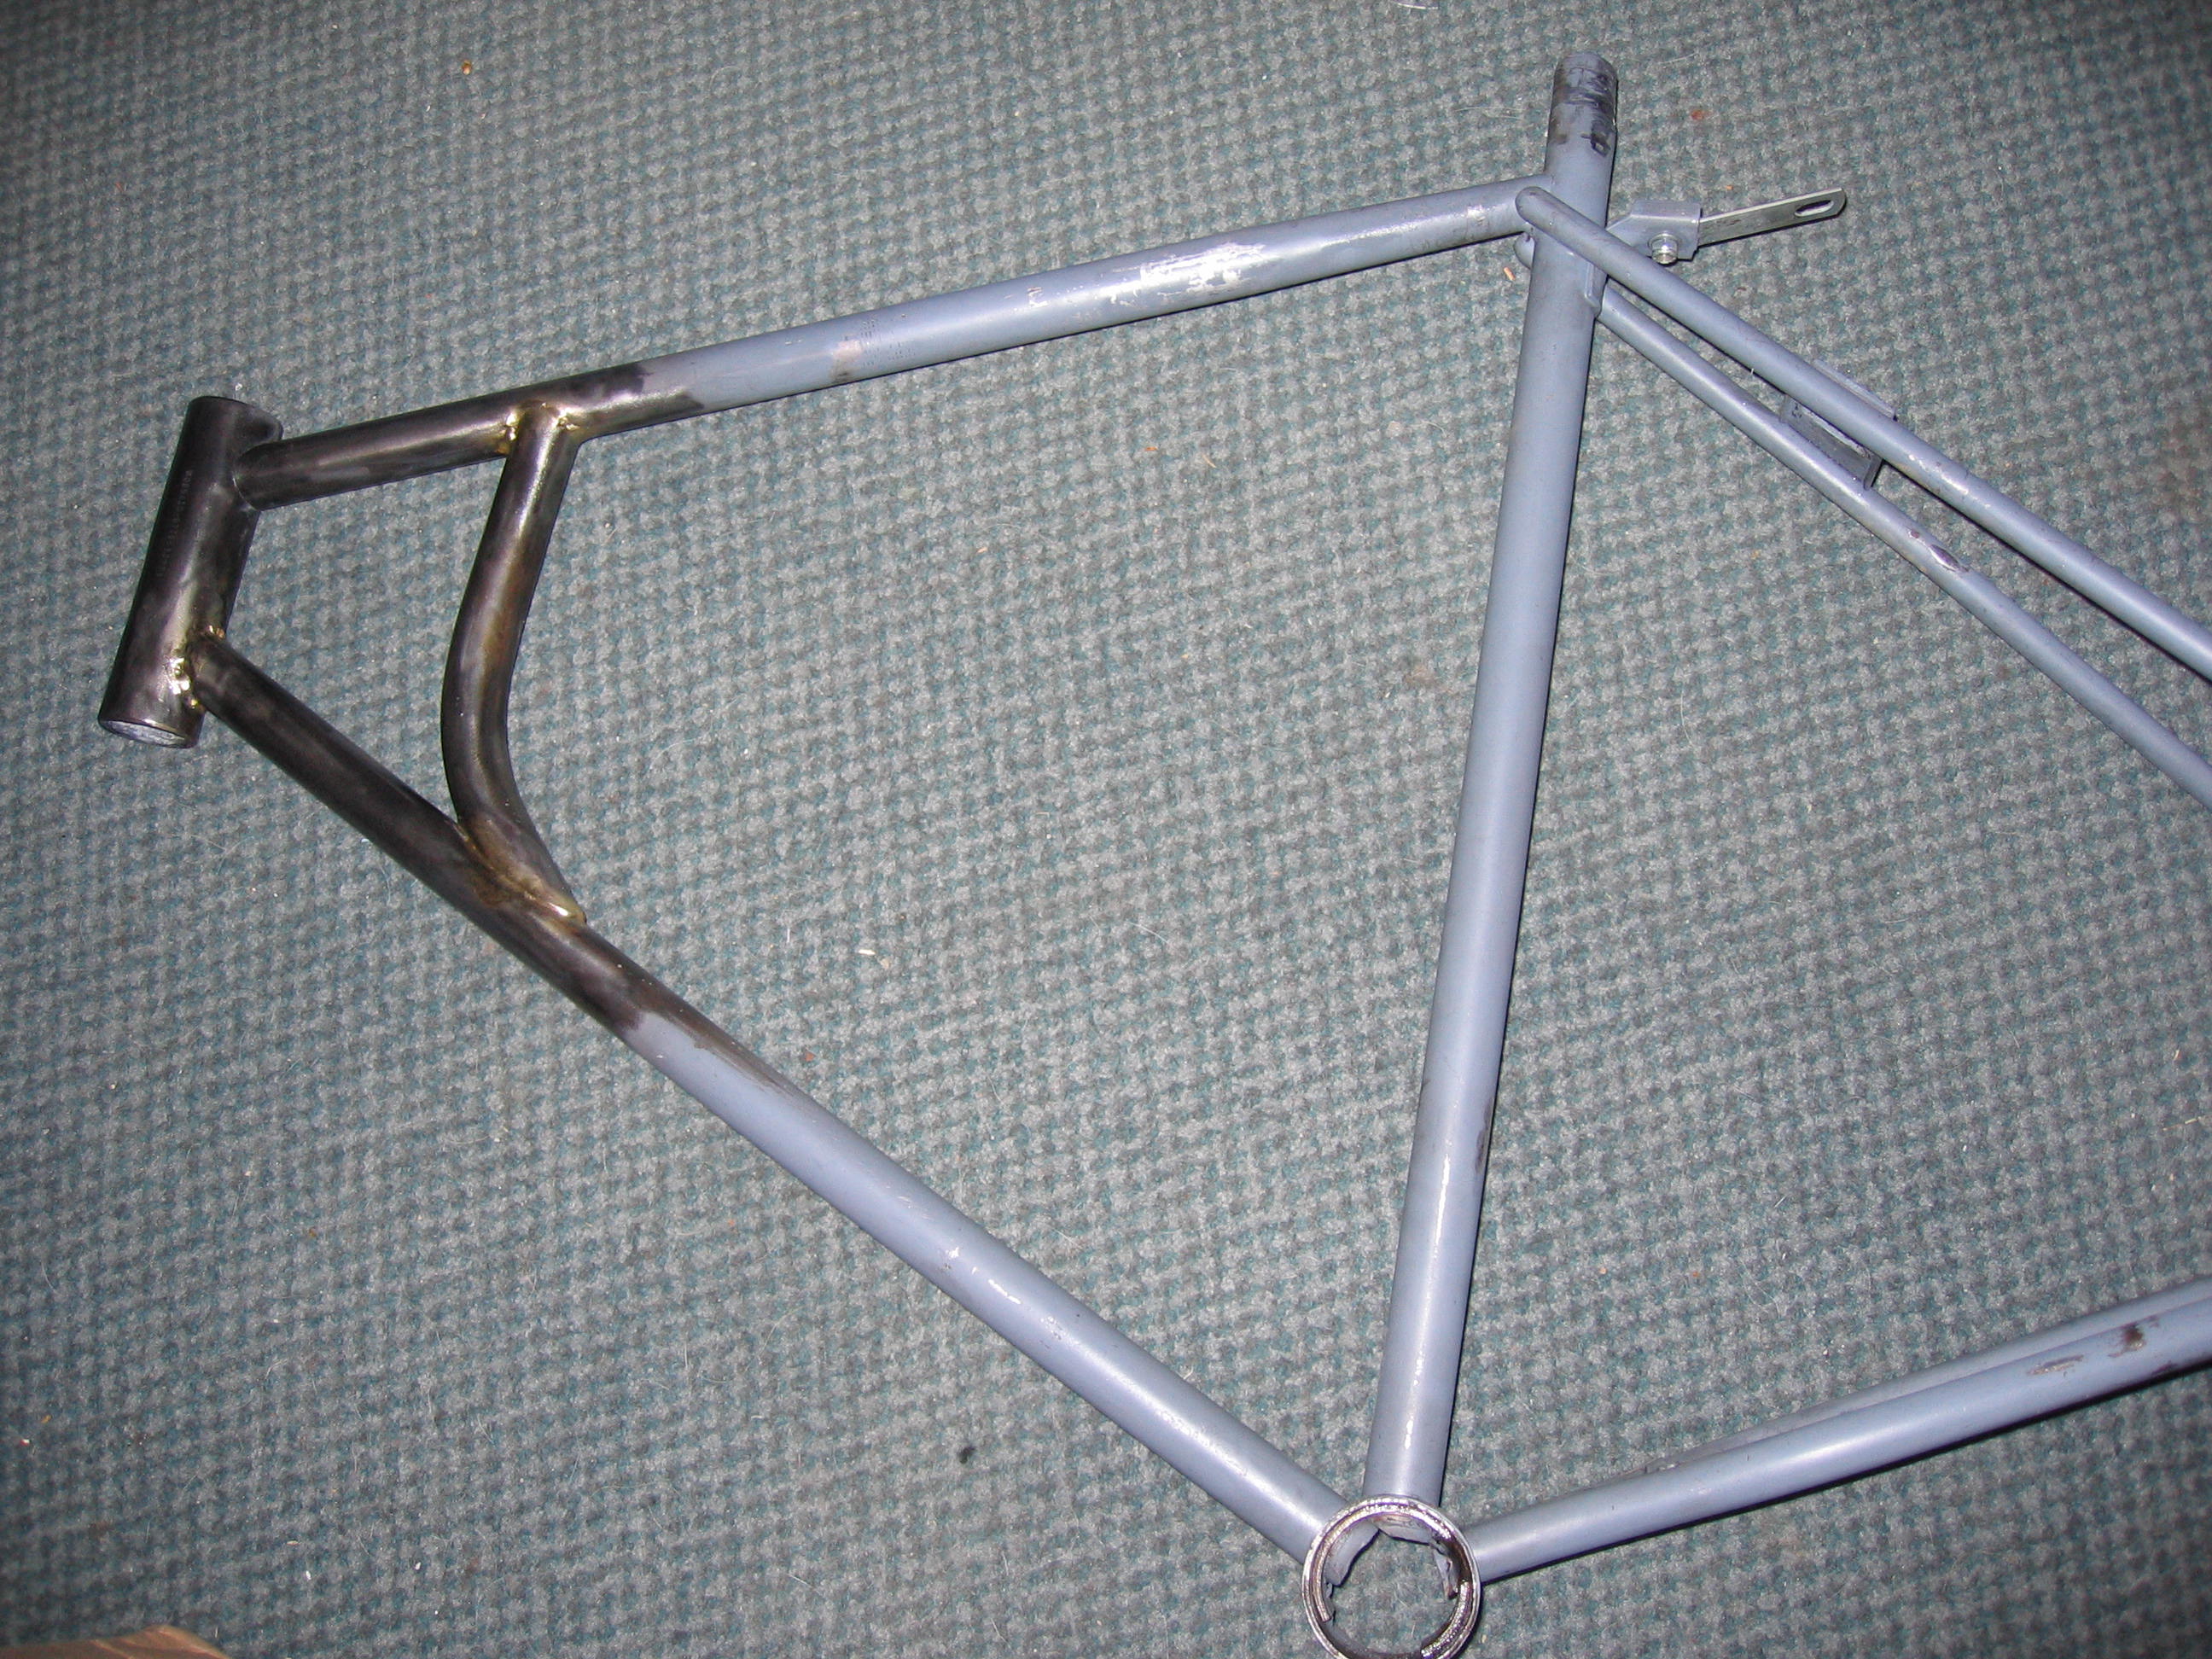
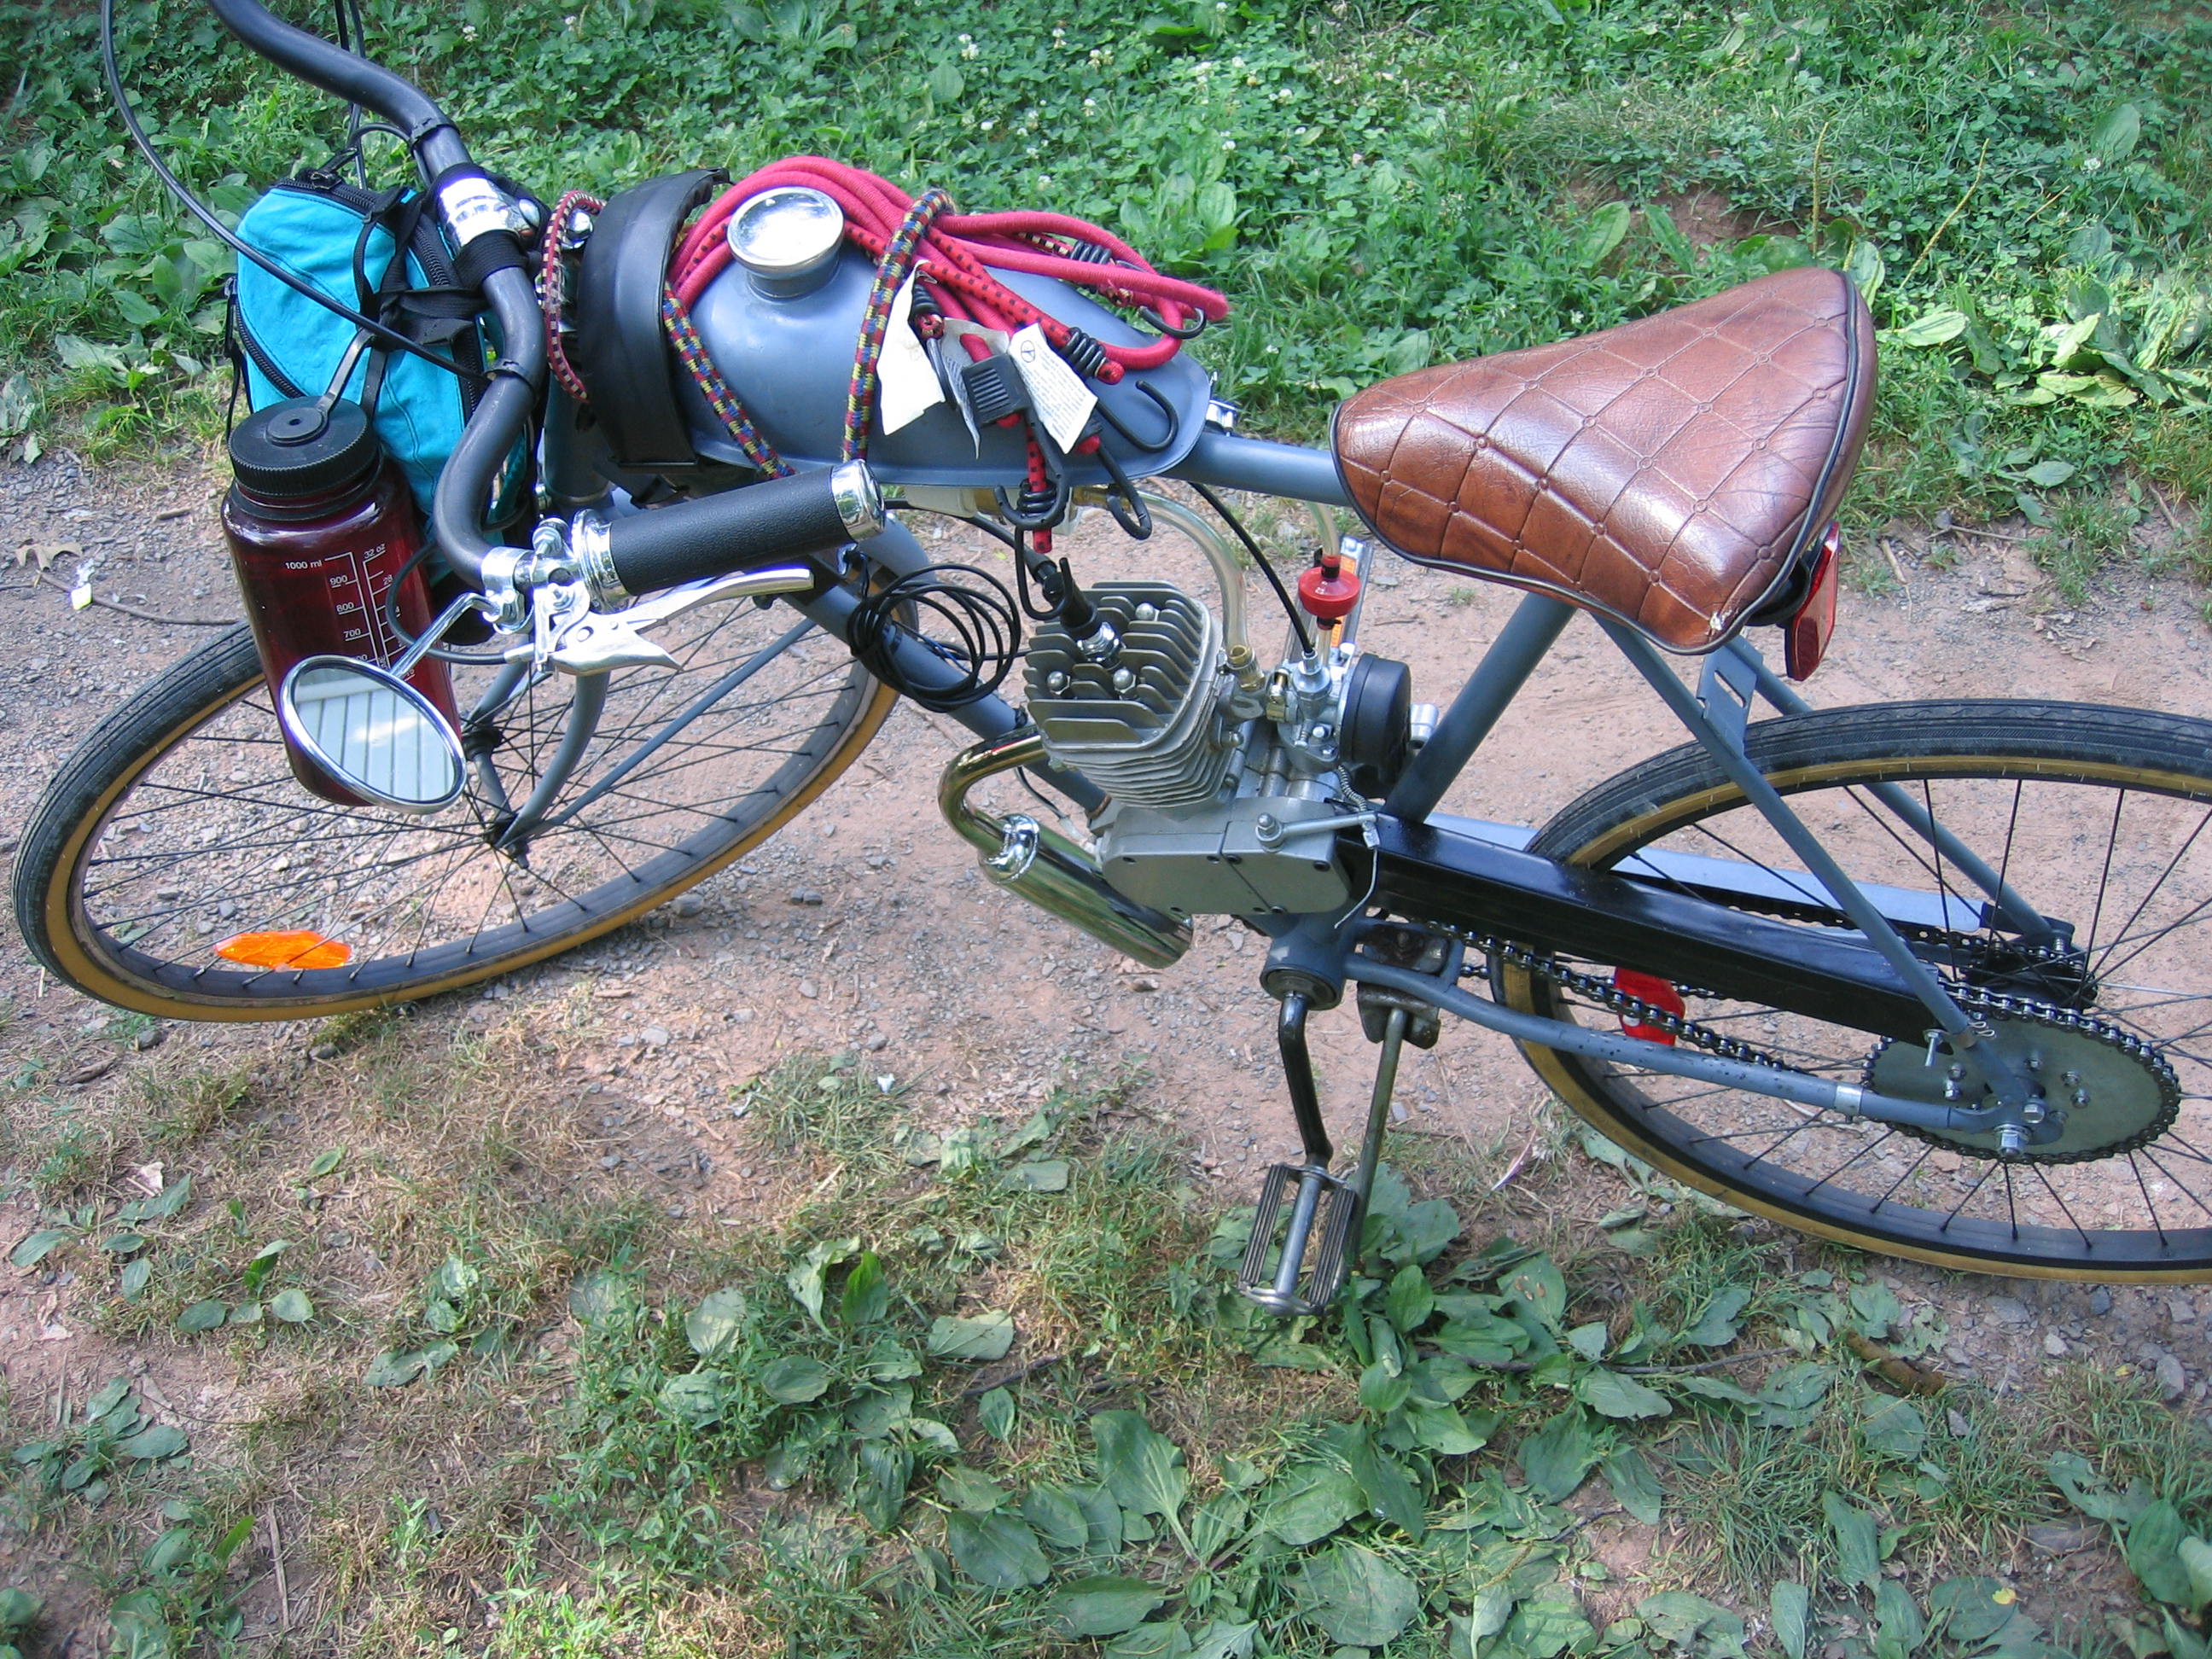
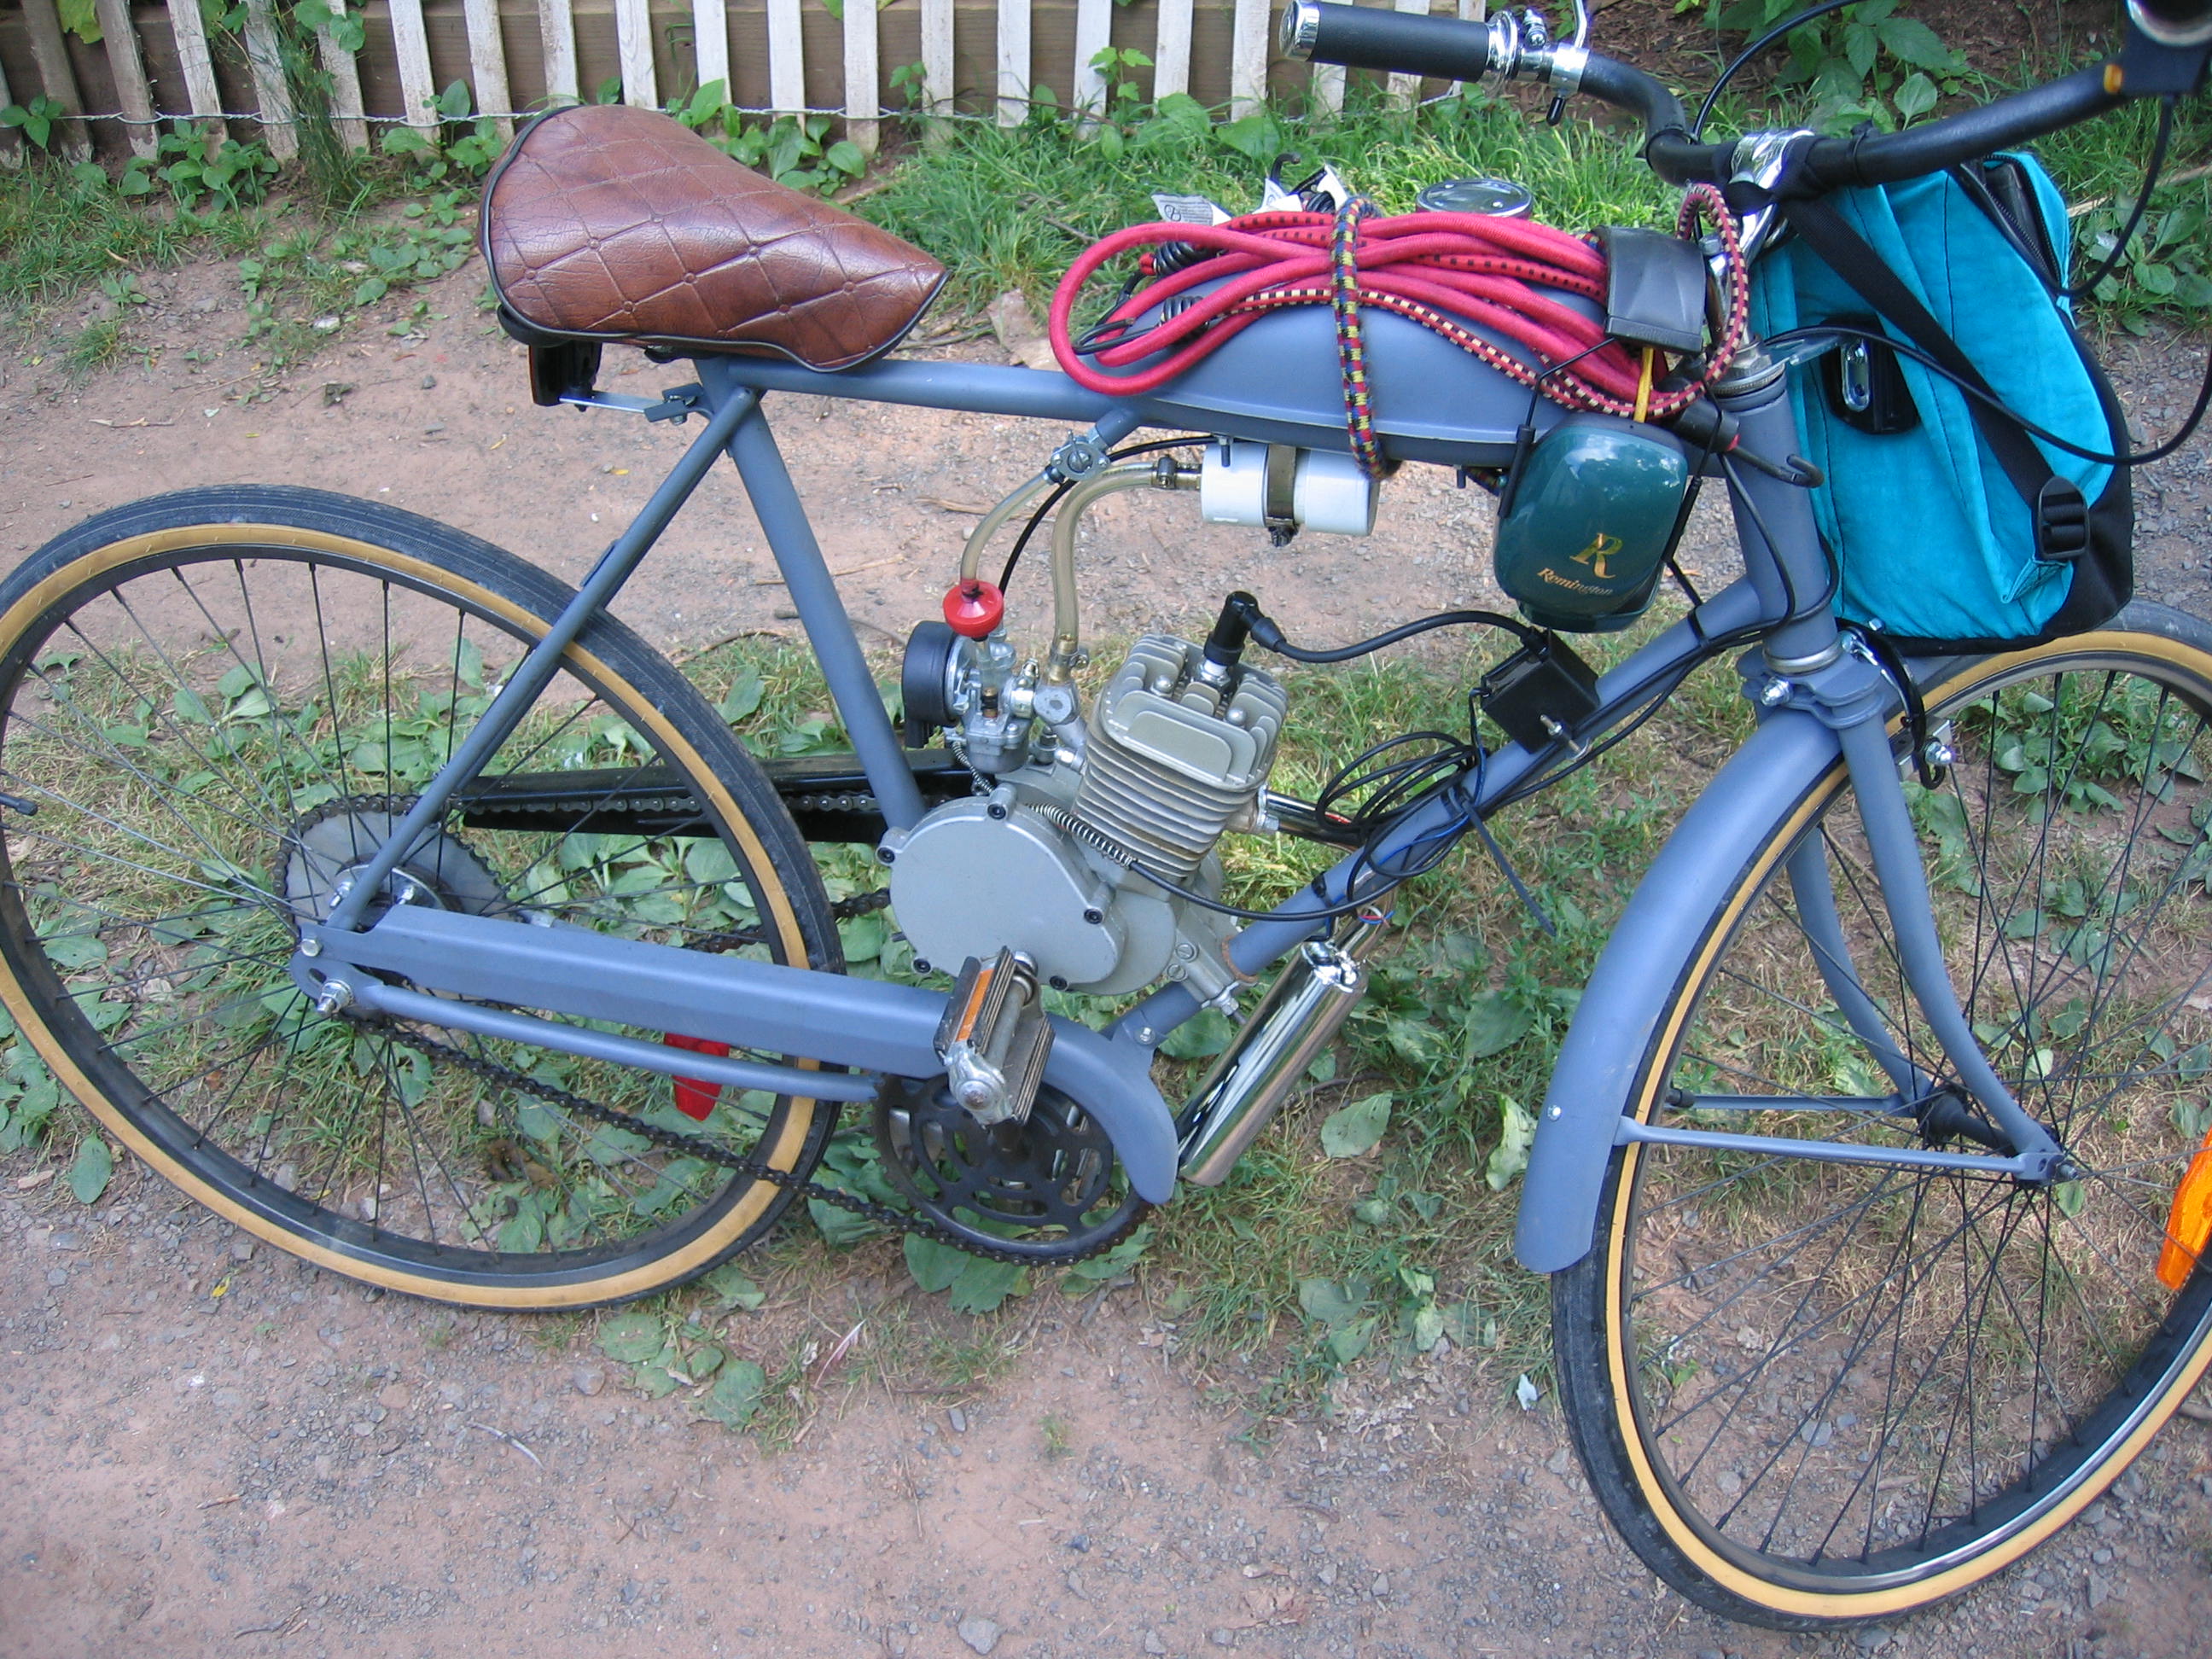
Overall view. I'm happy with the look.
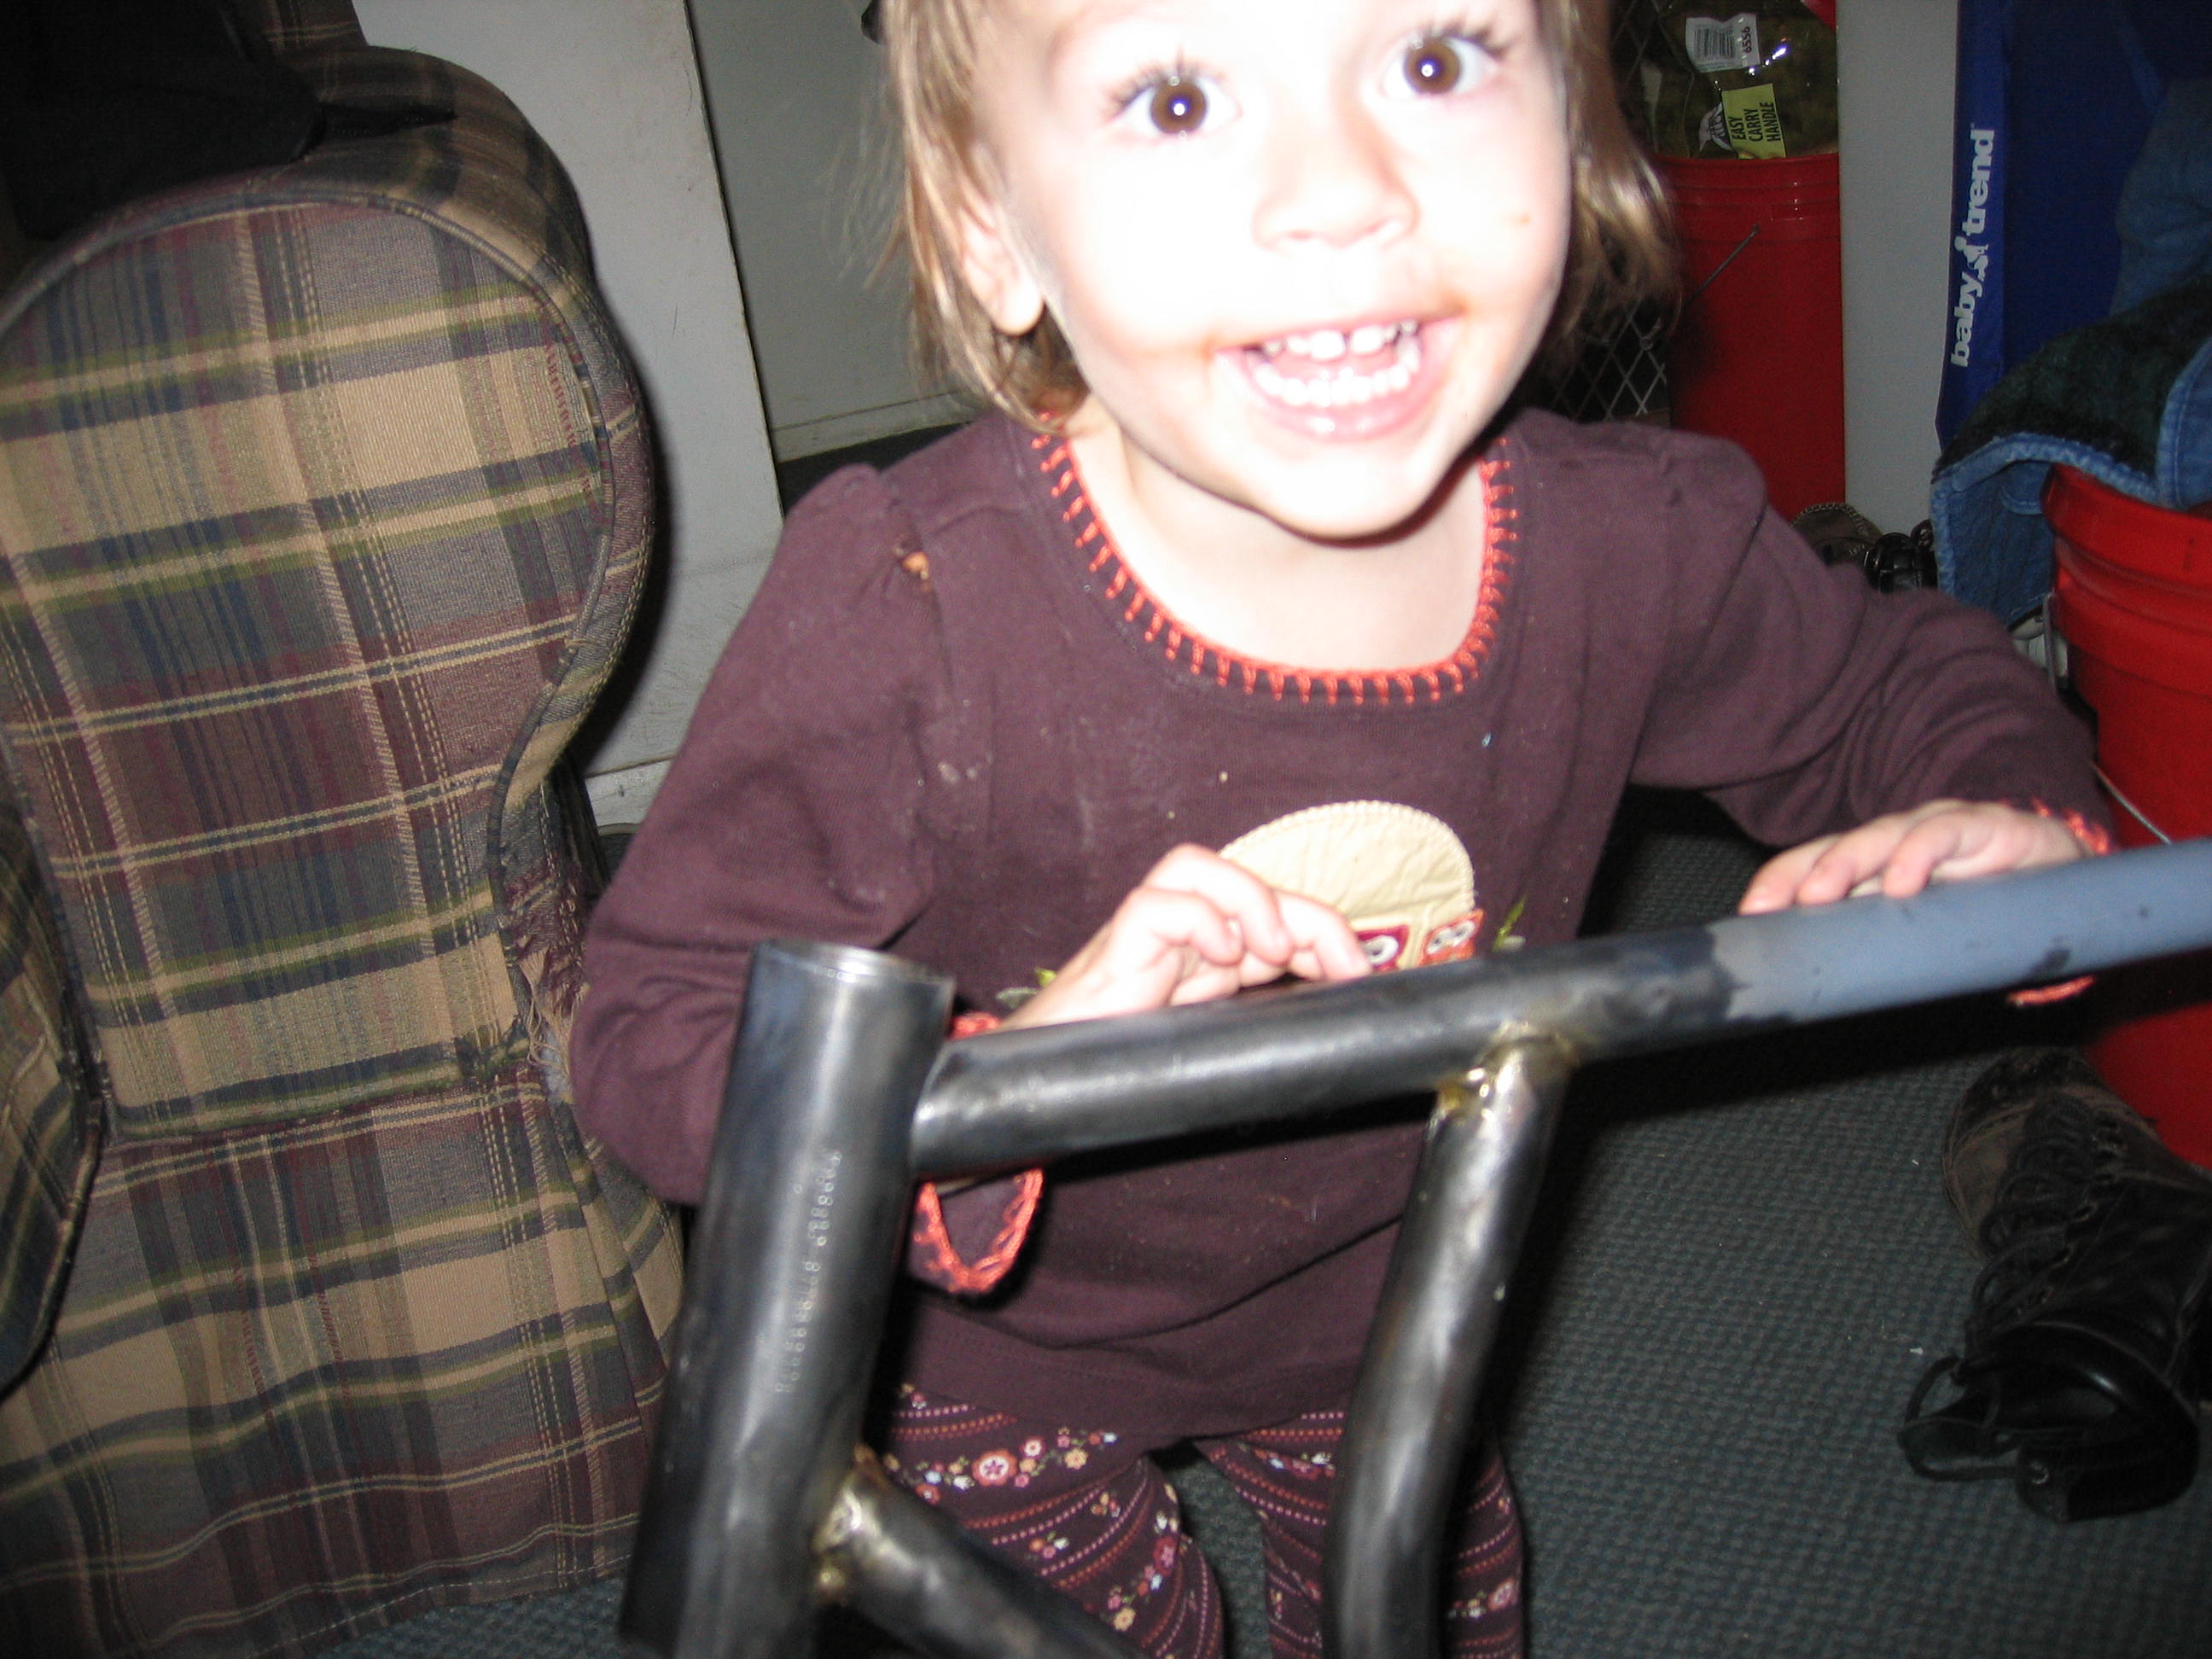
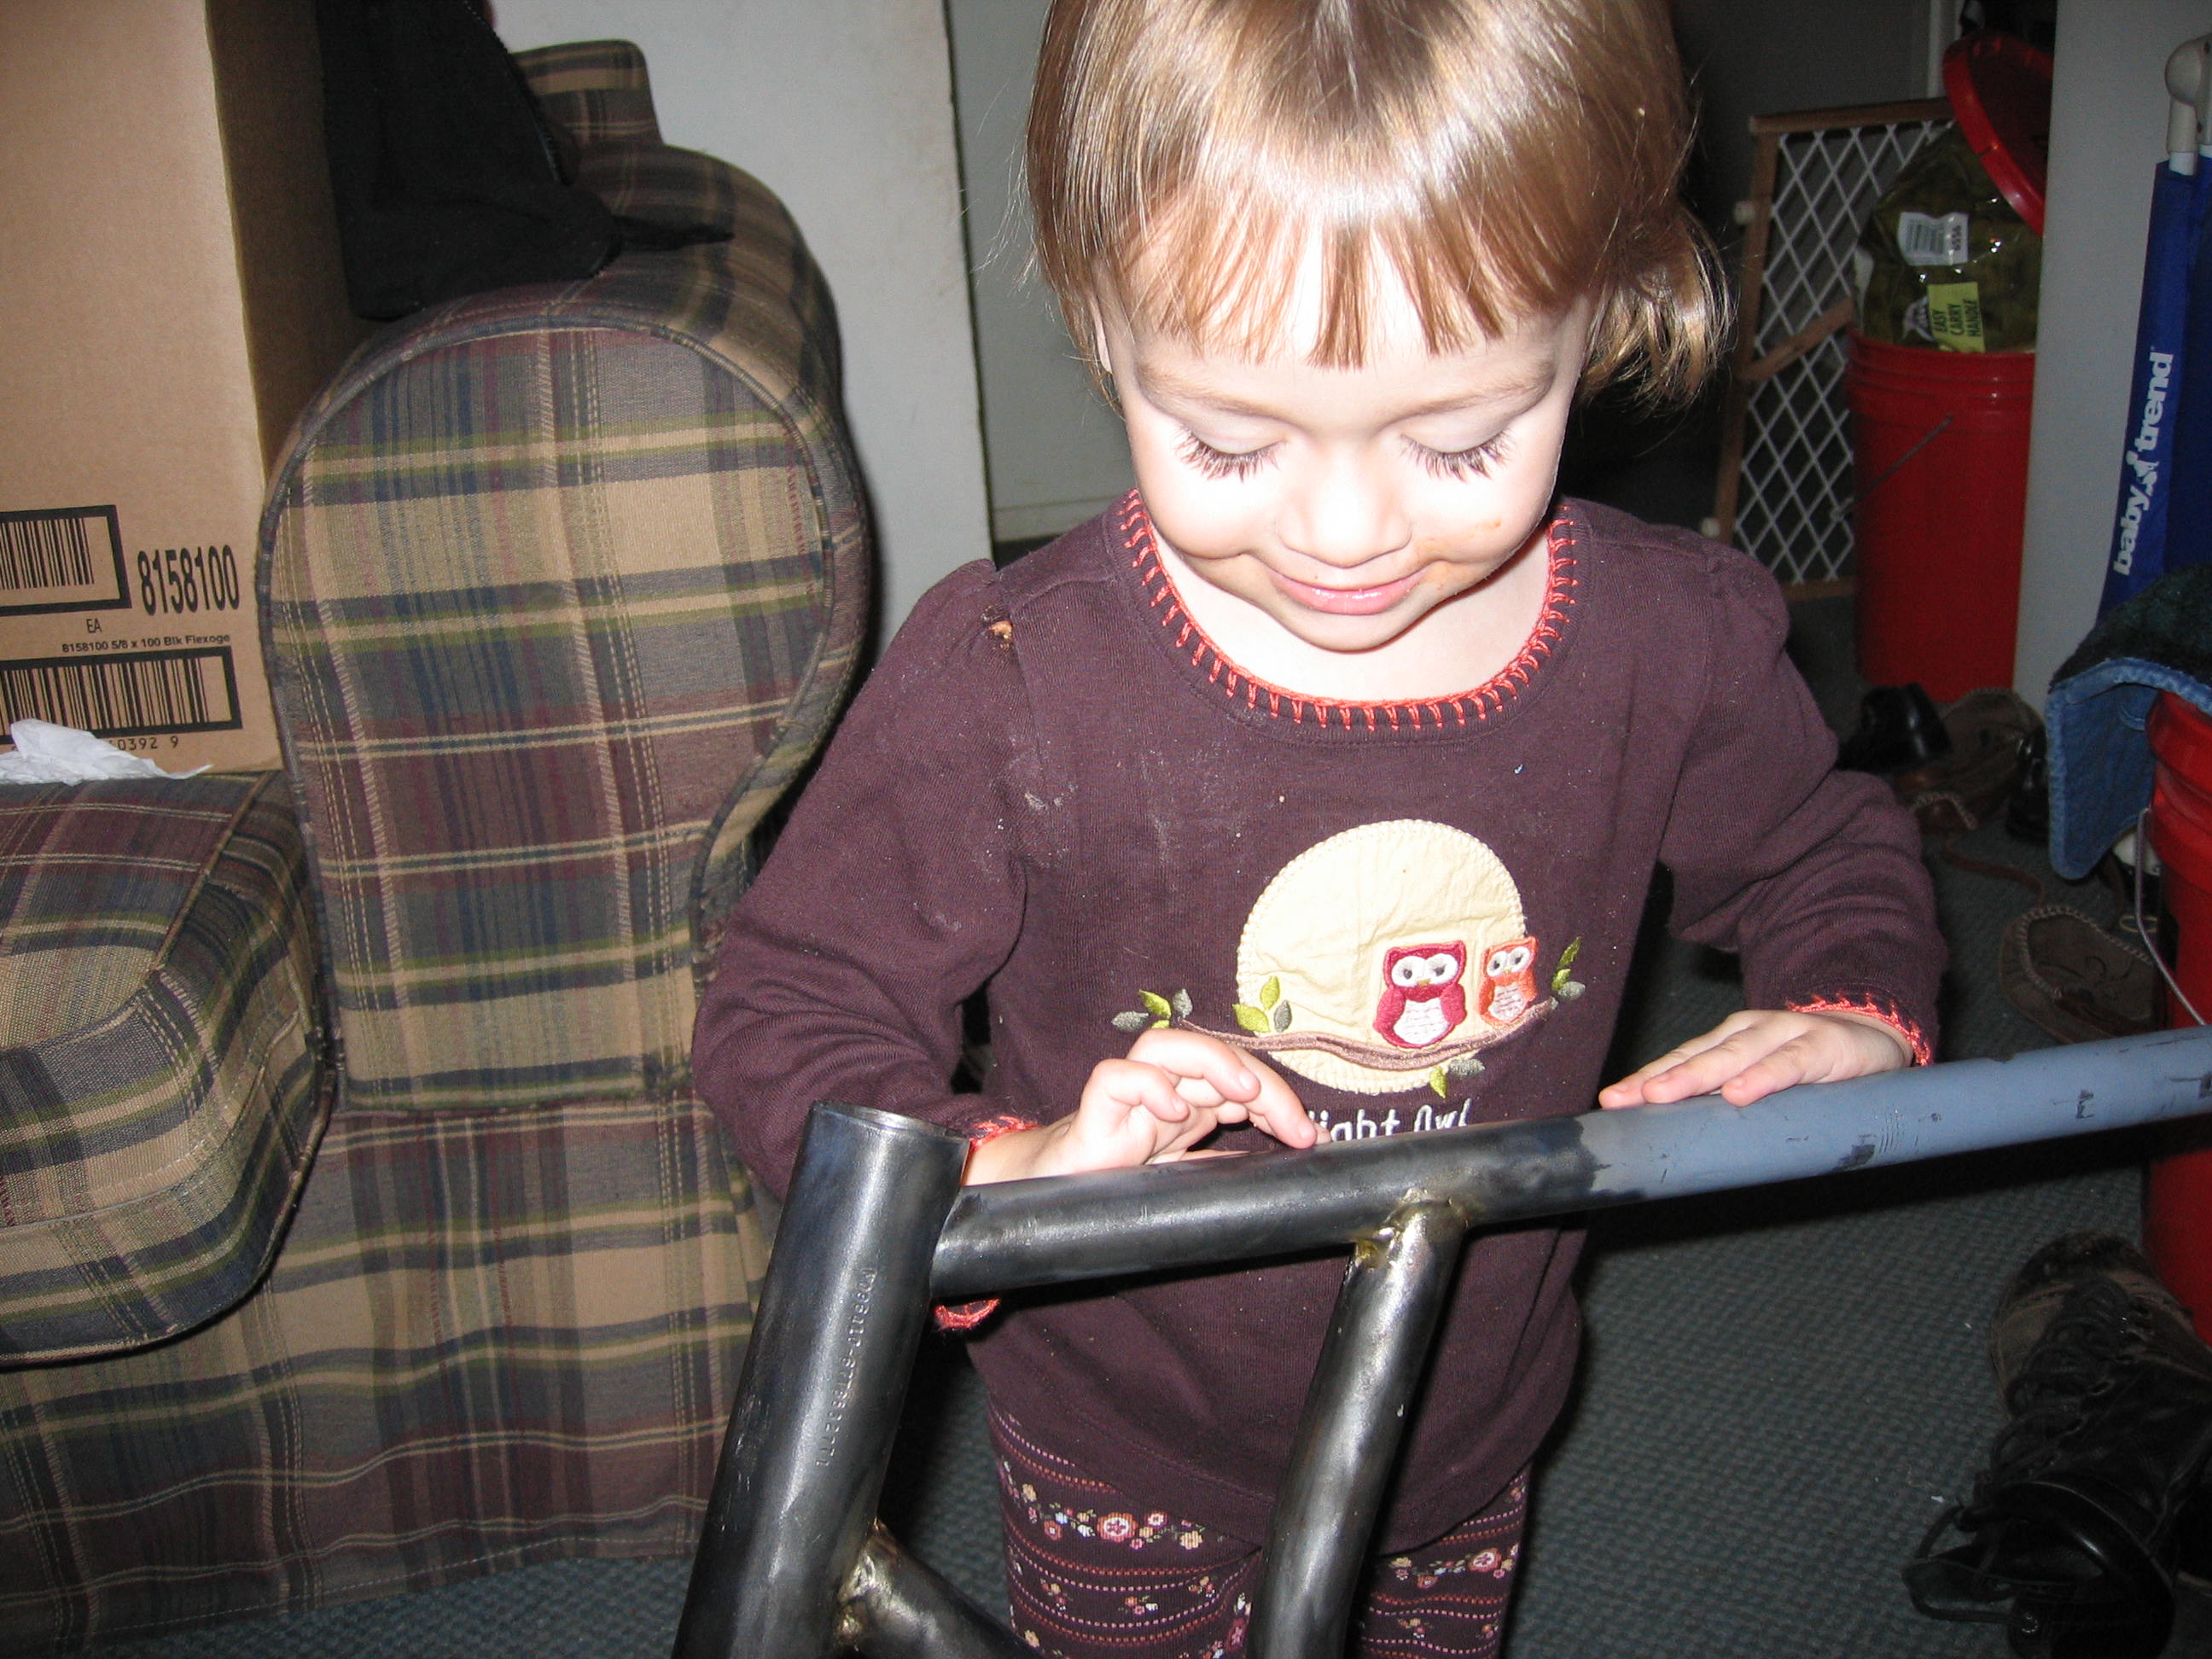
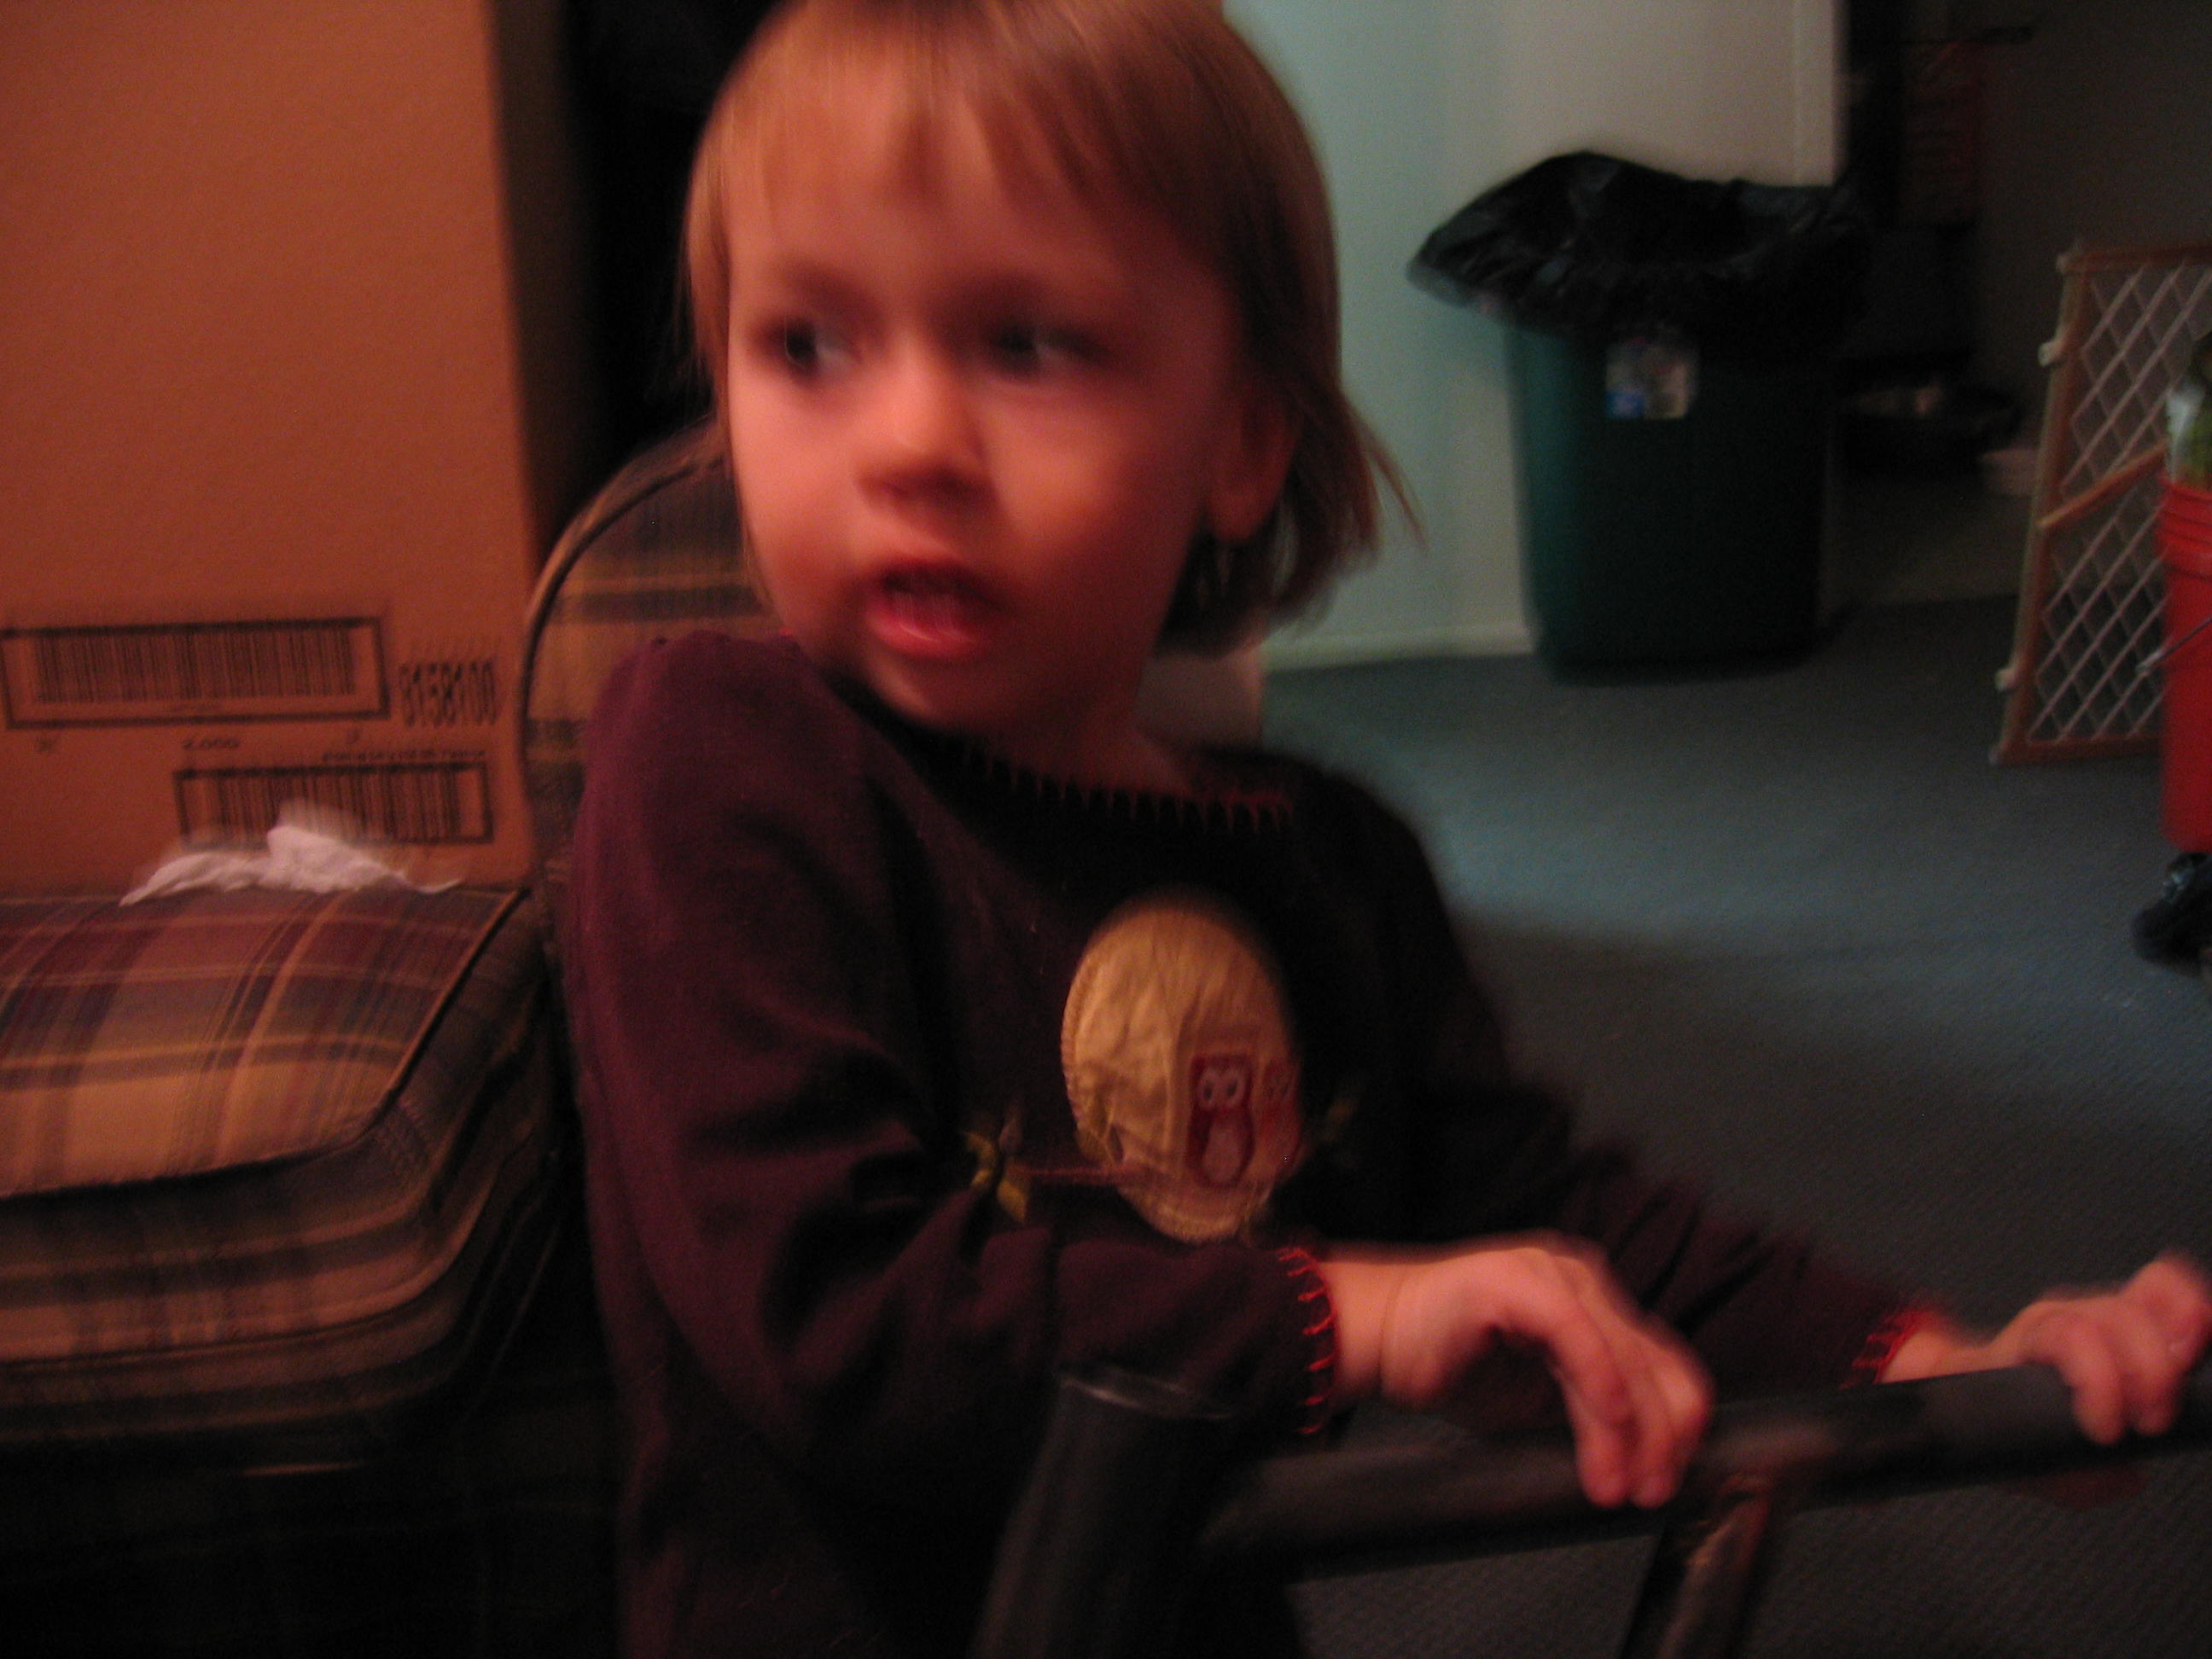
Helper.
Moo-cycle!
QC Inspector #1 approves.
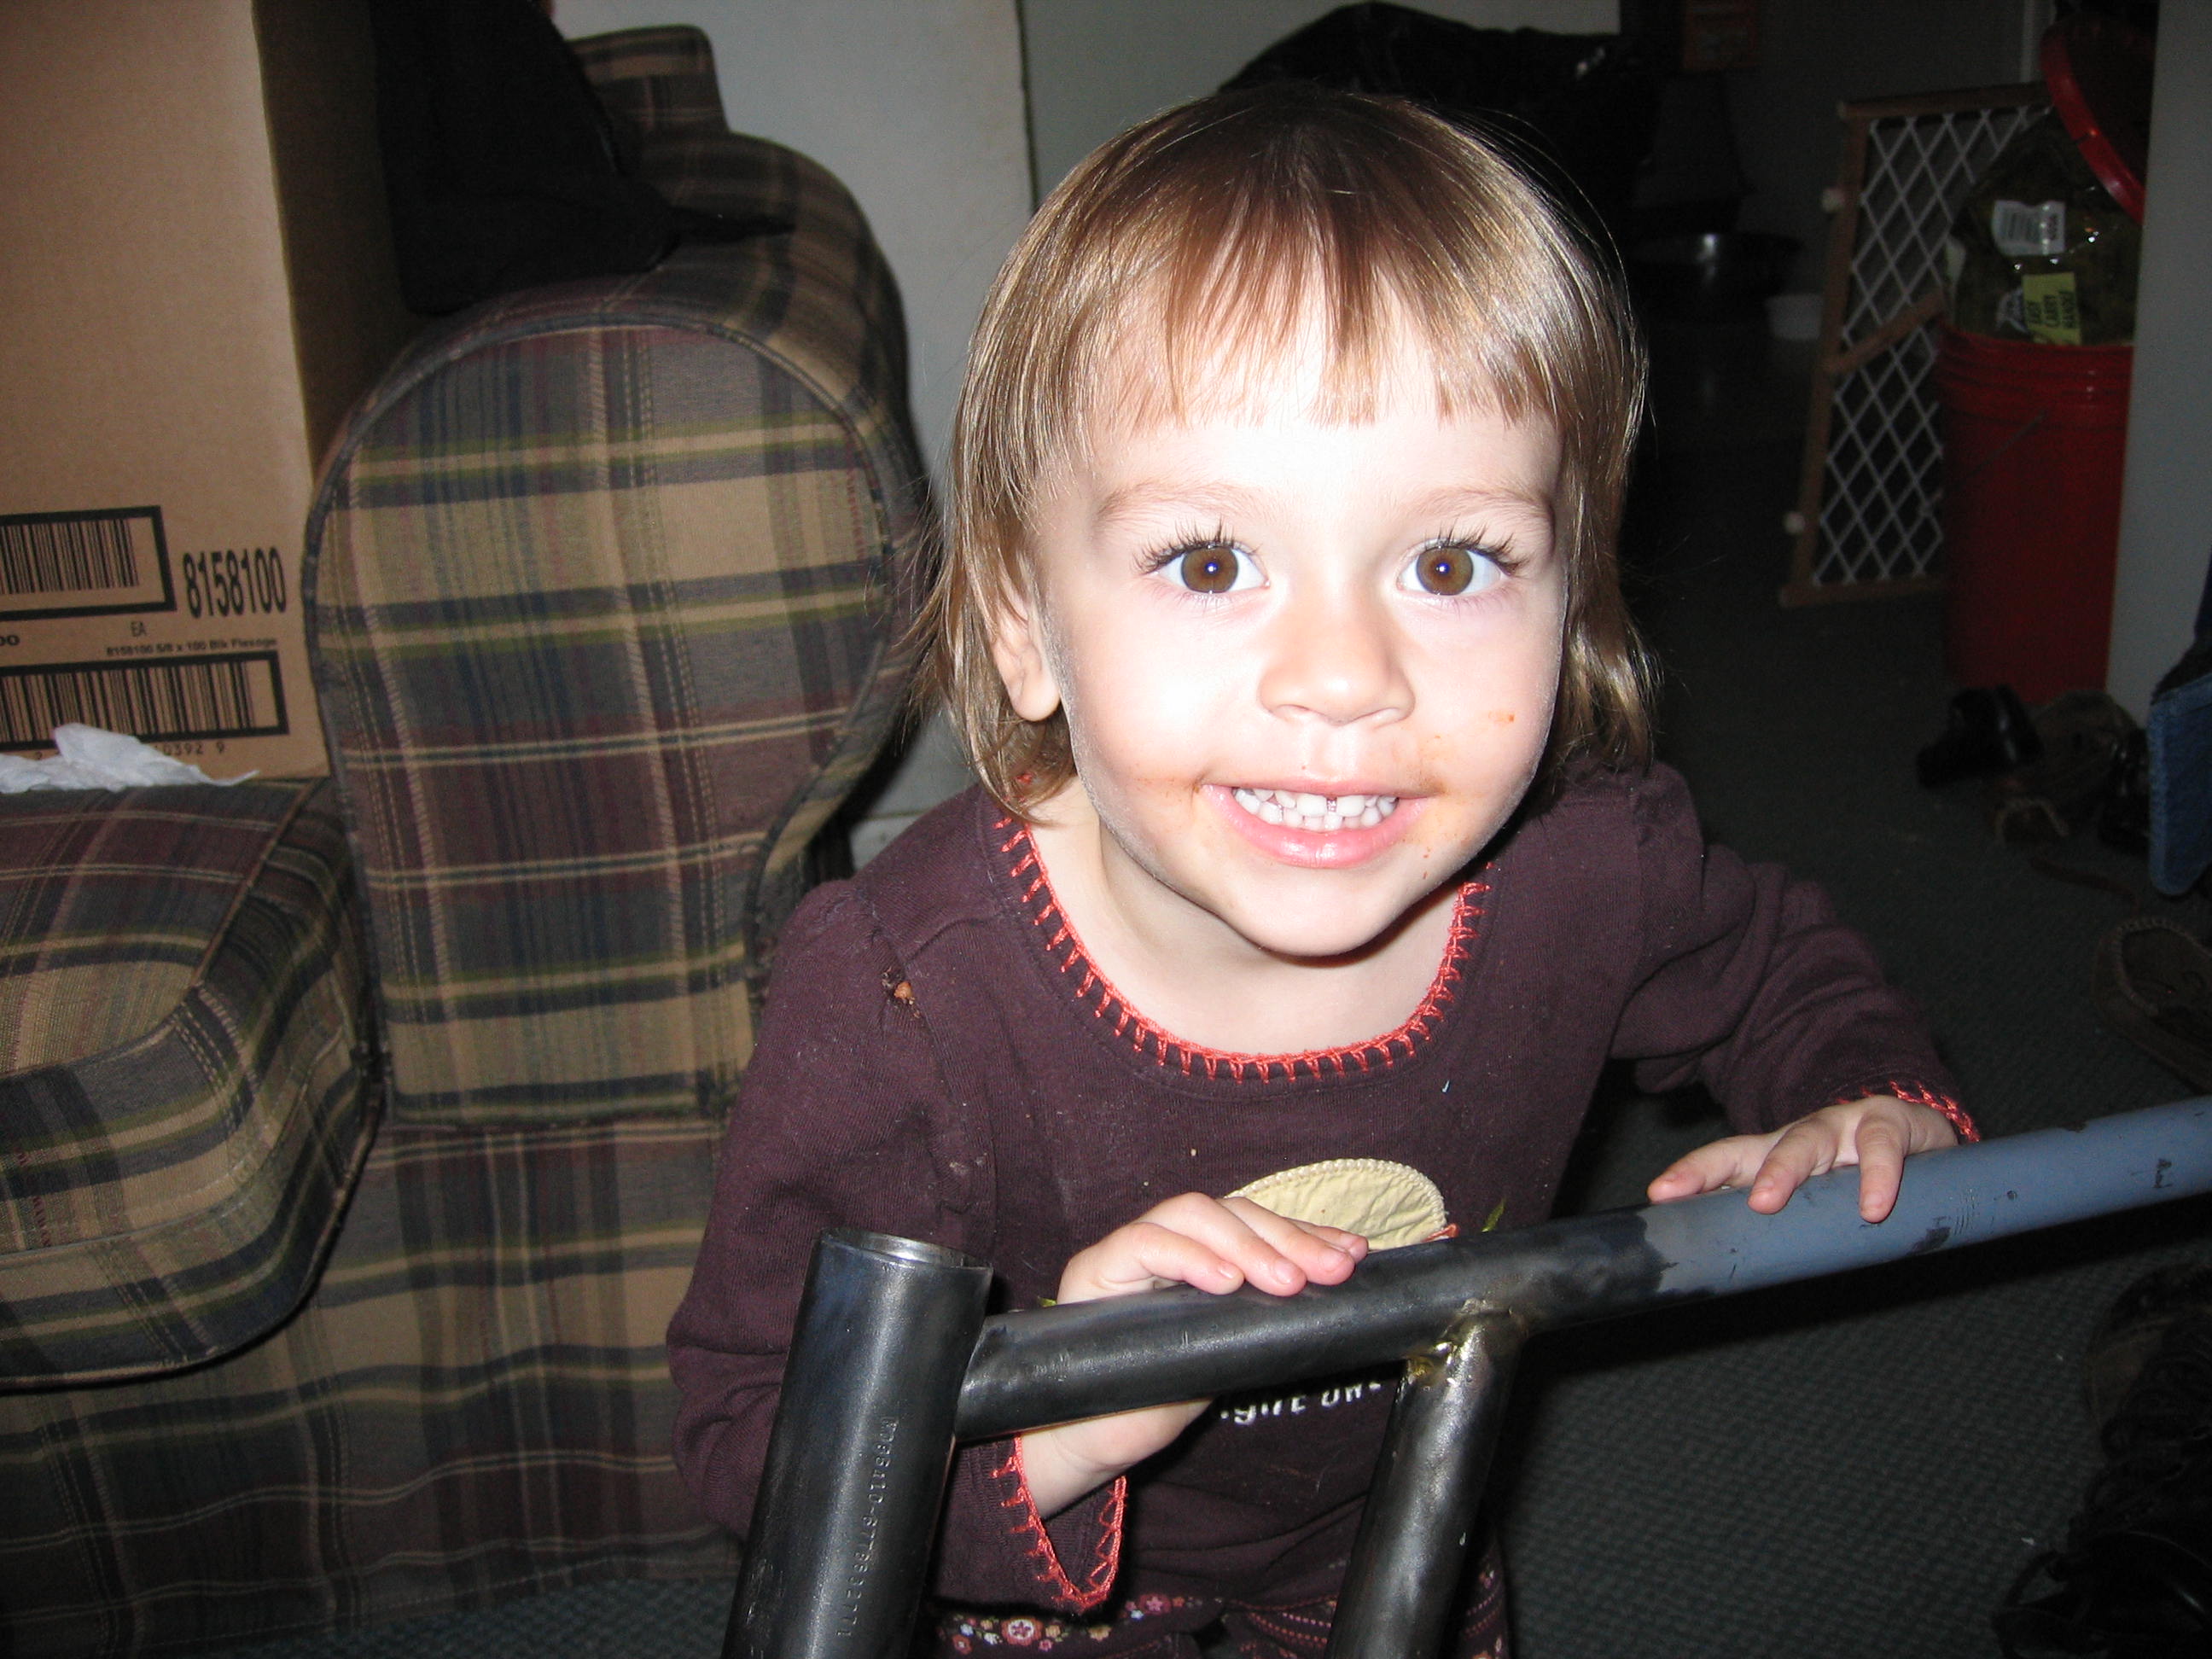
All right, now I'm just trying to get her smile.
Stupid flash.
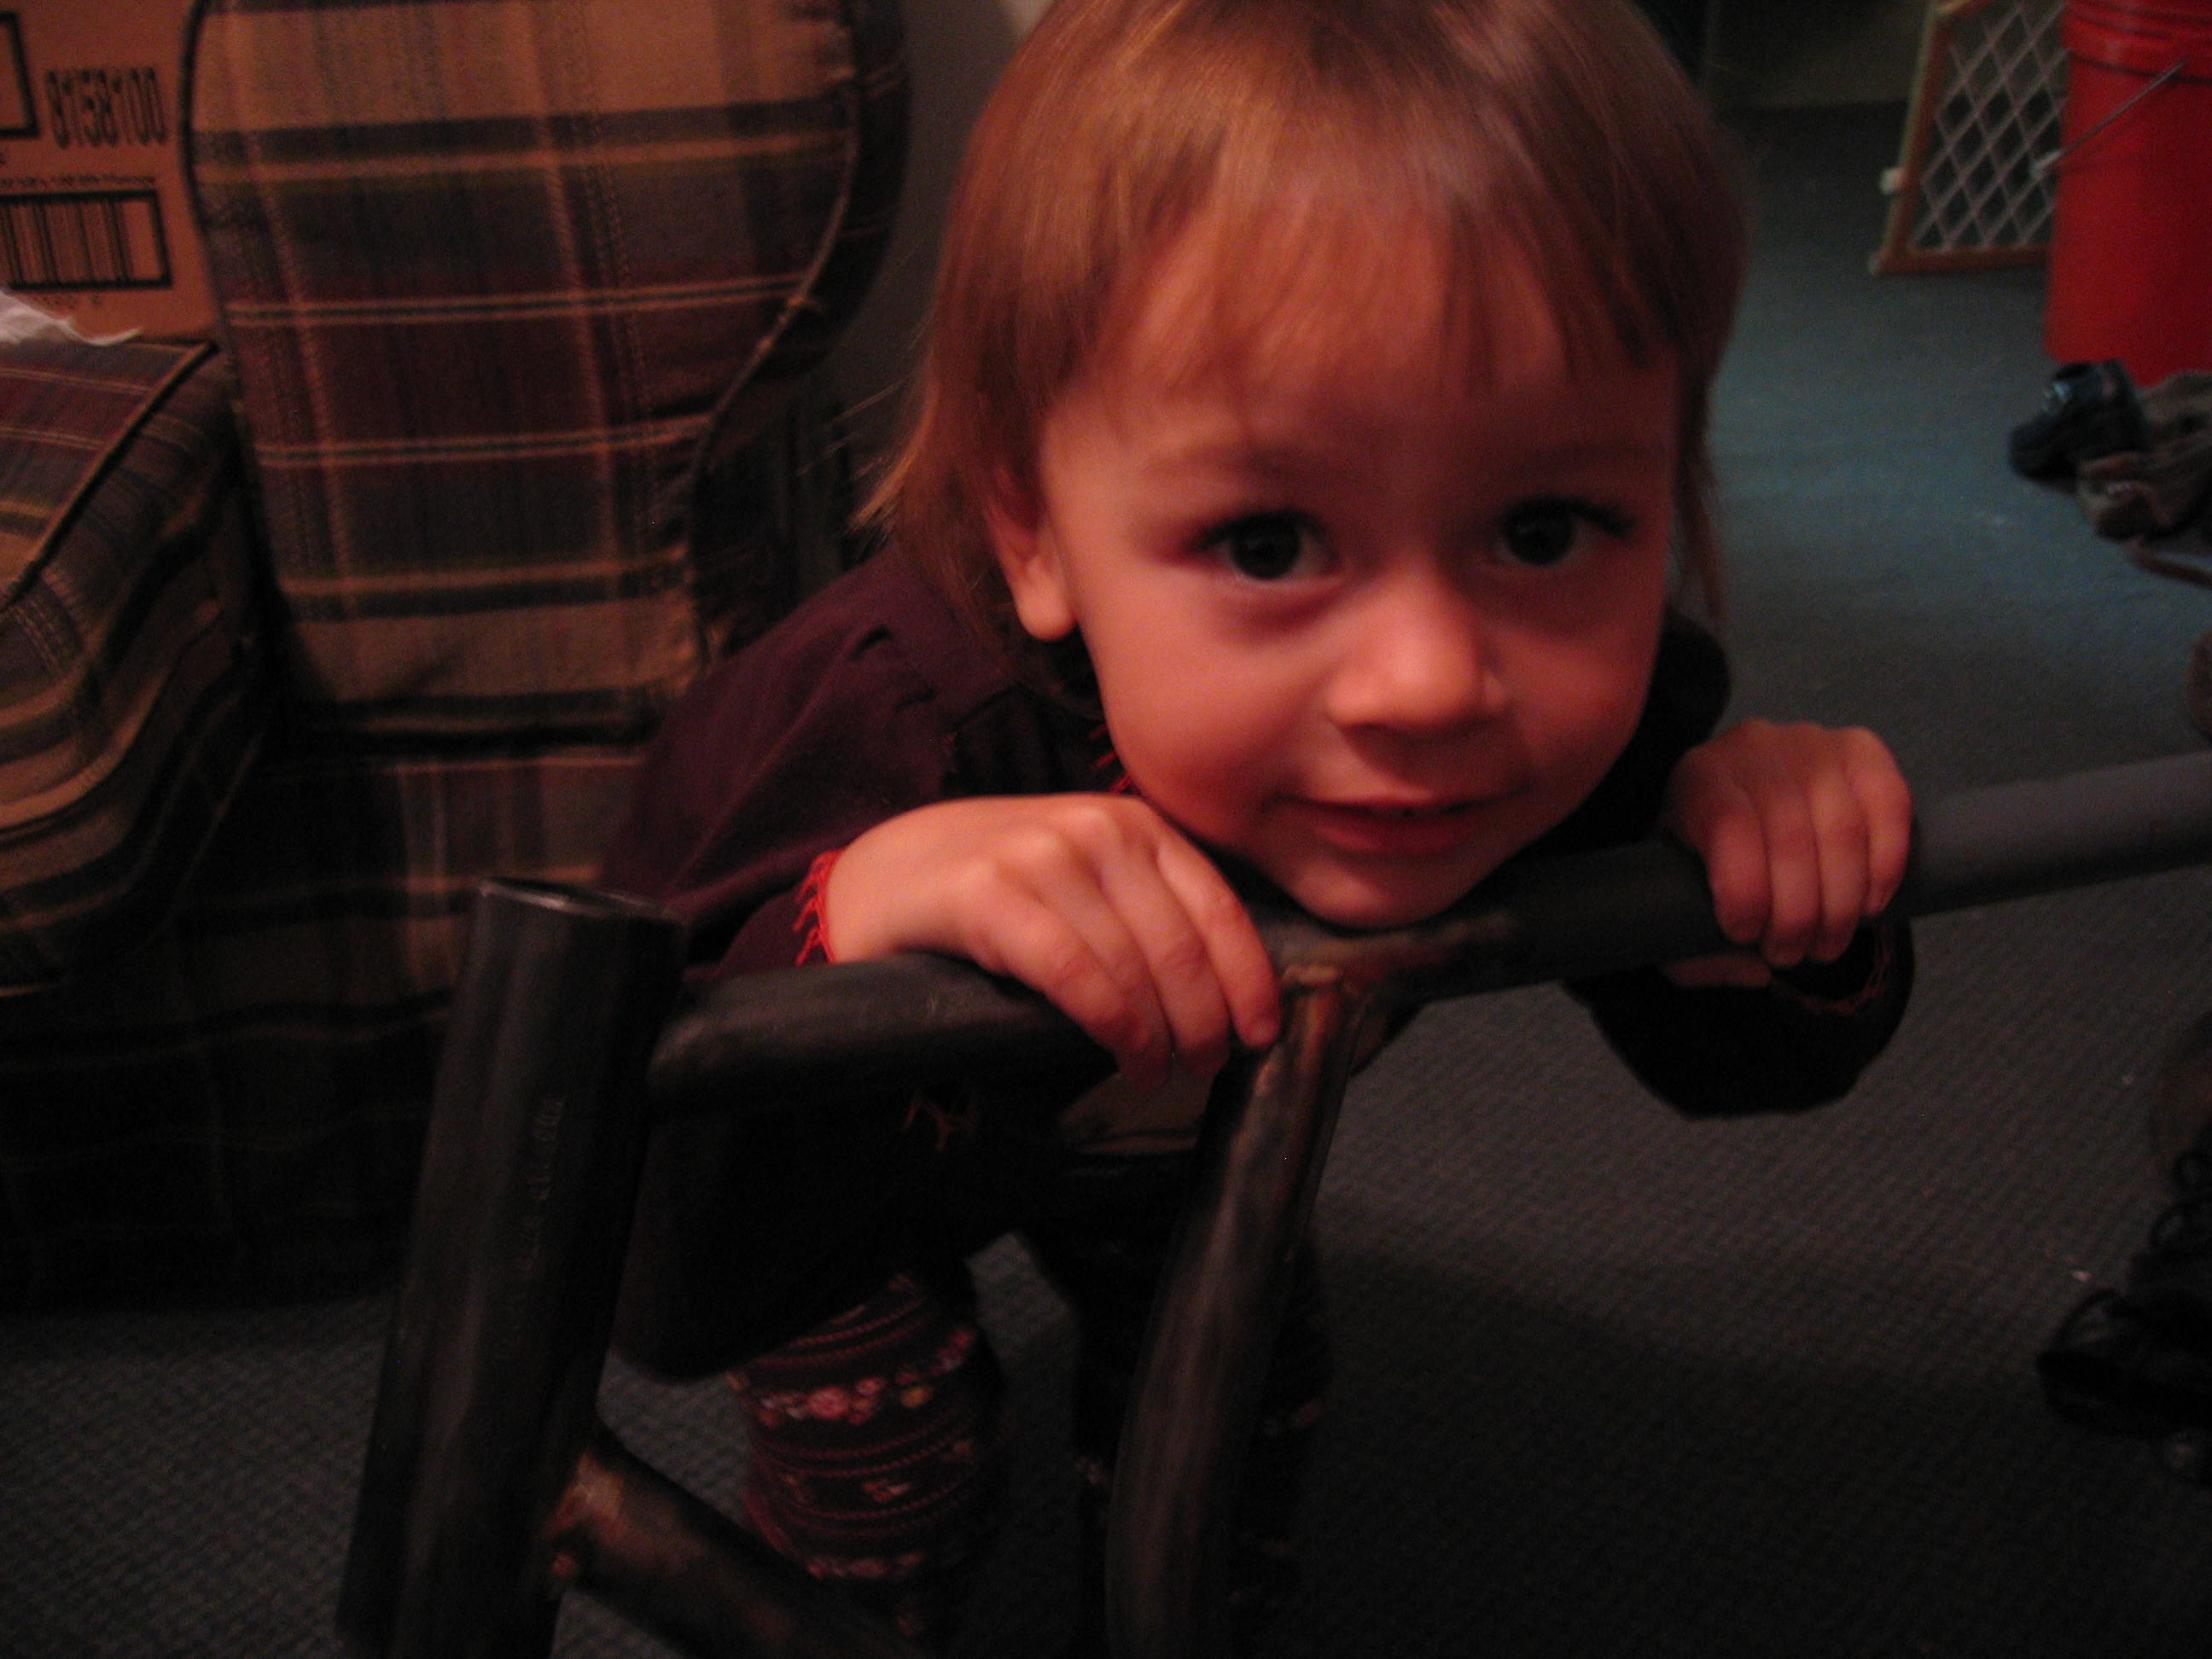
"Be sweet!"
So I've done a whole lot of riding and even managed to get a flat tire 5 miles away from home. This prompted me to add a tire pump a spare tube and patches to my already large toolkit.
I finished the fabrication of the rear cargo rack, seen holding up the crate in the pictures below. Useful for a small amount of groceries, though I did manage to combine a trip to the grocery store with a hardware store run and had 6 five gallon buckets strapped to the bike behind the crate.
I'm halfway through fabricating a mono-wheel trailer and needed some hardware bits as well as some 1x3 boards for the trailer deck so I came up with the "lumber rack" seen below. I tested it in the back yard with two 2x4x8s and it didn't impact balance to any degree I could detect. The possibility of the vise grips slipping off while riding worried me but they were solid the whole ride. I need to come up with something a little less sketchy though, and incorporate it into the future front rack, since I'm thinking that a frame mounted front rack is probably the way to go for the kinds of loads I end up carrying.
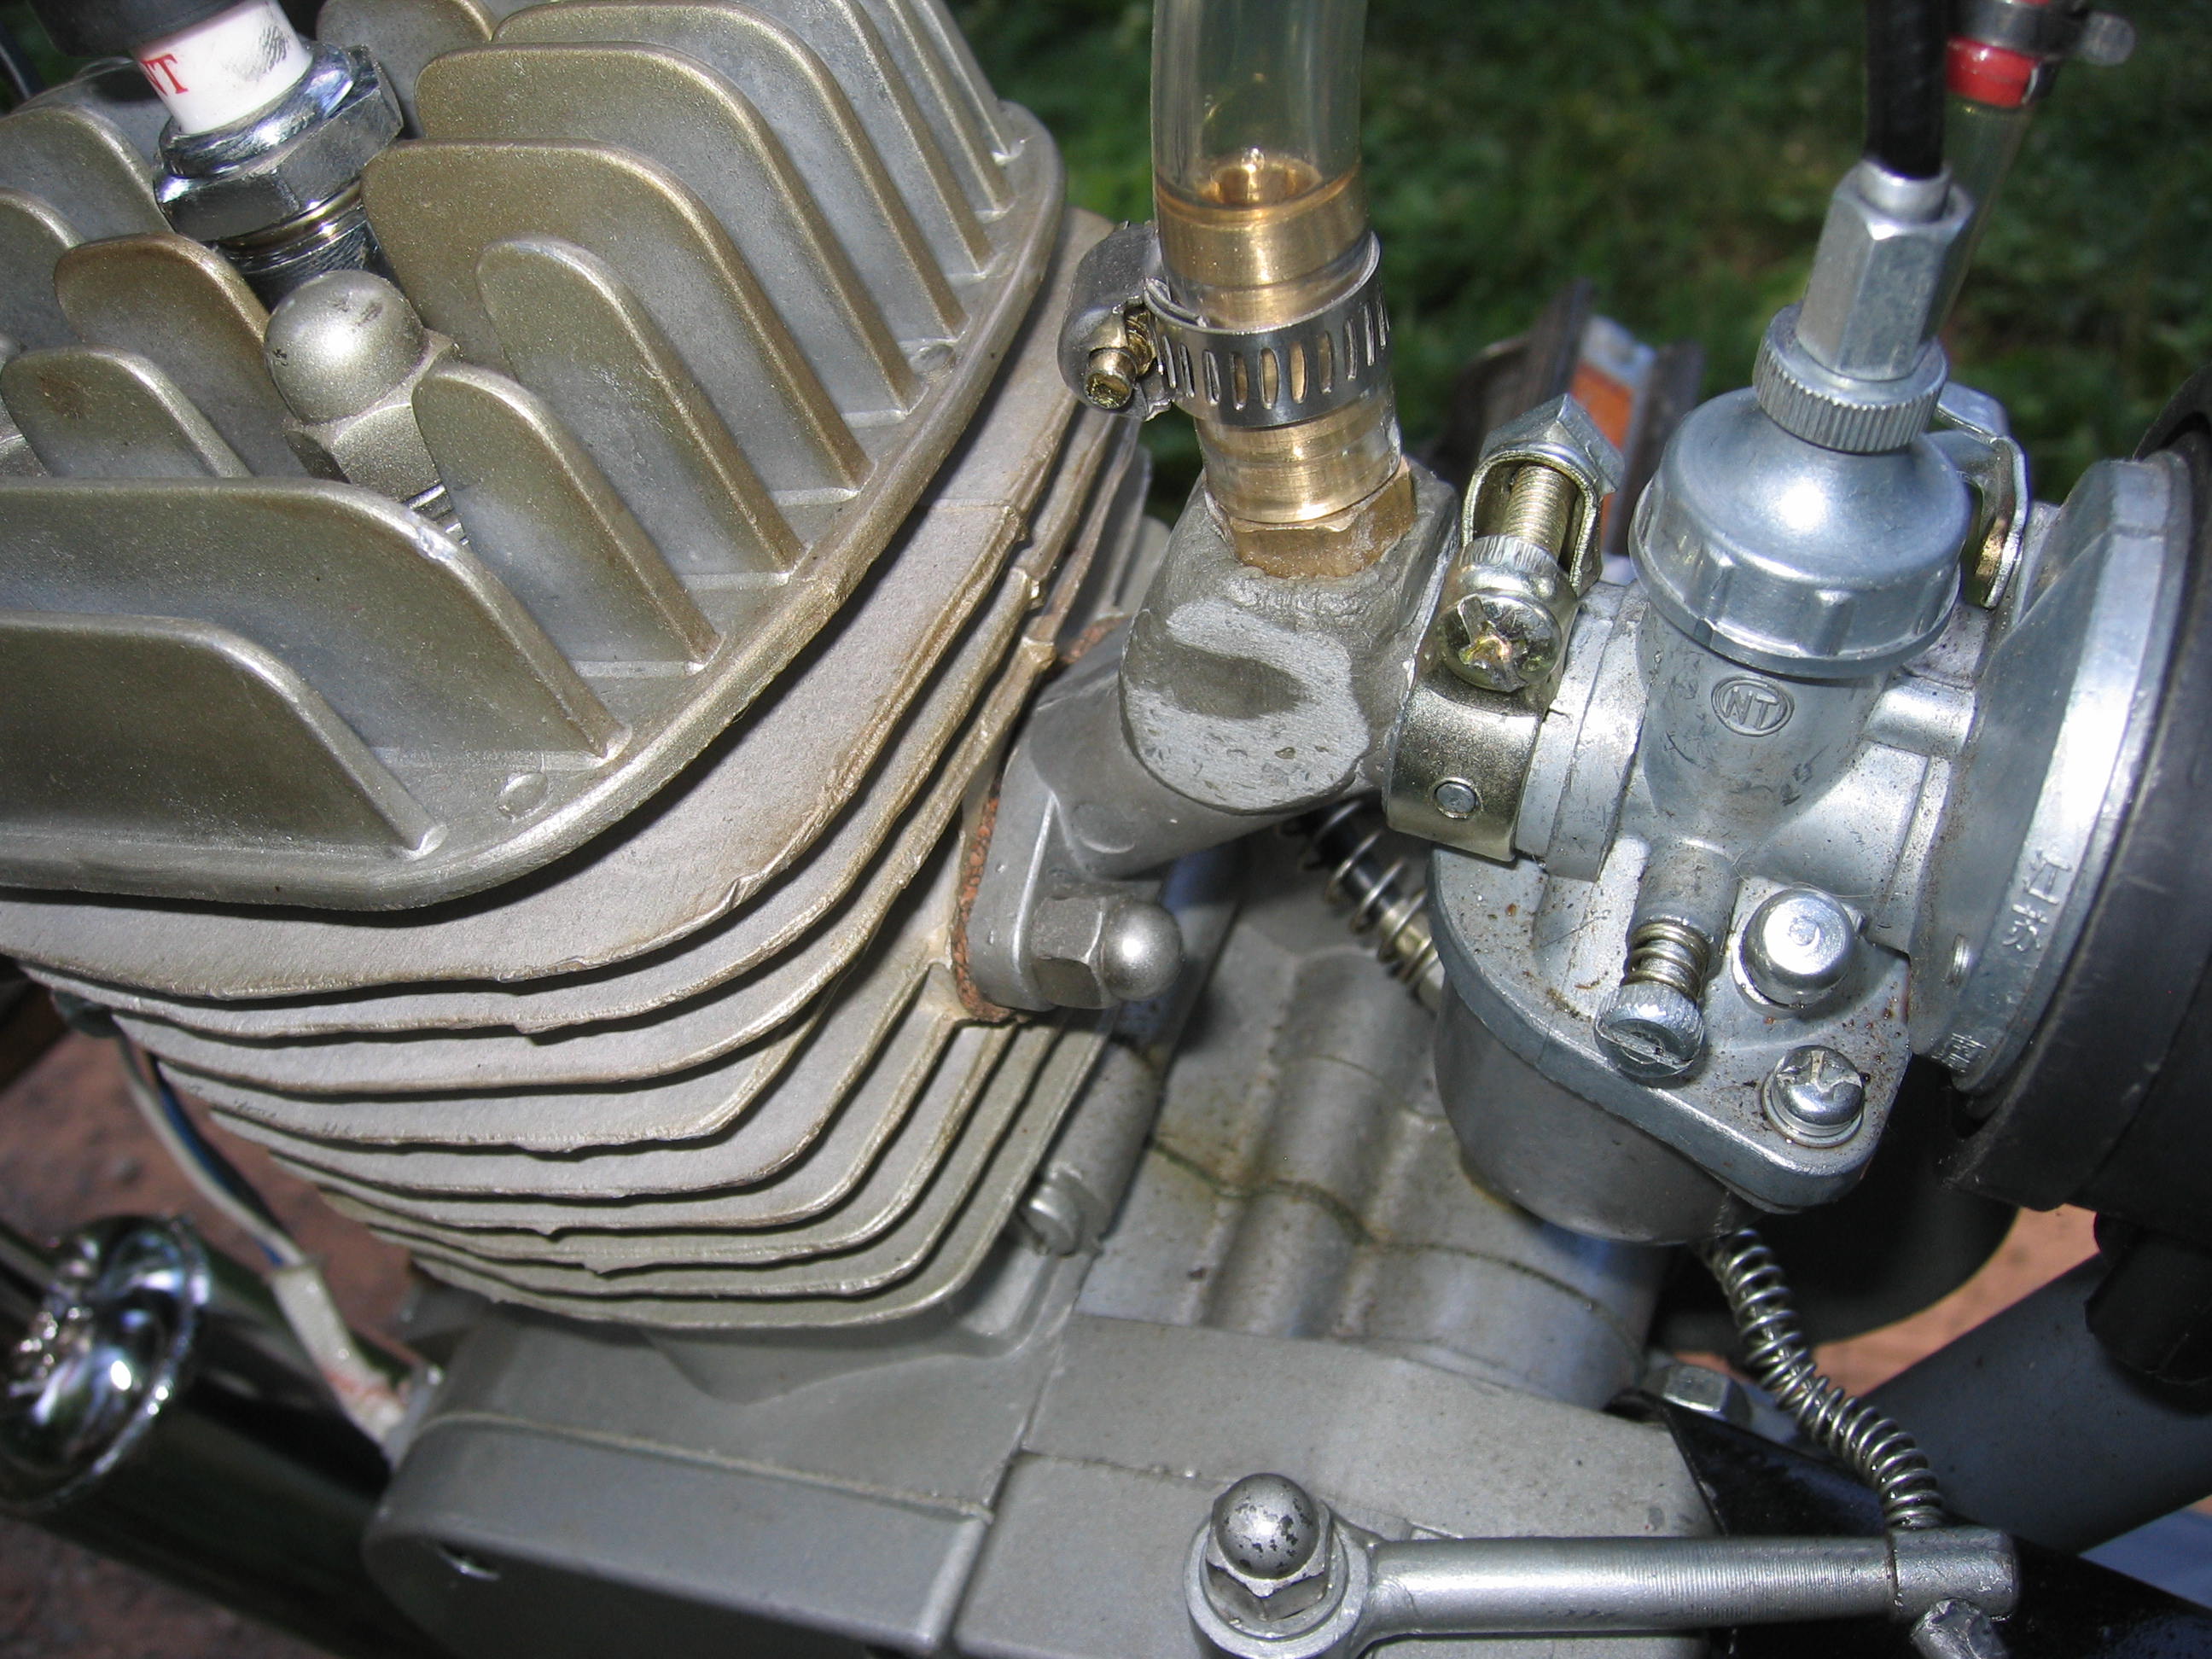
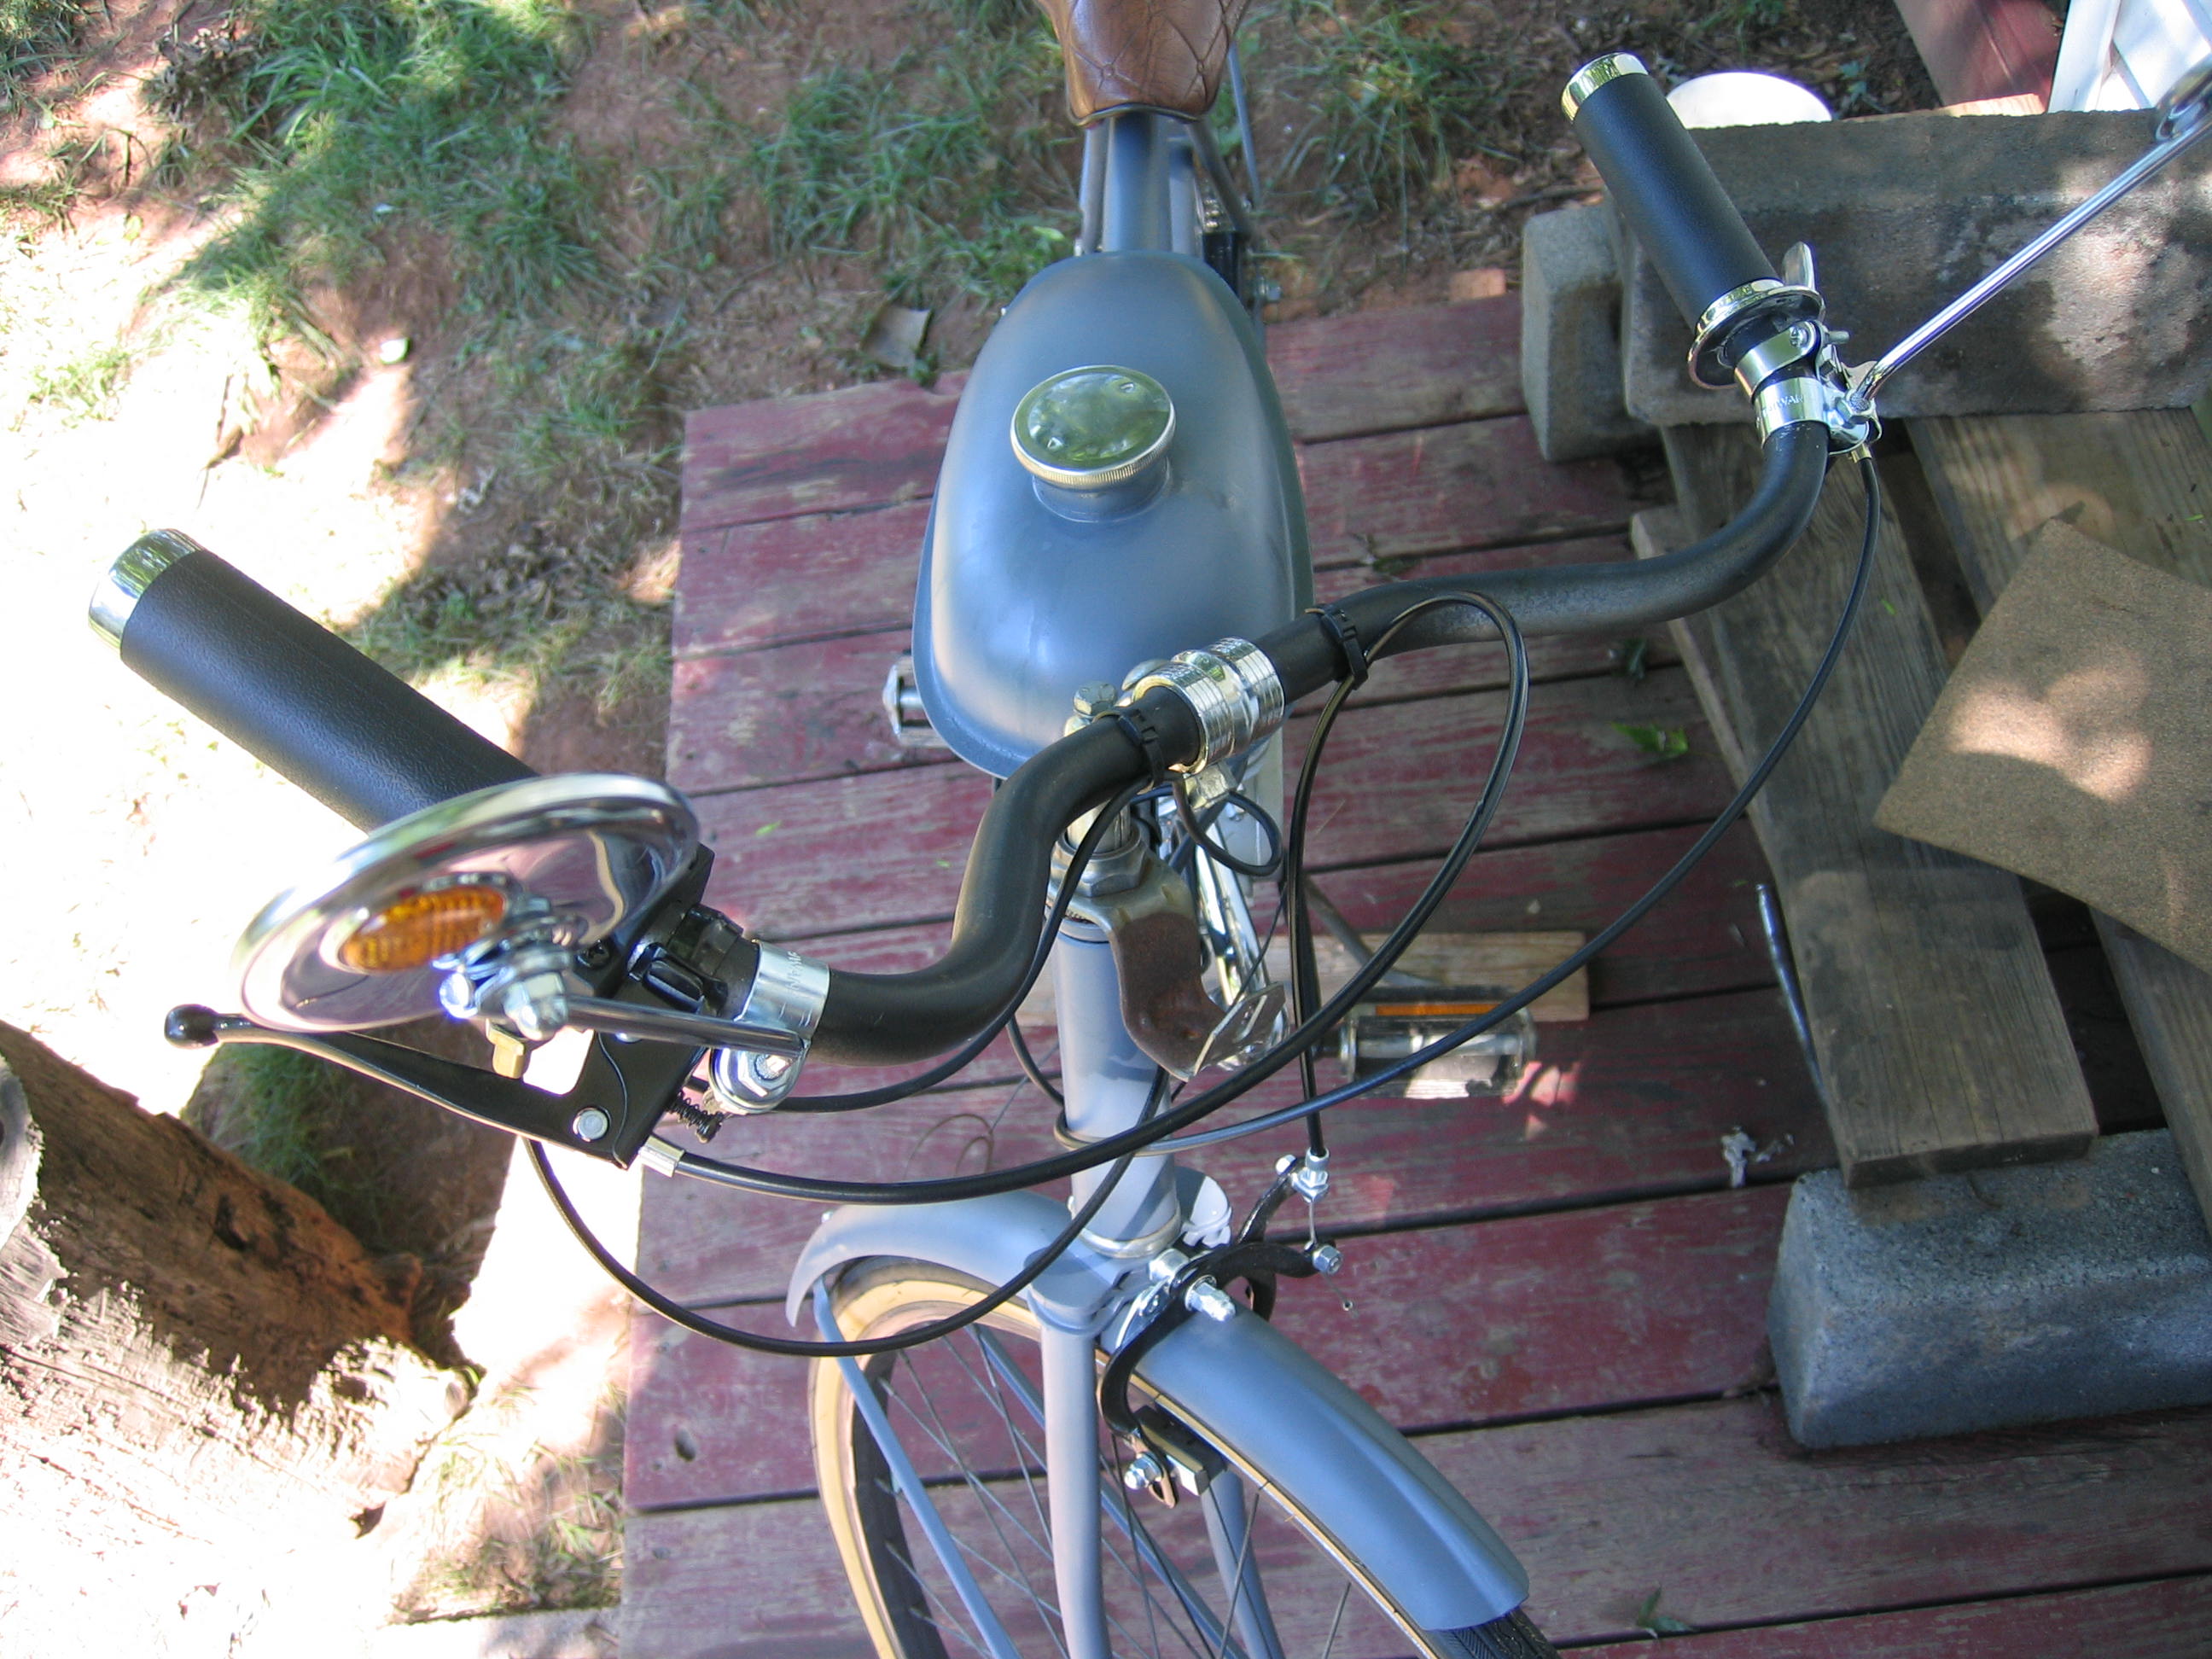
I cobbled a choke control together which seems to prevent the lever from working its way closed during riding. It makes startup a whole lot easier as well!
As usual the bike attracts lots of attention and I end up spending 5-10 minutes answering questions whenever I stop or come back out from a store. Today was the second time I had inquiries as to whether I'd build a bike for someone else. A few days ago I had someone at a stop light ask me if I'd sell it. Cost of labor and liability make these two notions impossible, thankfully.
Jafrum finally got half helmets in stock so I ordered one and a jacket and gloves. Predictably the first day I rode with protective gear (and boots) I spilled. First time I've come off this bike too, though I've burned my leg pretty good on the exhaust a few times. Anyhow the lesson is that while a dirt trail looks navigable and flat the, road tires lack any sort of tread necessary to obtain traction. The only real casualty was most of the fuel in the tank when the fuel line got pulled out, but with frequent stops to elevate the front wheel and fill up the fuel filter and float I made it back home, finally running out at the beginning of Scott Drive.

Lumber rack
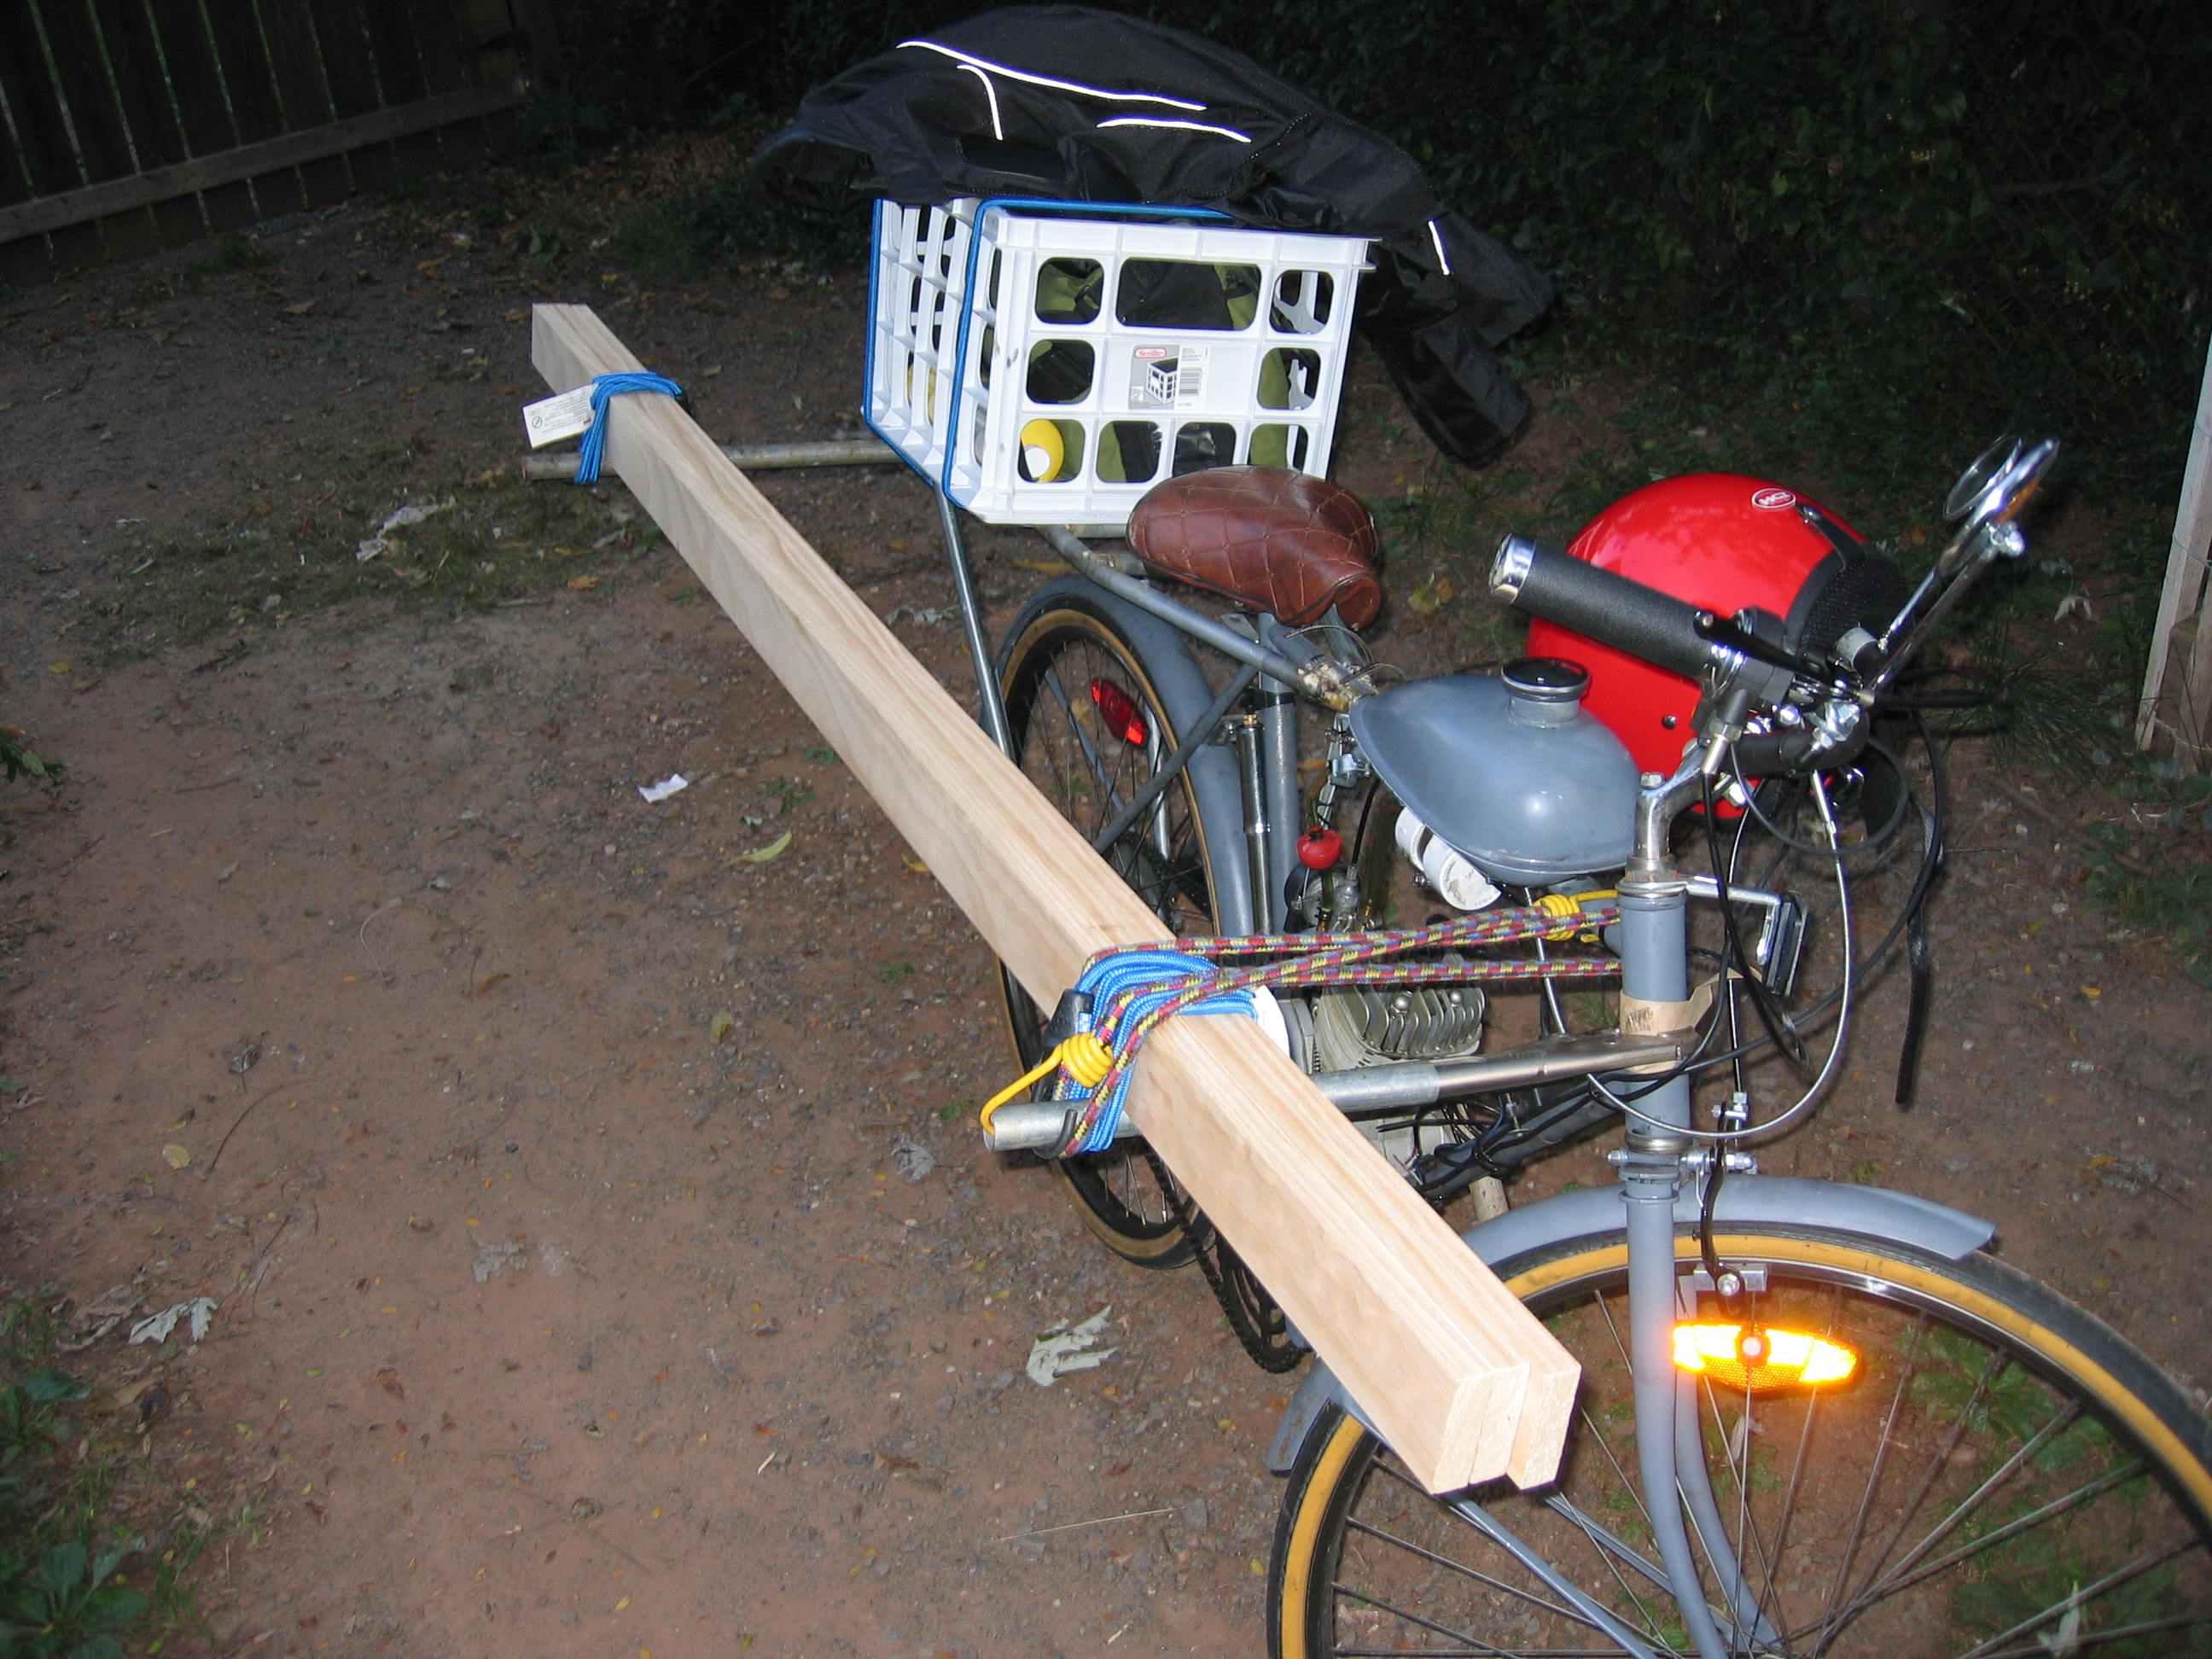
Lumber rack

Front mount detail

Rear mount detail

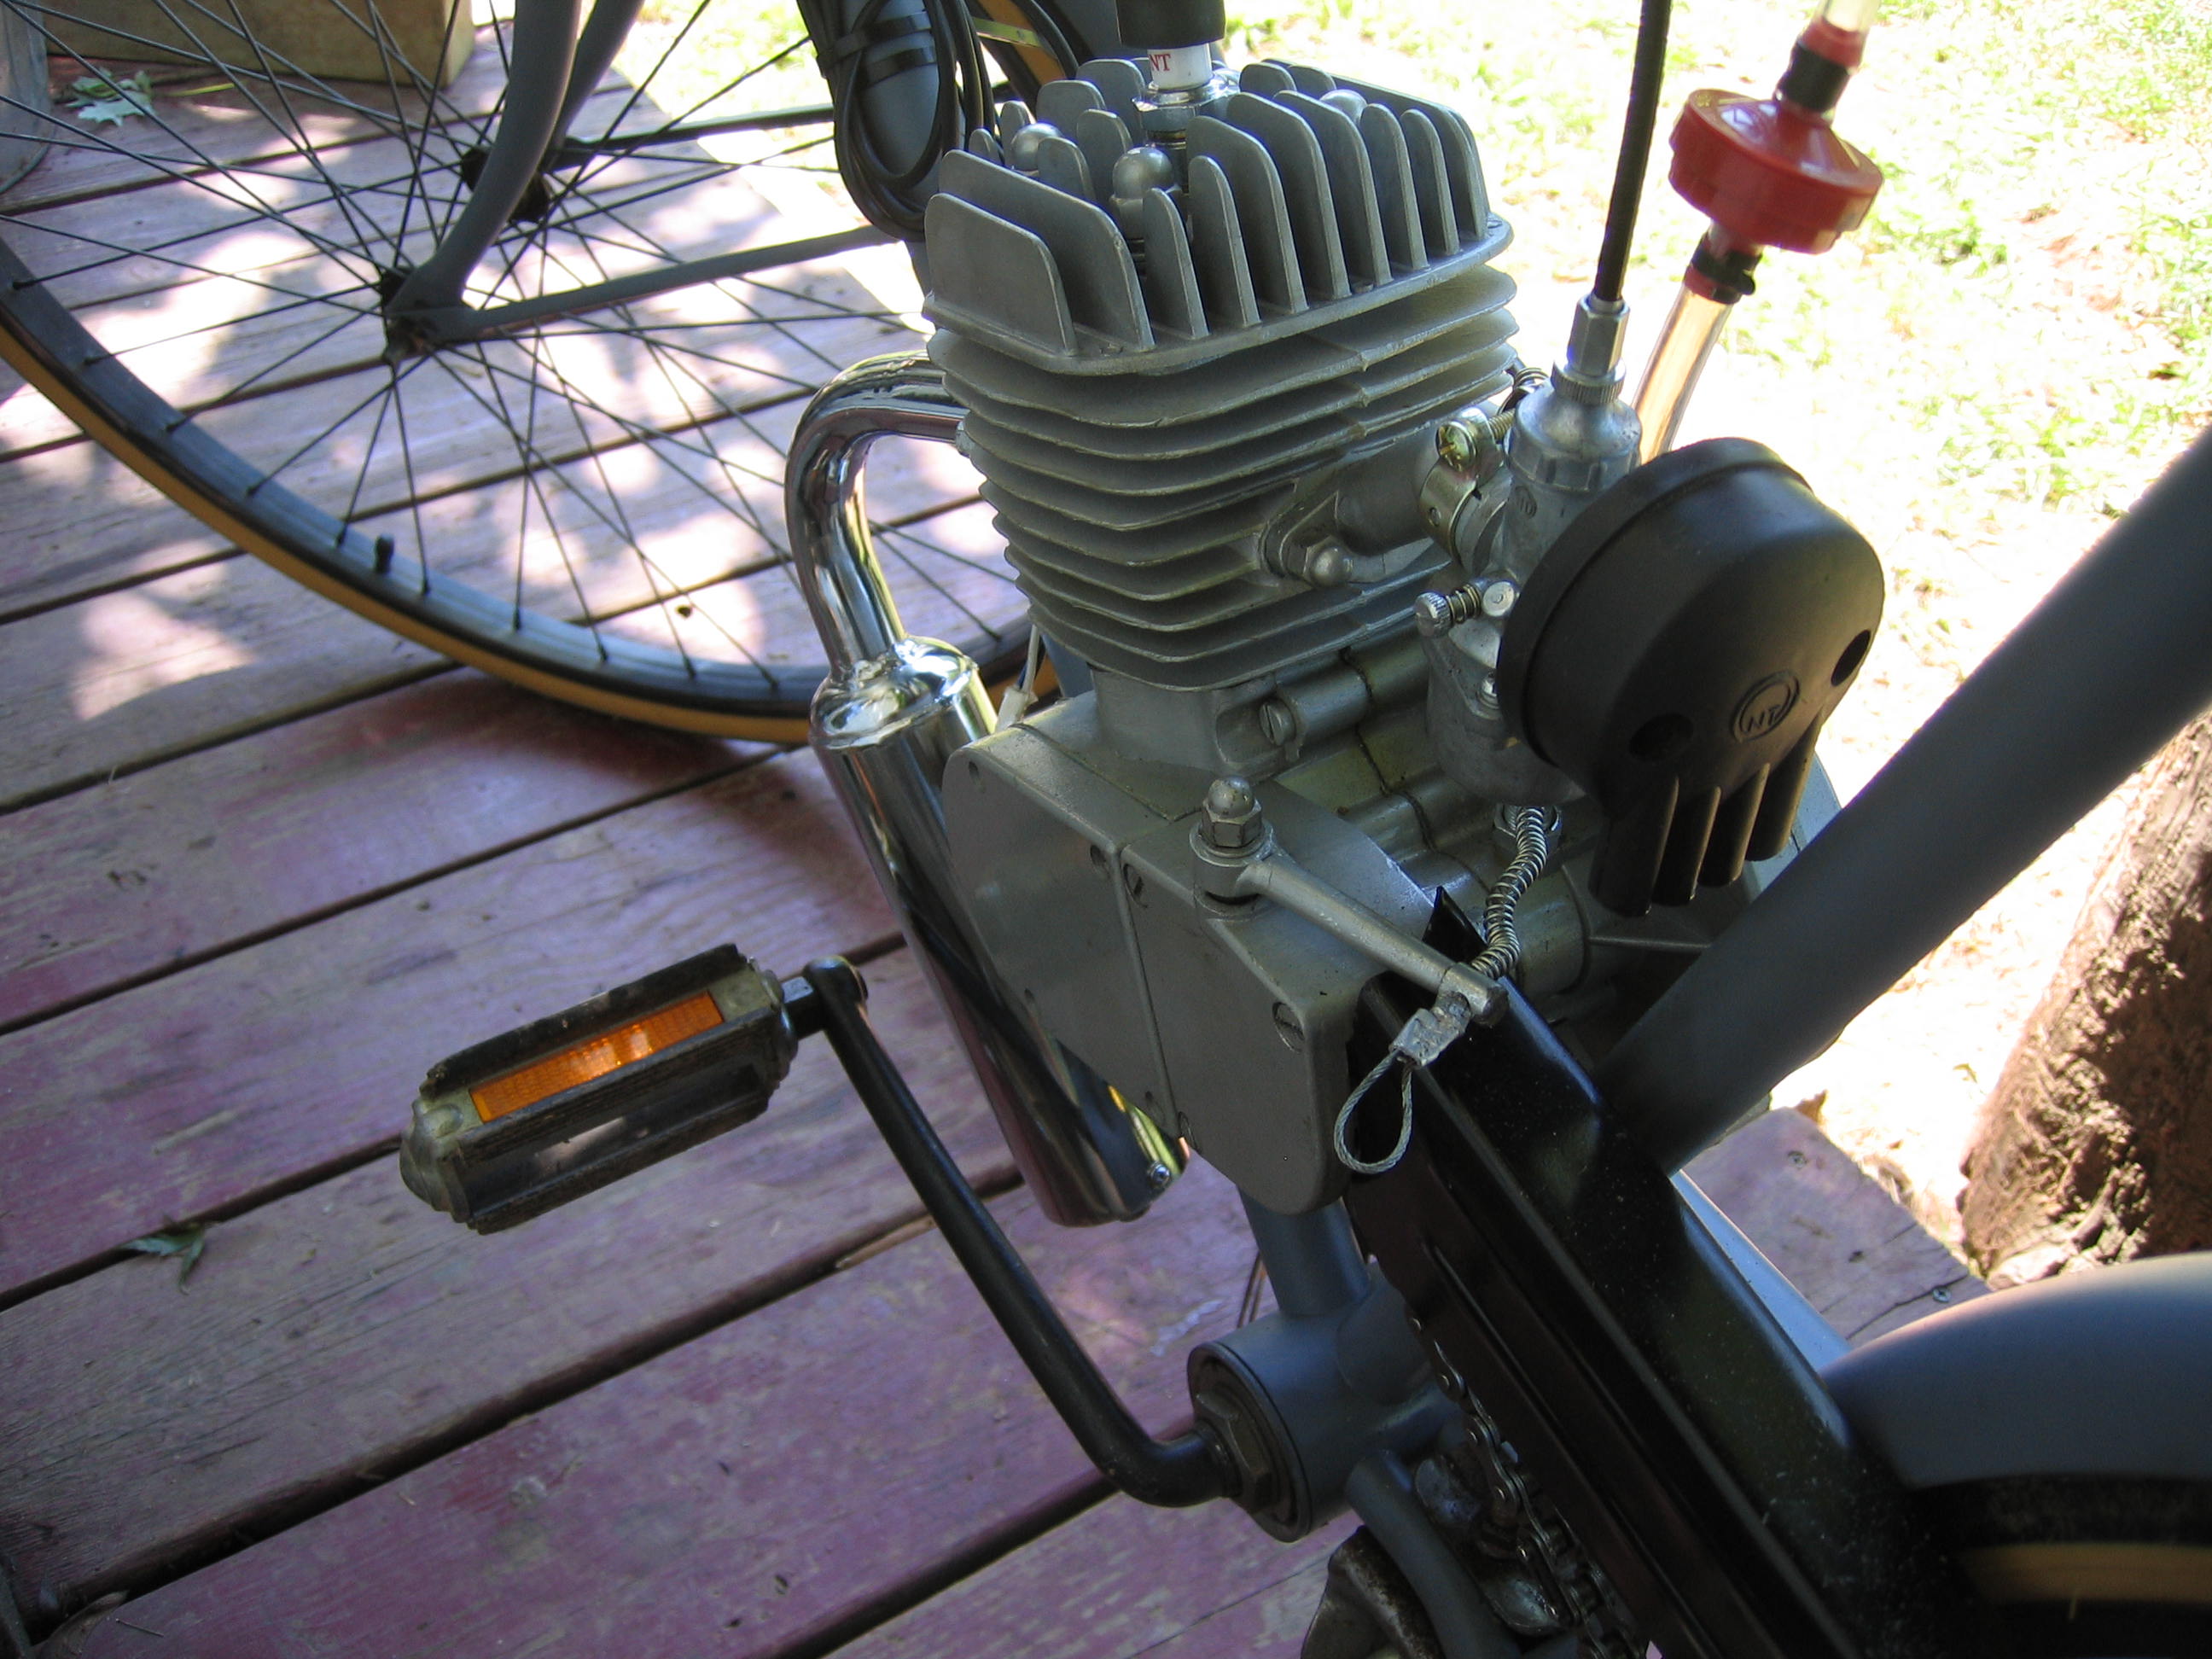
Muffler
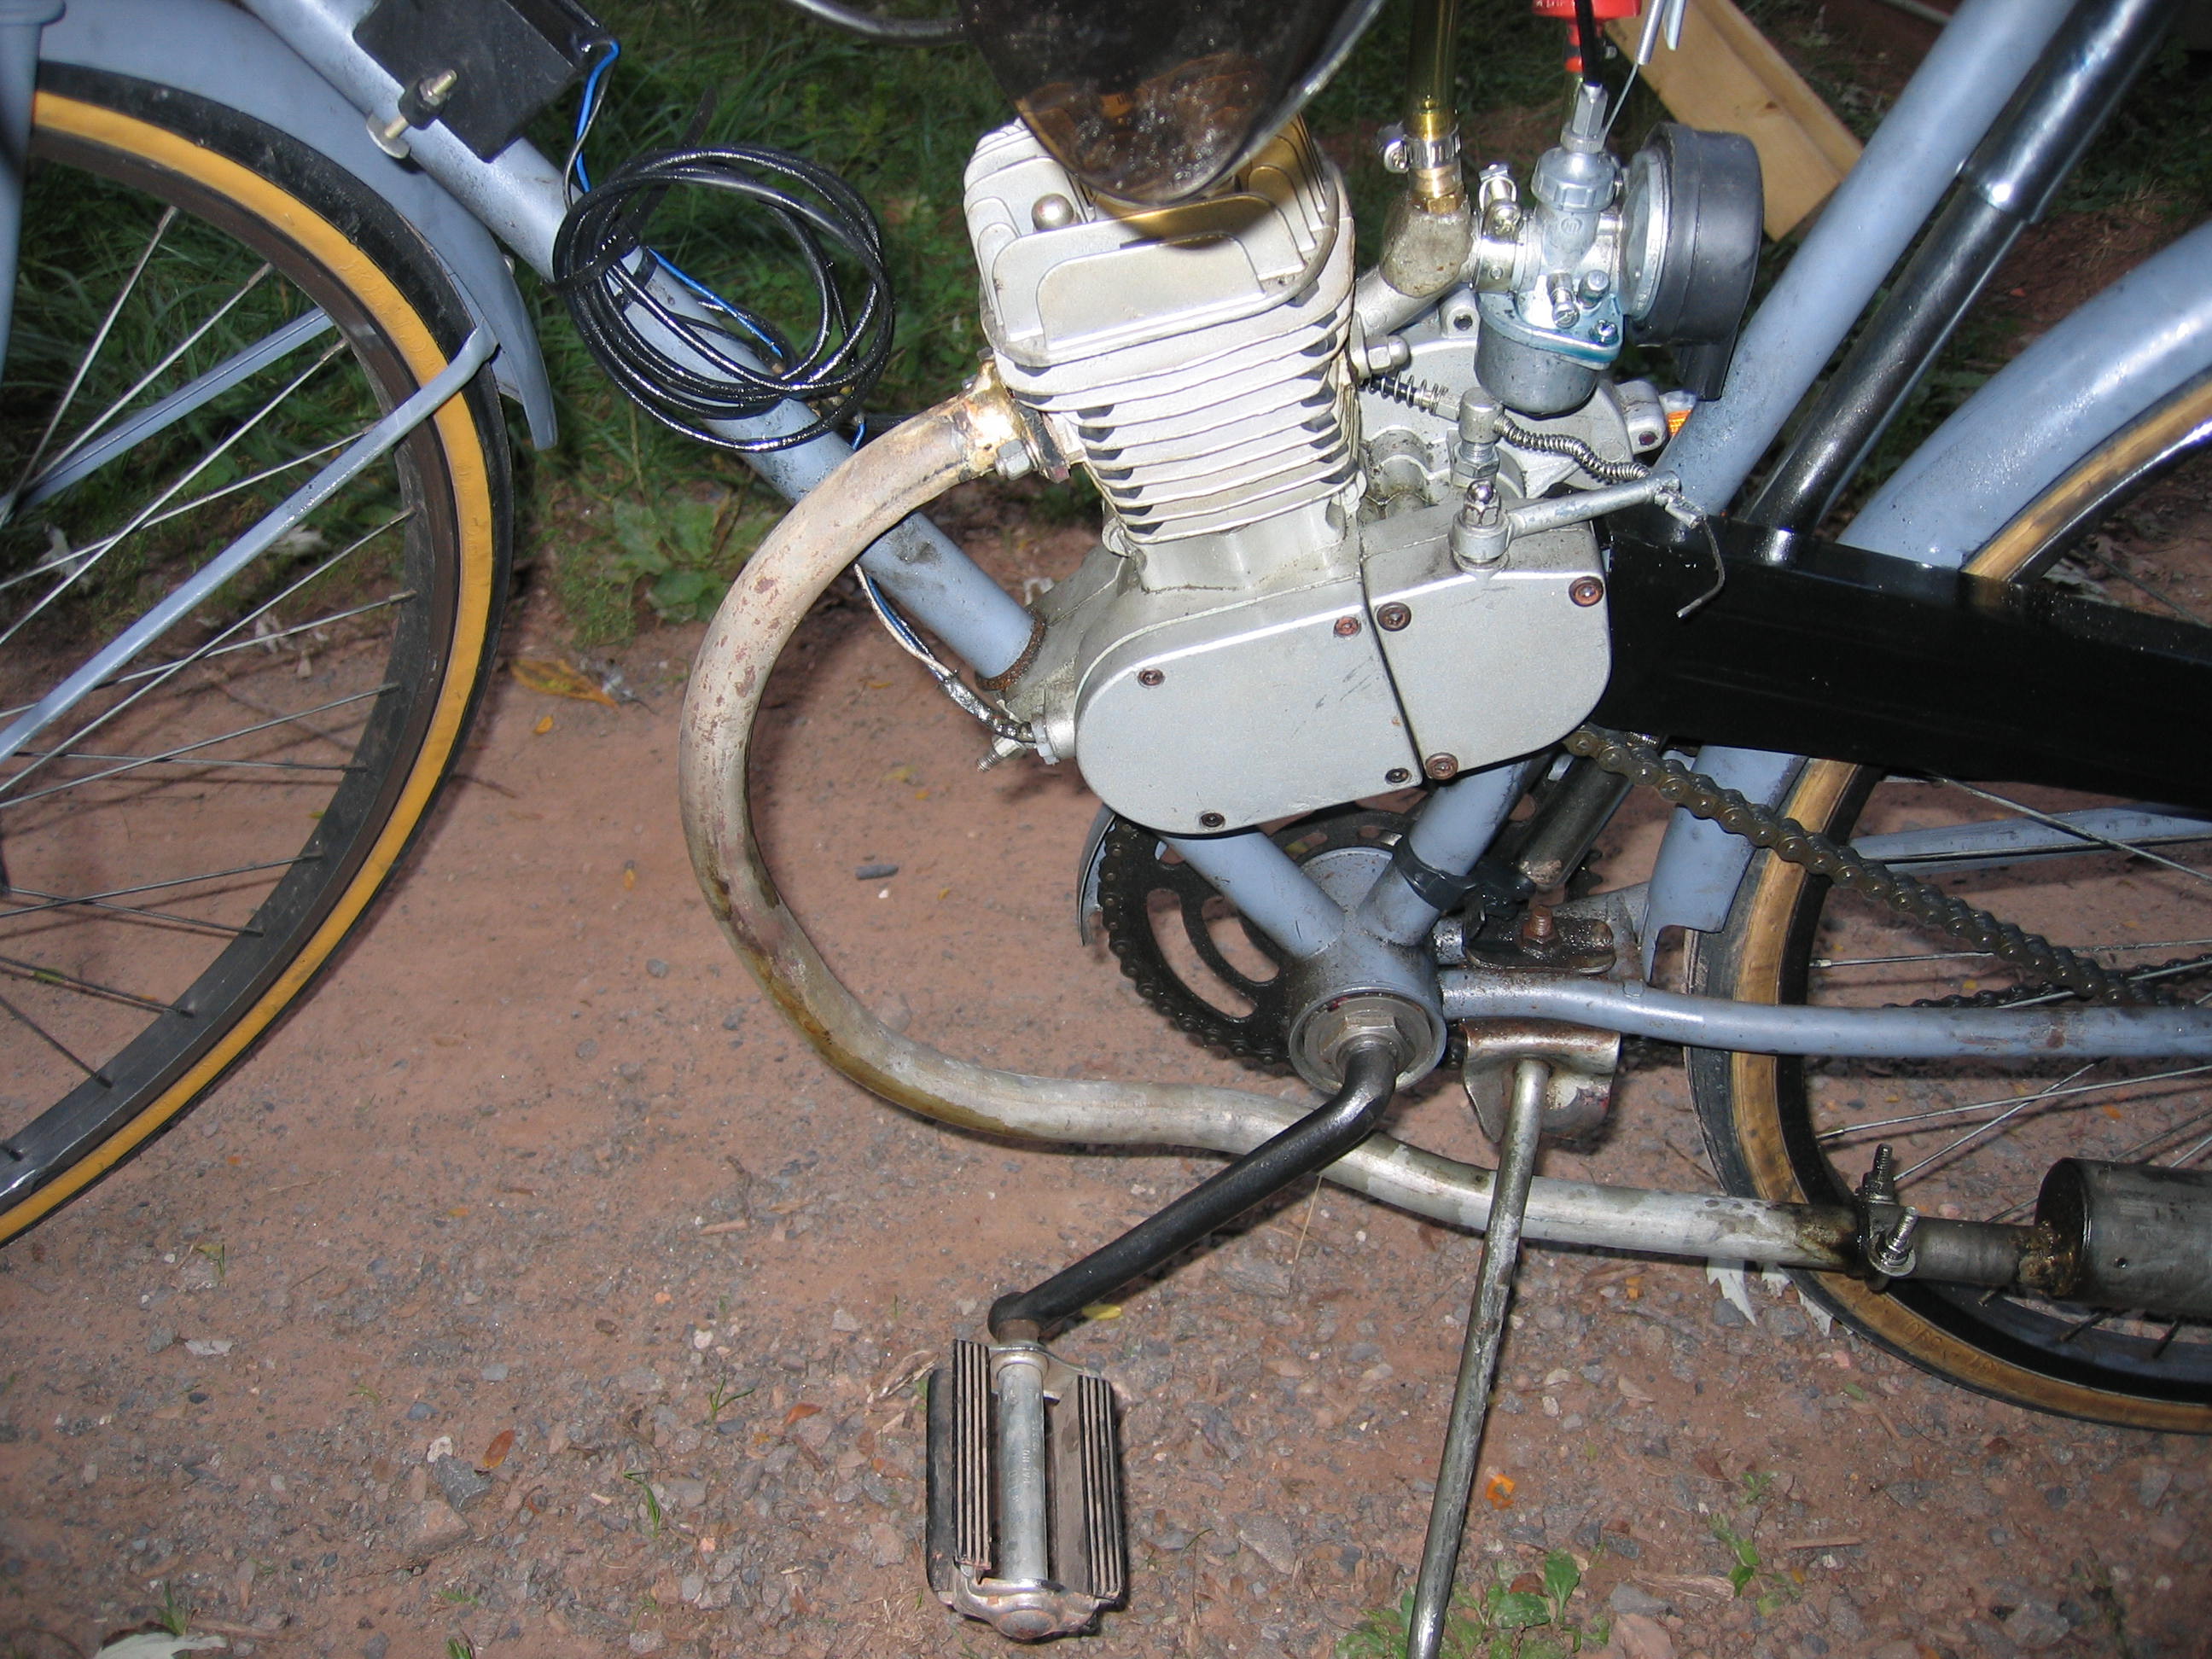
Exhaust pipe
Choke control
We've taken the bike to the park a few times so that Marcus can ride. He really enjoys putting around but I have trouble convincing him to get into the throttle.
He sure didn't learn that sort of caution from me!
I've done a bit of riding myself while testing things out and tuning the carburetor and boost bottle. While testing out another adjustment to the carburetor (I think the slide assembly is finally assembled correctly.) the neighbor across the street asked about the engine and wondered if something similar would work for powering his pedal-rickshaw. It was in pretty rought shape. I passed on details on the HT kits on eBay and on the Lifan pit-bike/Honda Trail clone motors.
This afternoon I rode 2 miles to the ice cream store to meet up with Jenn and the kids & dog, and then drove over to Blockbuster to return DVDs.
I ended up talking for about 15 minutes with a couple of guys outside of Starbucks who asked about the bike & engine.Later I rode down to the "bike junkyard" and browsed around, mostly looking for parts though the guy said he prefers to sell whole bikes. Maybe I'll hook up the cargo tray some evening and go pick up a few 26" bikes for the seat & wheels.
I'd like to put a second saddle (and footpegs) on the bike to allow 2up riding (with one of the kids). I'm not sure how that will work though. Maybe if I cut down a front fork I can use turn it into a second seat tube?
So after all that riding I figured that it was working well enough, why not ride to the range?
So I did. Slung the rifle soft case over one shoulder and a small shooting bag over the other and covered the 4 or so miles pretty quickly. Got the scope zeroed and then had a malfunction shooting the Ciener kit that resulted in lots of feed failures. Folks at the range were pretty ammused by the bike and asked questions. Mexicans standing around at the gas-station and in front of houses didn't know what to think.
I did notice that cars were pretty careful about passing me.
Back from the range. Rear fender was removed because of rubbing. Need to do a better job on bending the chain/seat stays.

One of the kid's backsacks was just the right size.
I've got zipties, a chain and a toolkit in it.
I'd put the bungies on on a whim before riding to the bike junkyard.
If I had to I suspect I could tow another bike.

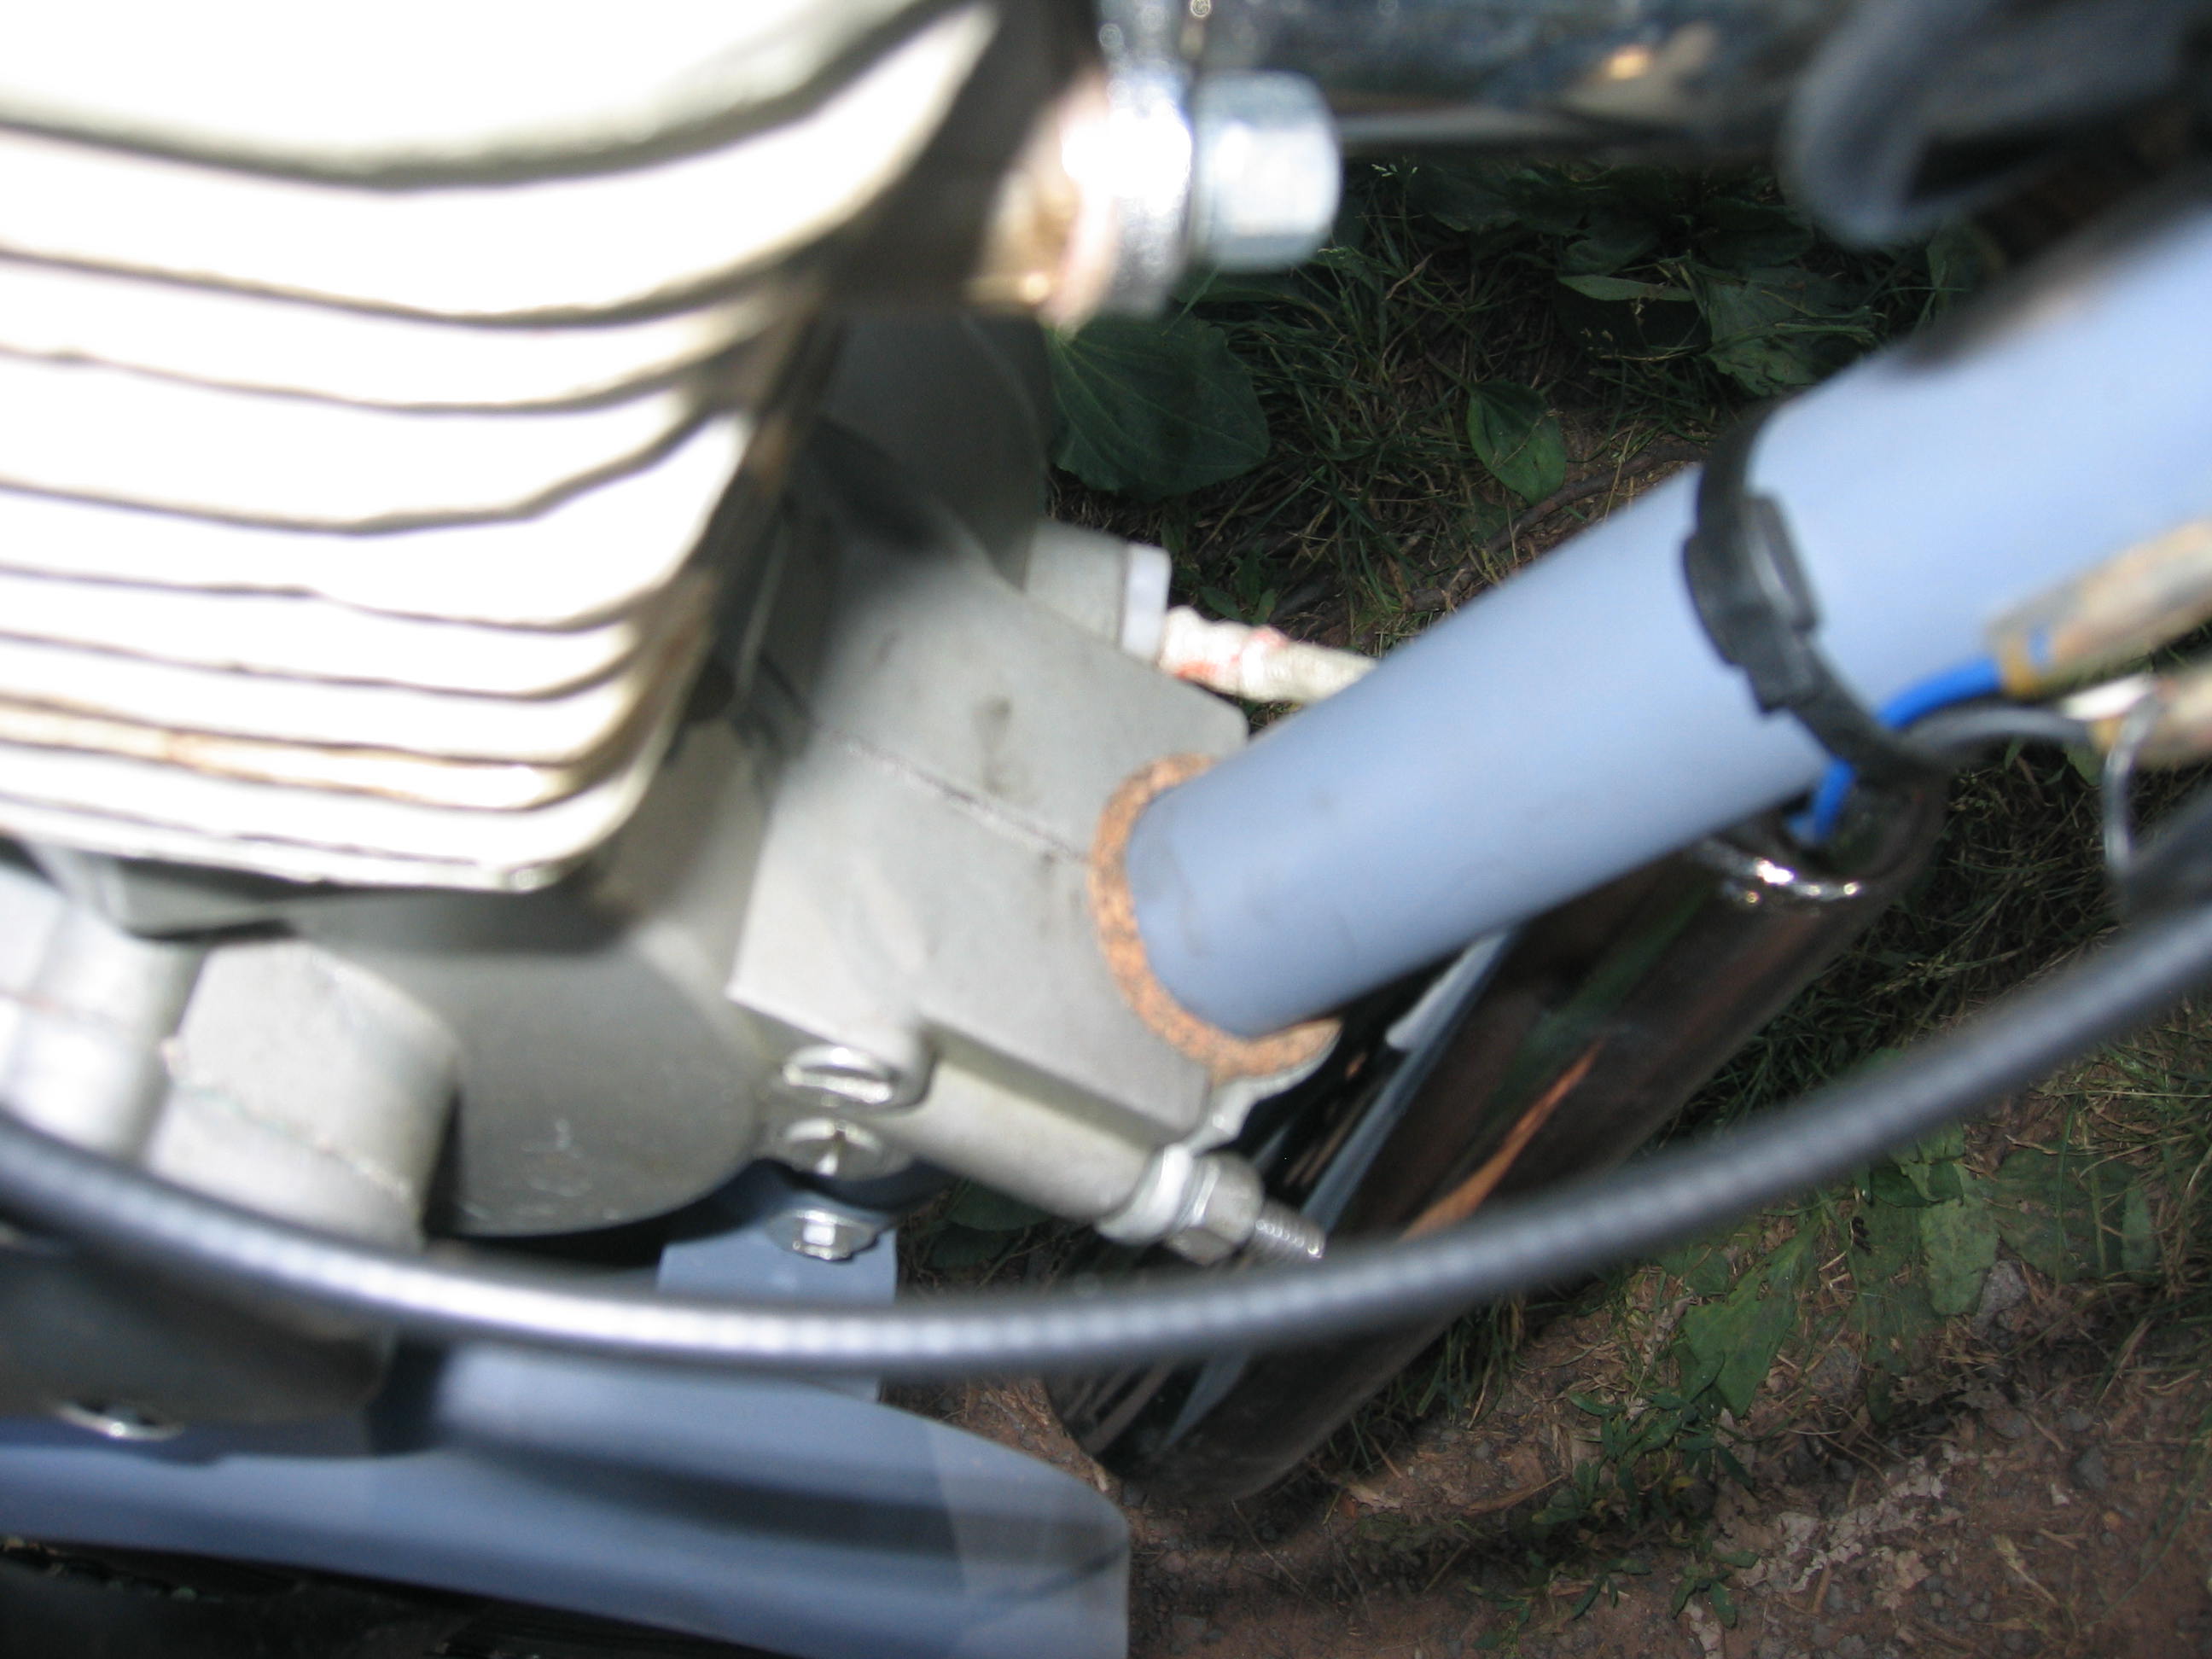
Shot of the "boost bottle".
(The camera helpfully decided to focus on the ground.)
Replaced all the cover screws with allen heads.
Used Lock-tite.
Detail of the cork gasket material used for isolating the front mount.
There wasn't room to do the same for the rear mount.
Detail of the fitting in the intake runner for the "boost bottle".
Pipe was drilled and tapped, then the area built up and sealed with epoxy then the inside ground to clean up airflow.

"Boost bottle"
Should be roughly 66cc.
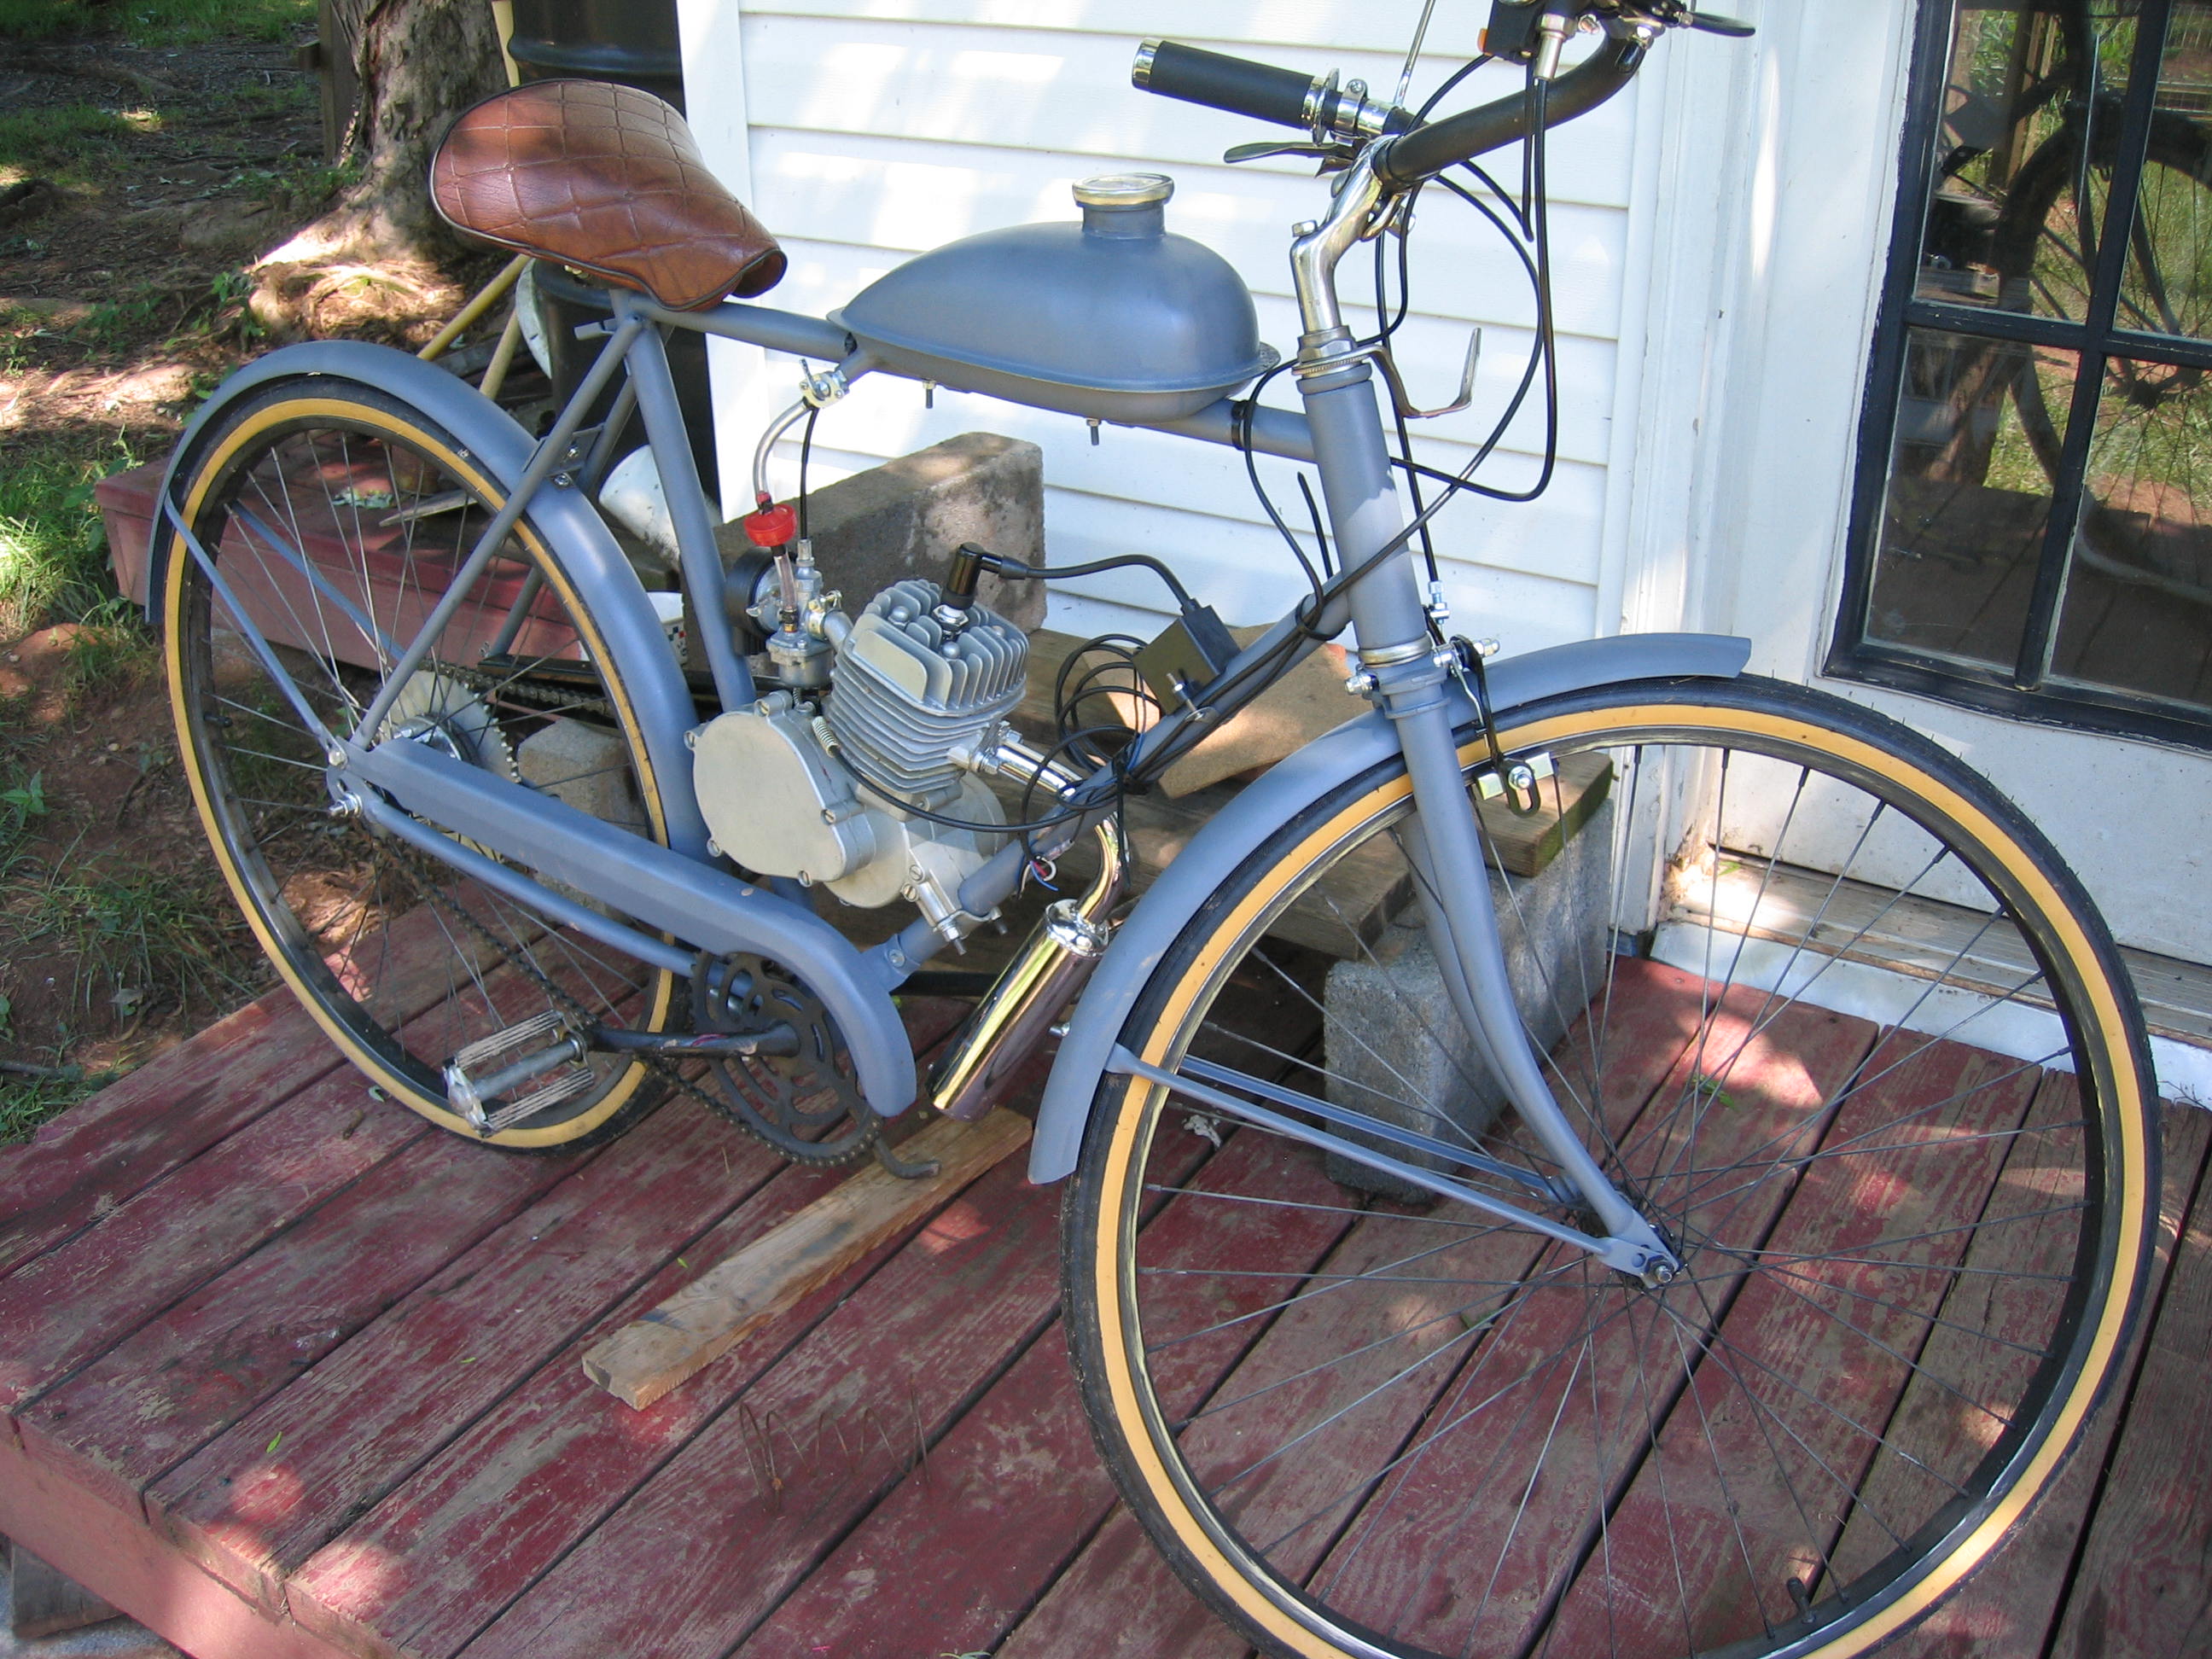
Mostly primered.
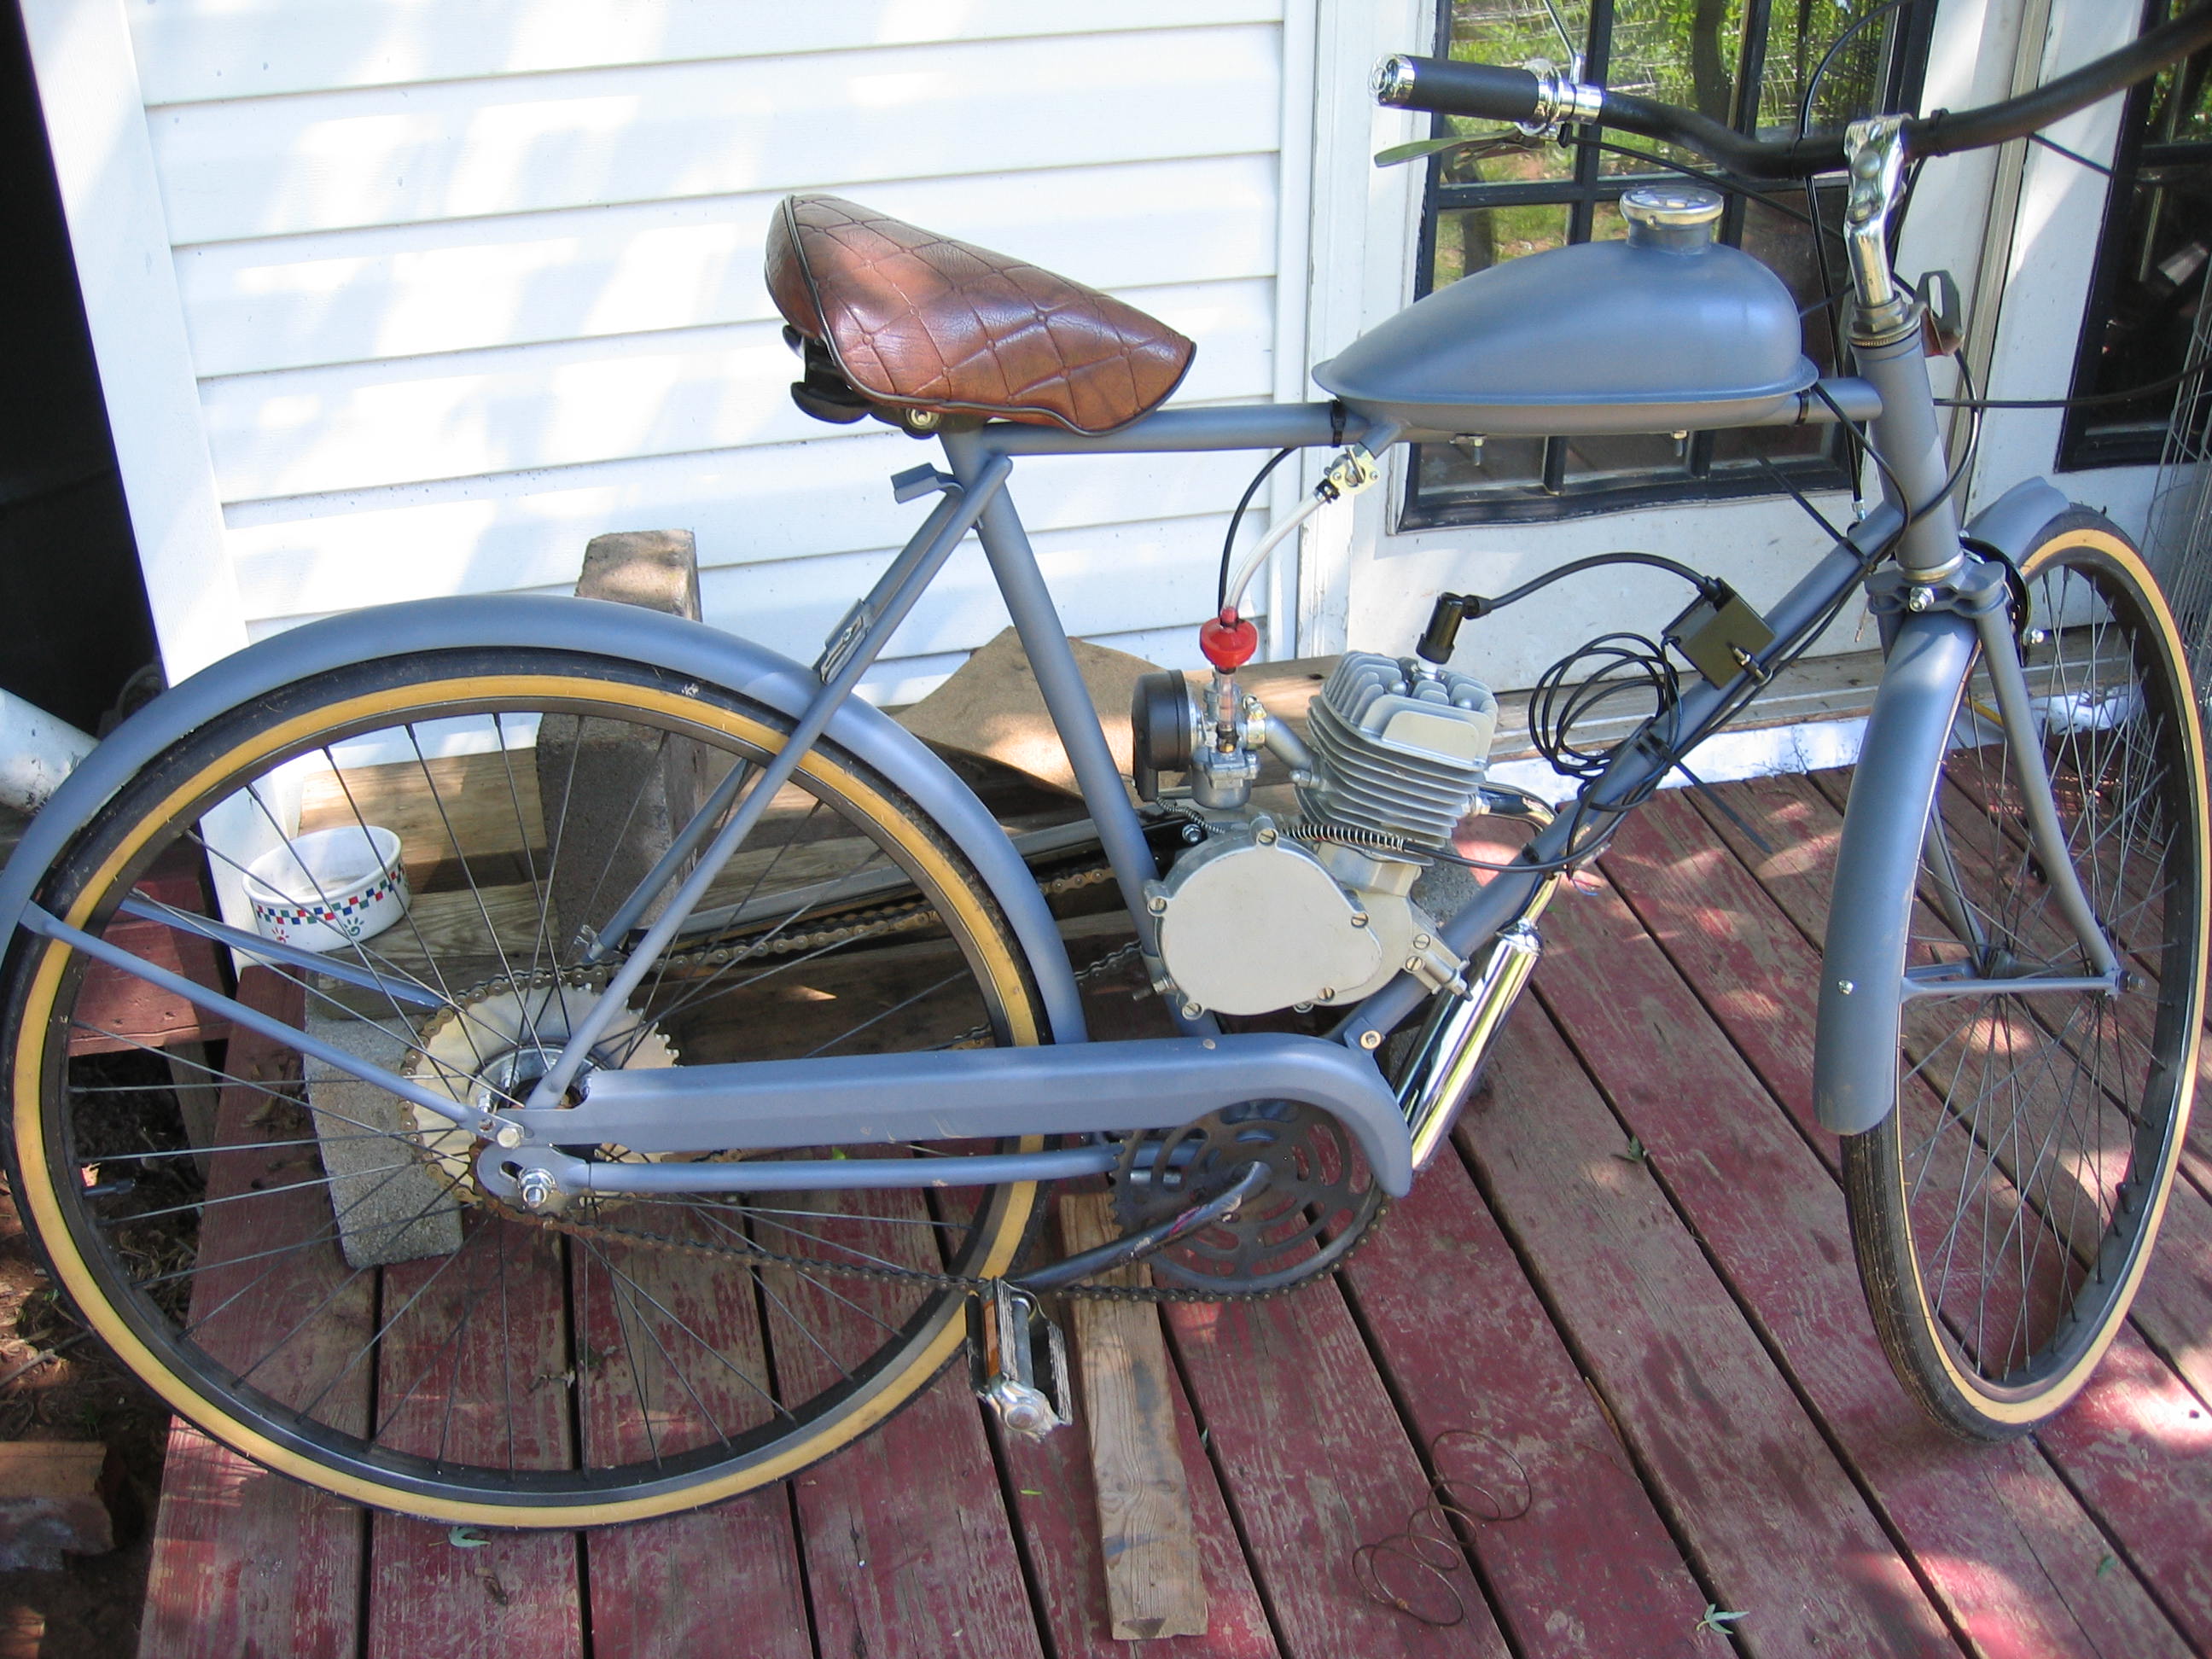
Still need to sort out ignition kill wireing.
Need to cut cork strips (sheet behind bike) to isolate engine mounts.
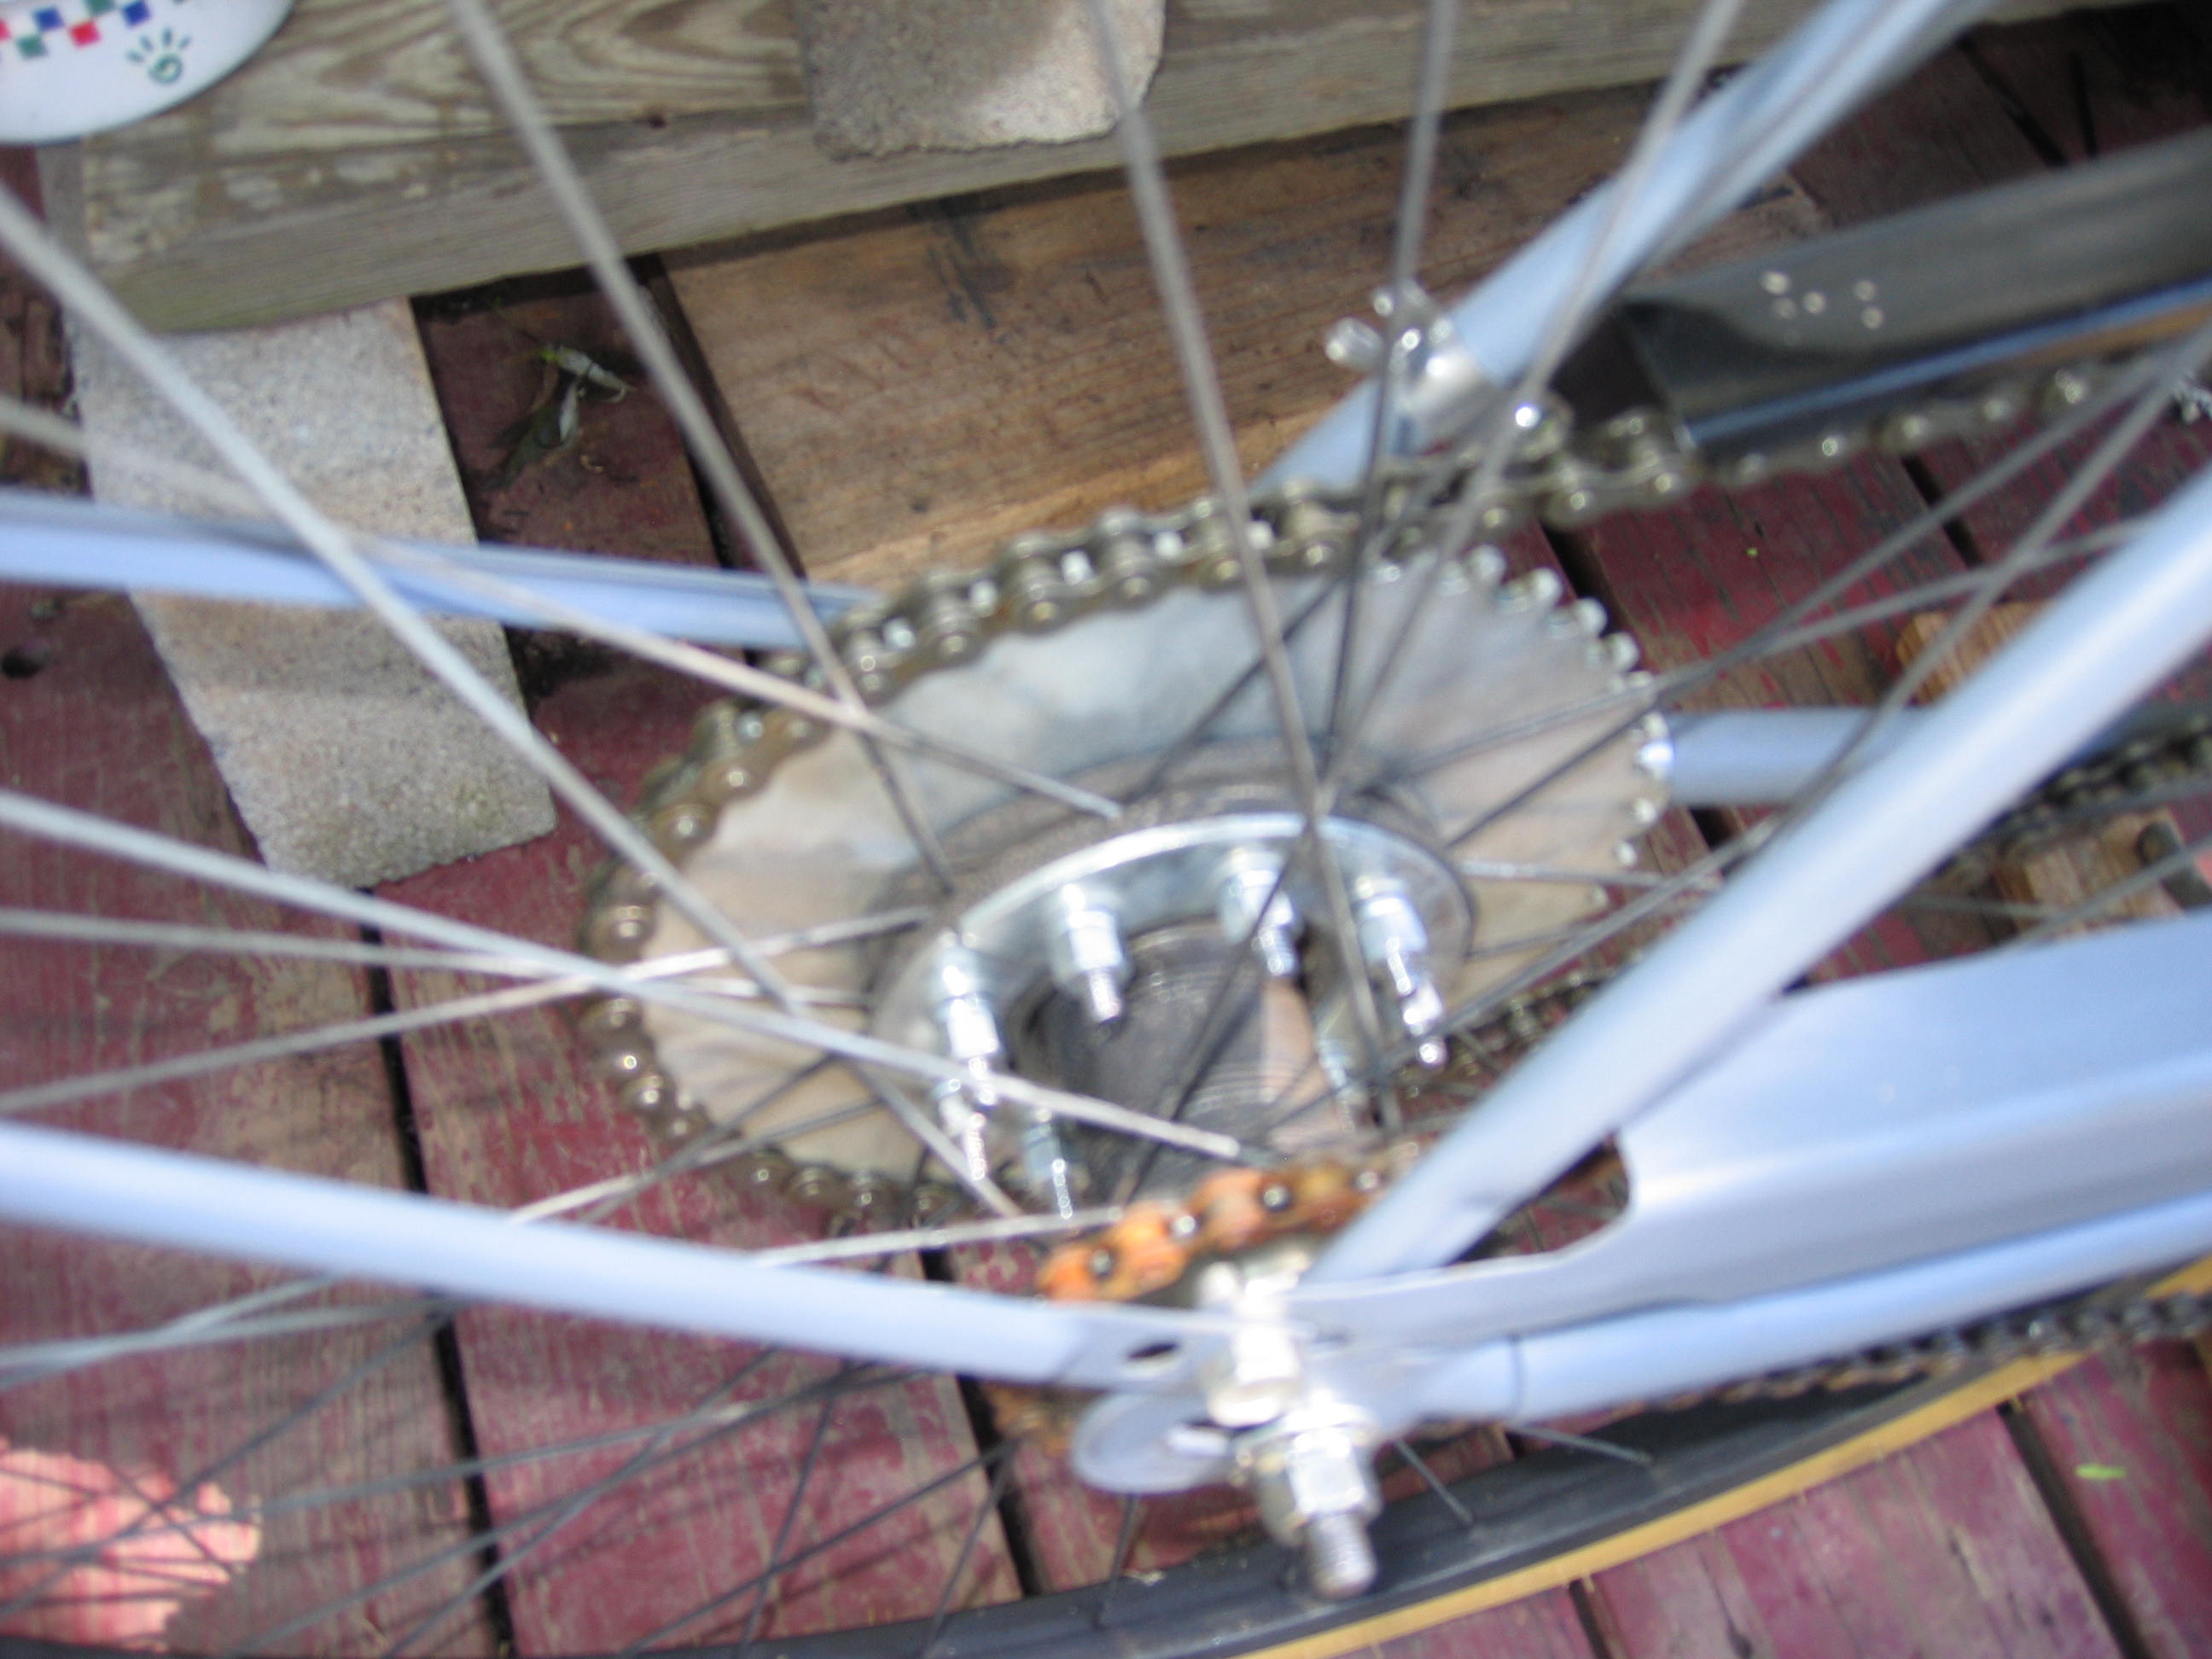
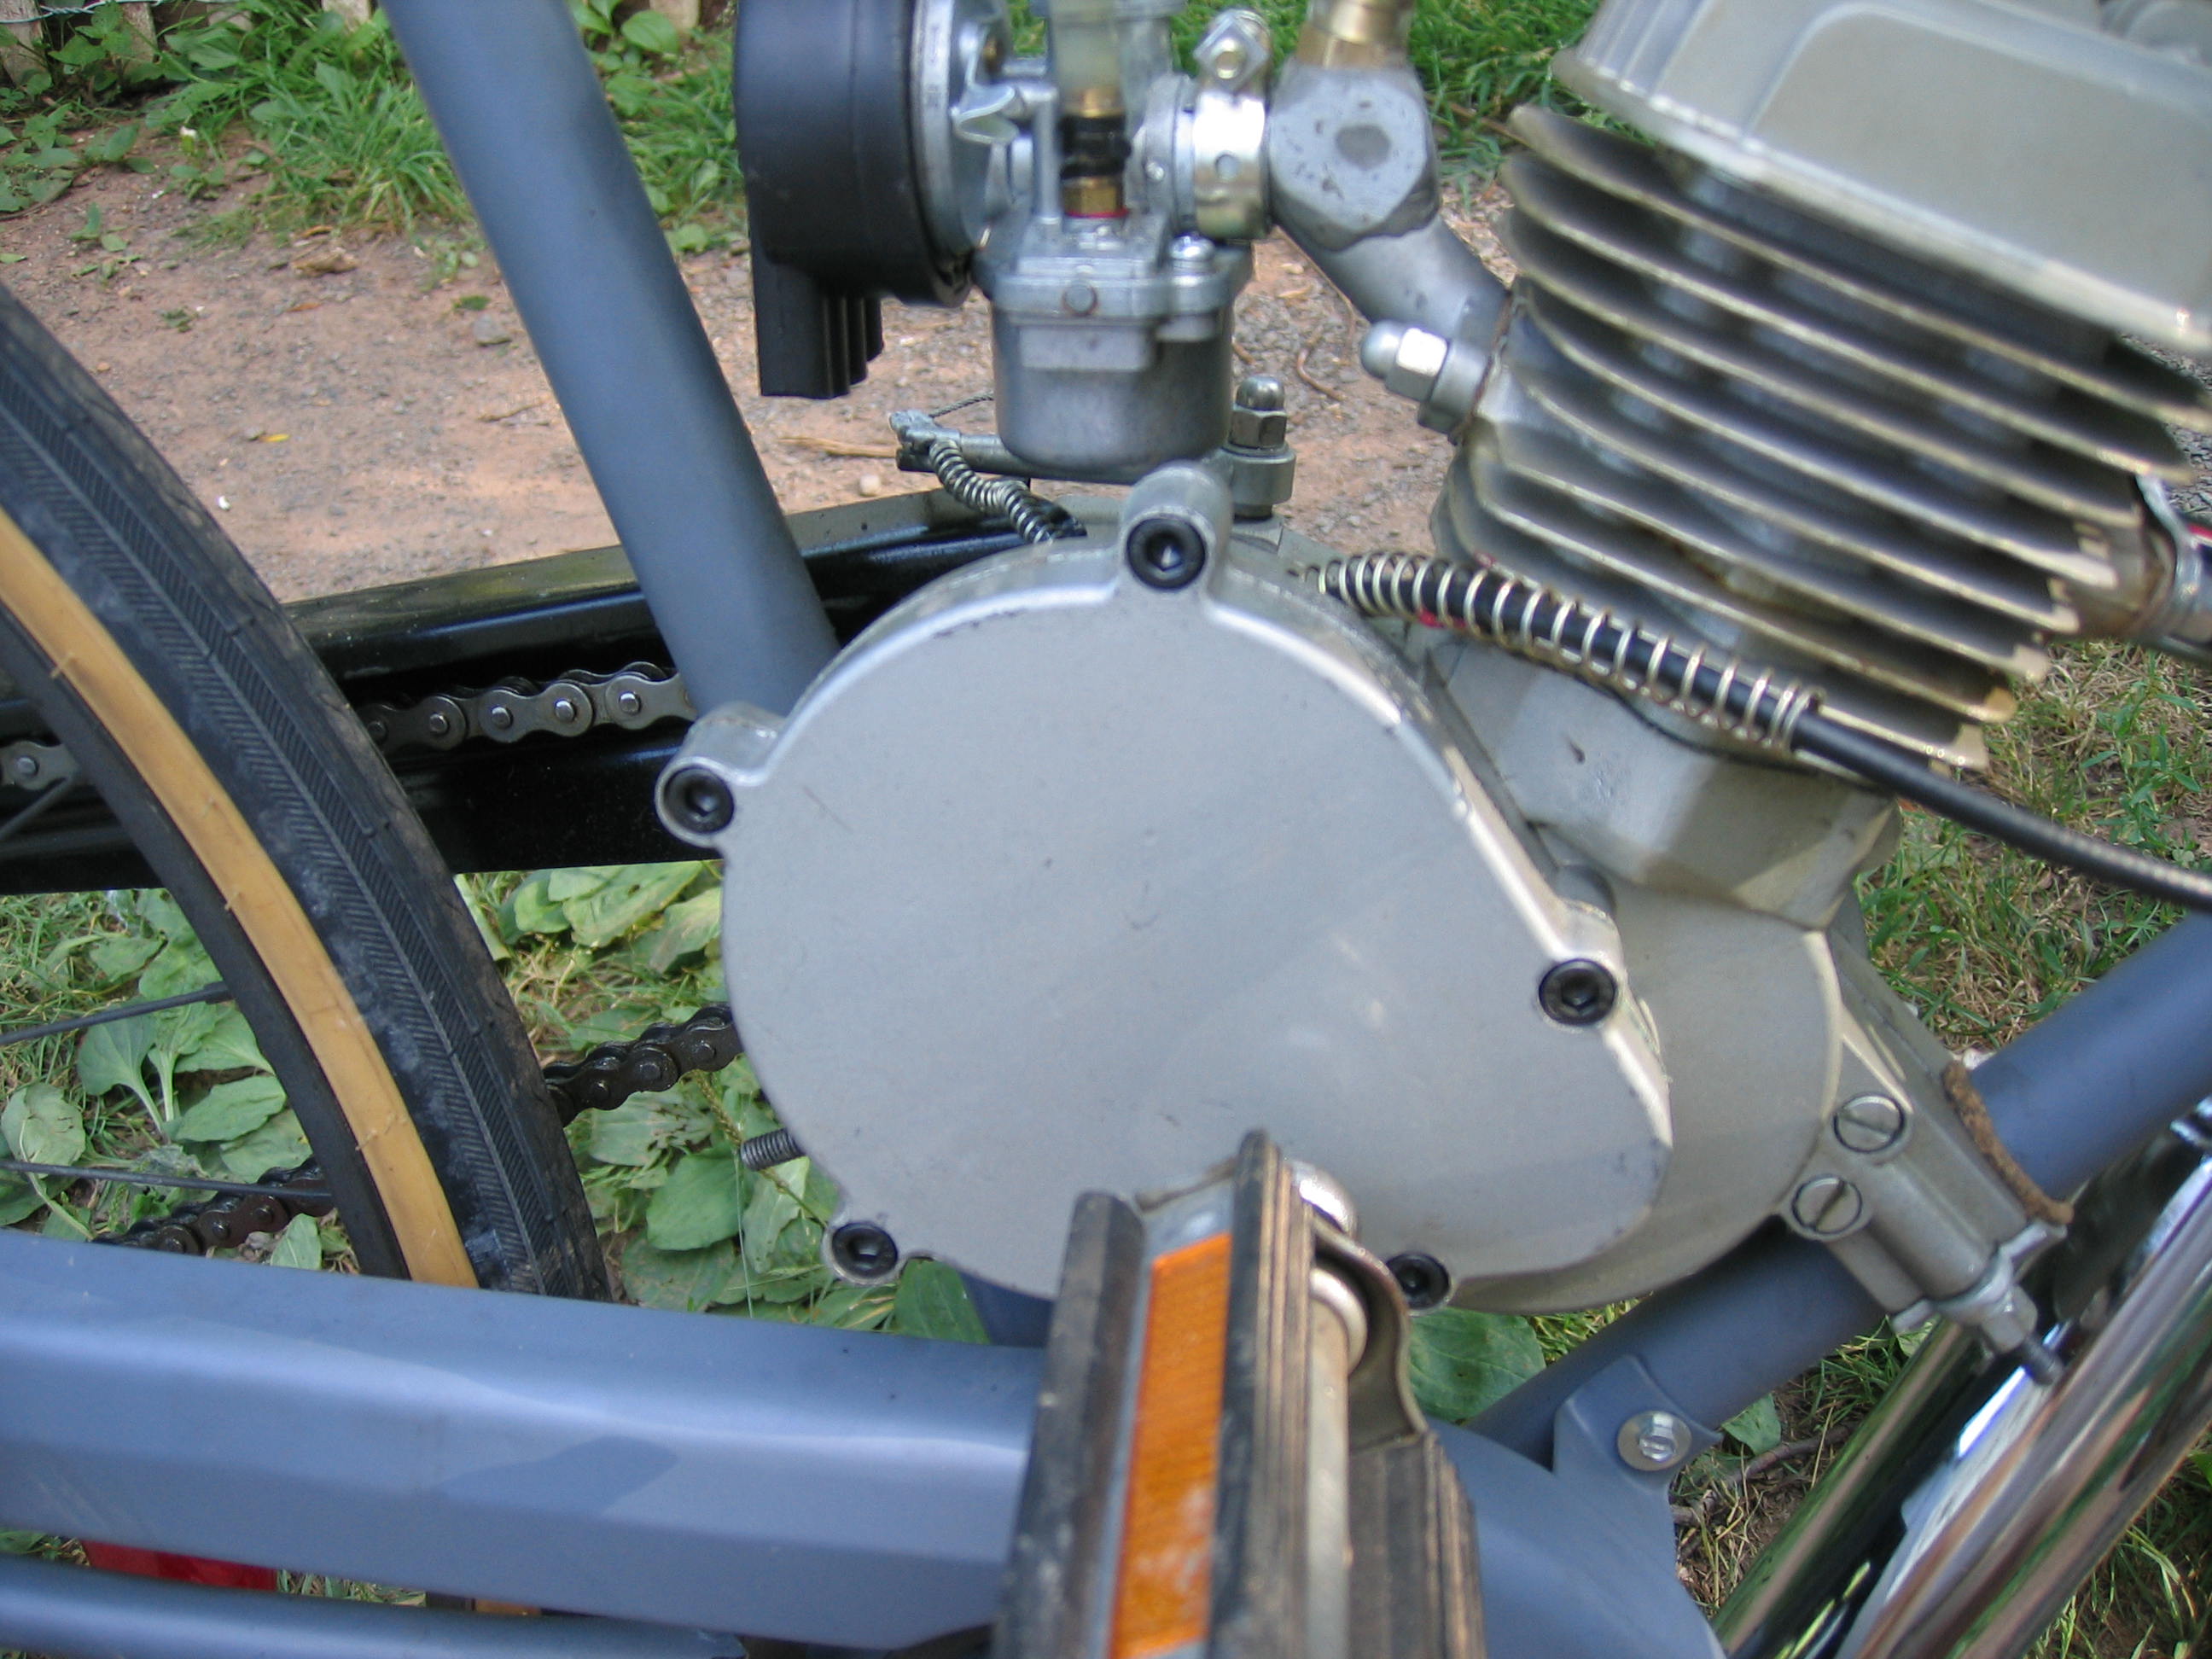
Cheesy yet effective sprocket mounting.
Better air-box and muffler desired.
Controls setup like a motorcycle (front brake on right side.)